Google Photos is an image and video storage service offered by Google to back up and store media files over the cloud. You can use this service to auto-upload photos from your PC as well as using a desktop client. All you need is to download Google Drive for Desktop and make few settings tweaks to upload images and videos to Photos App.
In this guide, I will walk you through the complete guide to Install, Setup, and Use Google Drive for Desktop to back up specific folders or all system library media files to Google Photos for Free.
Google Drive for Desktop: How to Install Google Photos?
Here is the Simple Guide to Install Google Photos on Old MacBook Air, MacBook Pro, and Latest Apple M1 Chip.
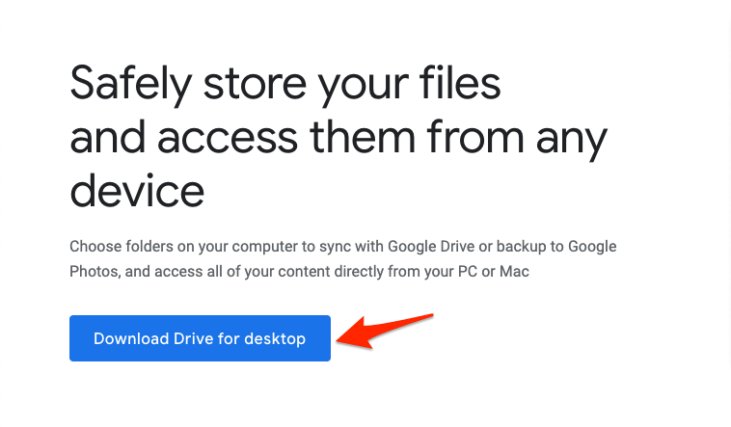
- Download Google Drive for Desktop from Offical Site.
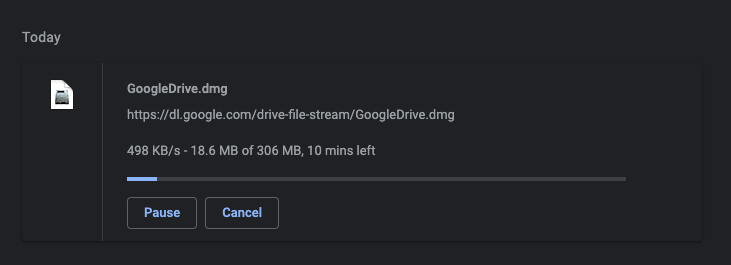
- Once downloaded, click on the file to install it.
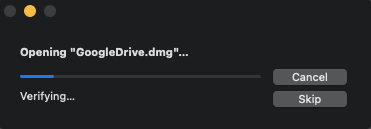
- The system will verify the downloaded file. You can skip the verification, but I do not recommend you to do so.
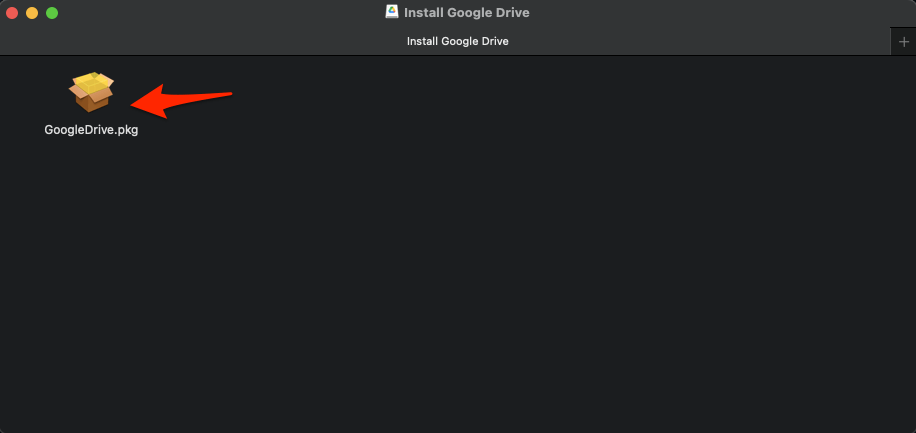
- Once the verification is over, a new window will pop up with a pkg file, double-click on it.
- A new installation window will pop; here, click on the Continue button.
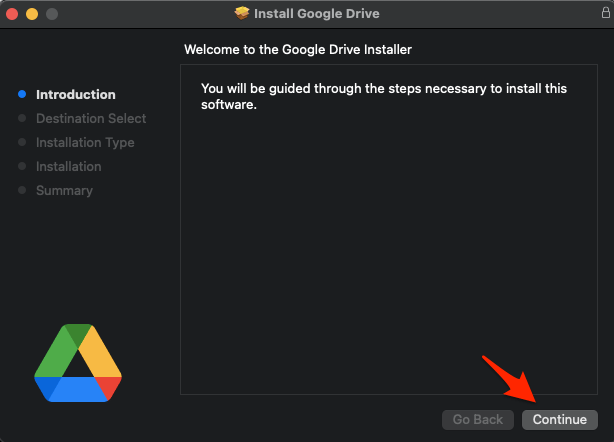
- The next page will appear; if you wish, you can change the location or click on the Install button. The file will be installed inside Macintosh HD or an equivalent storage location.
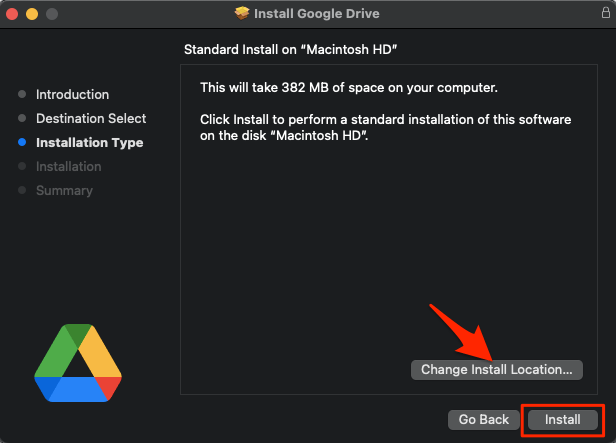
- You may be asked to enter the Mac Password to confirm the installation.
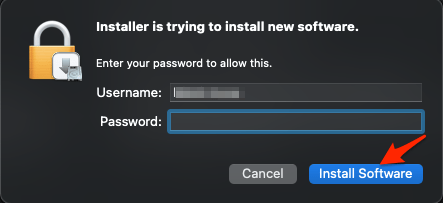
- The files will compile and write themselves to install on Mac PC.
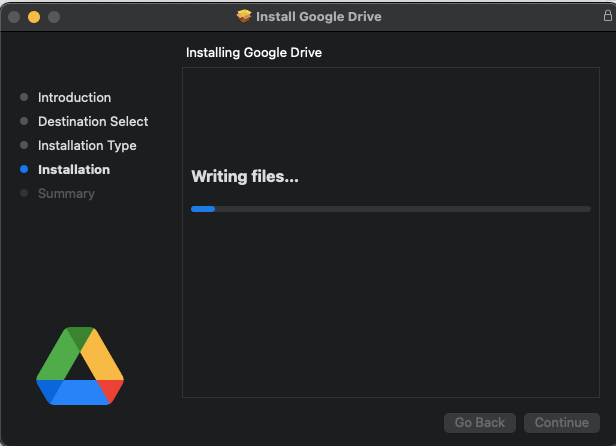
- Within a few seconds, the application will be installed on your macOS.
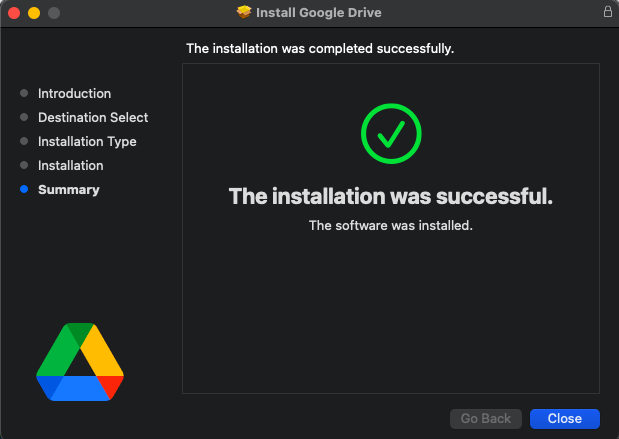
- A Google Drive icon will show up on the top menu bar on MacBook.

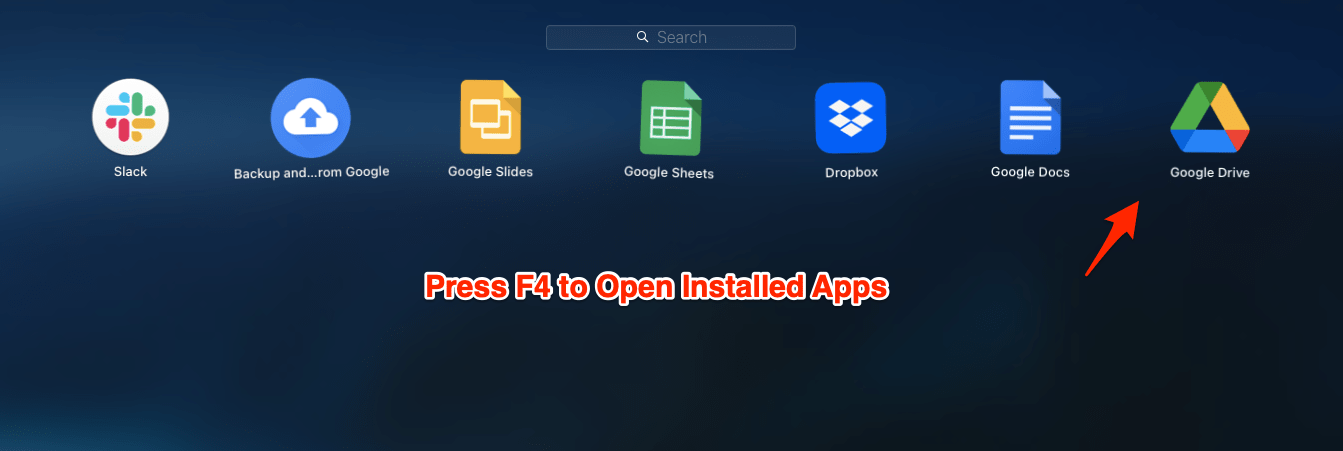
- If it doesn’t show up, look for all apps (F4 Button) and open Google Drive. The icon will show up on the menu bar.
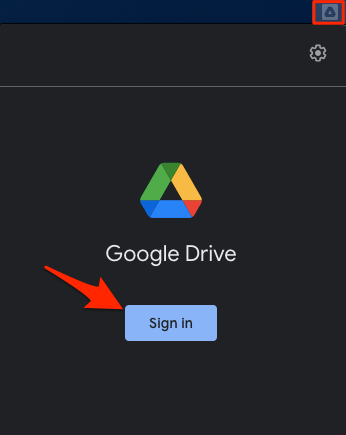
- Now click on the Google Drive icon on the menu bar and click on sign in.
- A Google account login page will open in a browser. Log in with your G-Account to confirm the access.
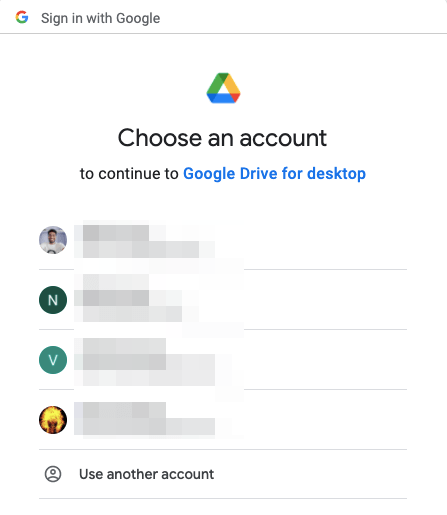
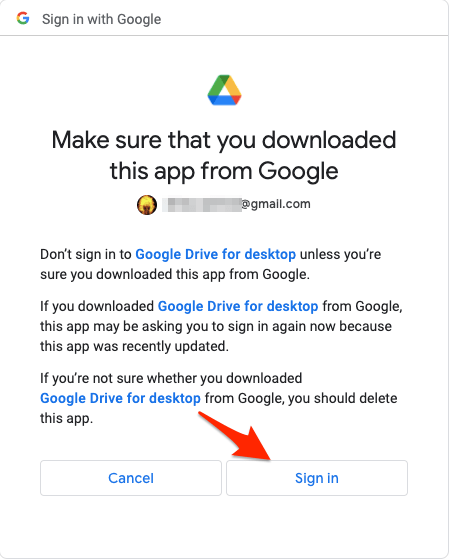
- Confirm the login by clicking on Sign in.
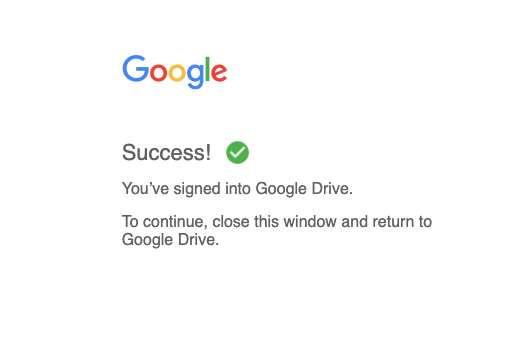
- Once the login is a success, you will see a confirmation message on the browser.
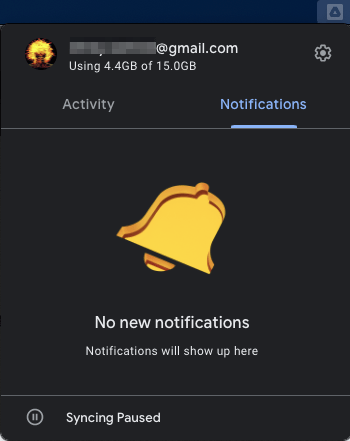
- You can confirm the login is a success by clicking on the drive icon on the menu bar.
How to Setup Google Photos for MacBook?
Here is the Simple Guide to Setup and Use Google Photos App on MacBook using Google Drive for Desktop.
- Click on the Gear icon
 .
.
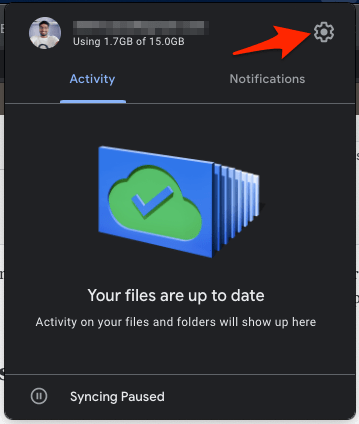
- Now click on the Preferences option.
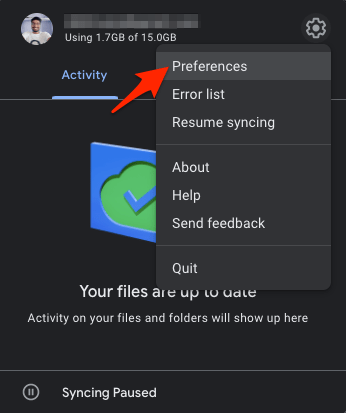
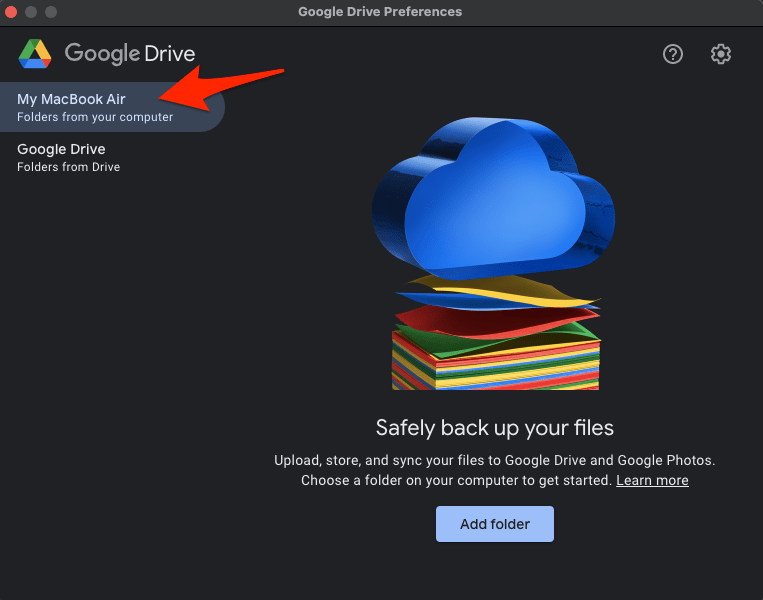
- A new window will open.
- Here click on the option My MacBook XXXX.
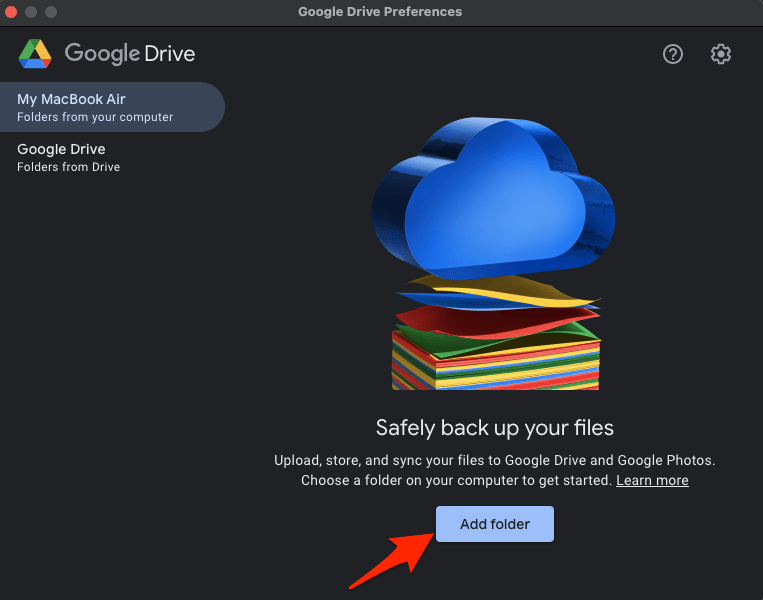
- Click on Add Folder option.It is important to note that only folder/s can be backed up to Google Photos, individual files cannot be uploaded to GPhotos. So add the videos and images inside a parent folder to back it up to Photos.
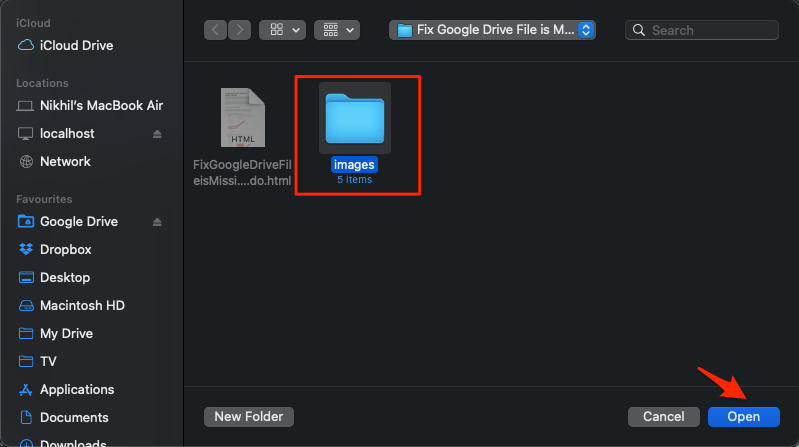
- How select a folder with media files and click Open.
- Right tick the box next to Back up to Google Photos and click Done.
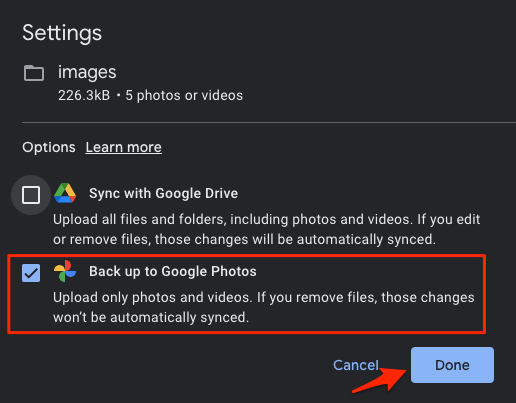
- The Photos and Videos from the selected MacBook folder will backup to Google Photos.
How to Backup All MacBook Photos to Google Photos?
Here is the Simple Google Drive for Desktop Setting to Backup All Mac Photos and Videos to Google Photos. Your System Photo Library and iCloud Photos will be automatically uploaded to Google Photos.
- Click on the Settings
 icon on Drive Window.
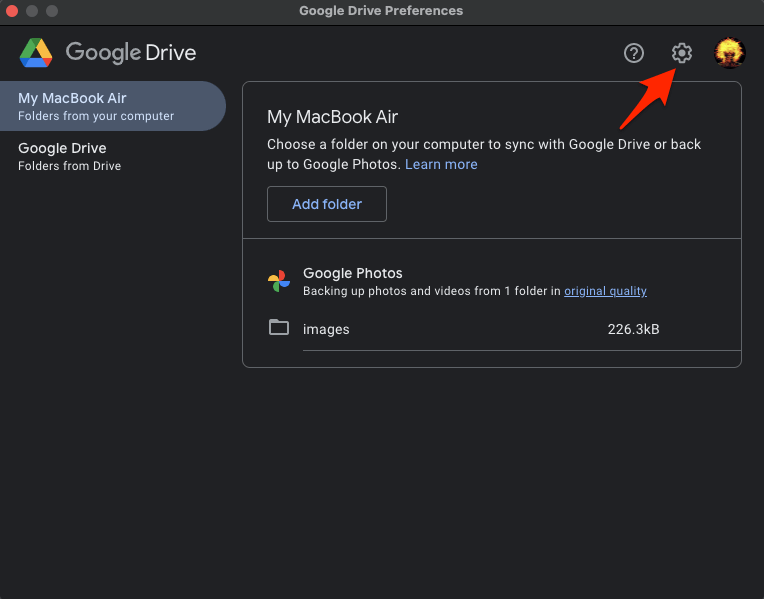
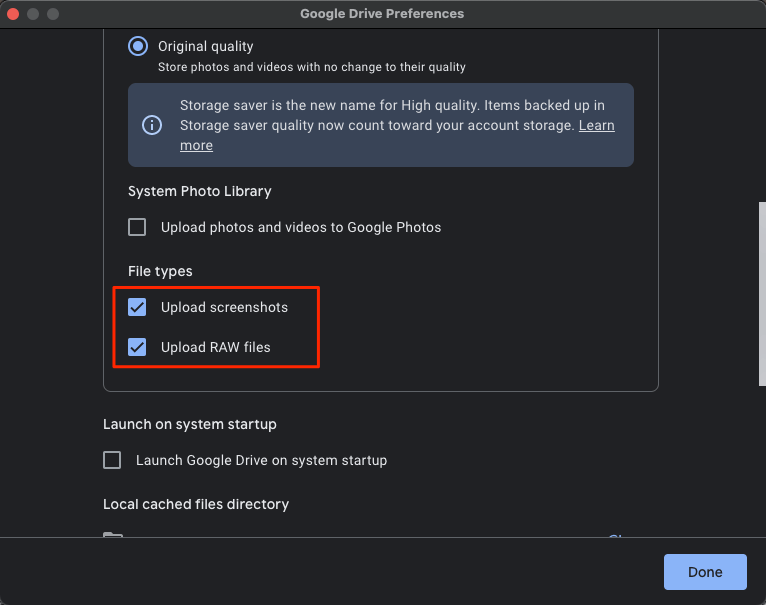
- You can select the image quality to upload to Google Storage.
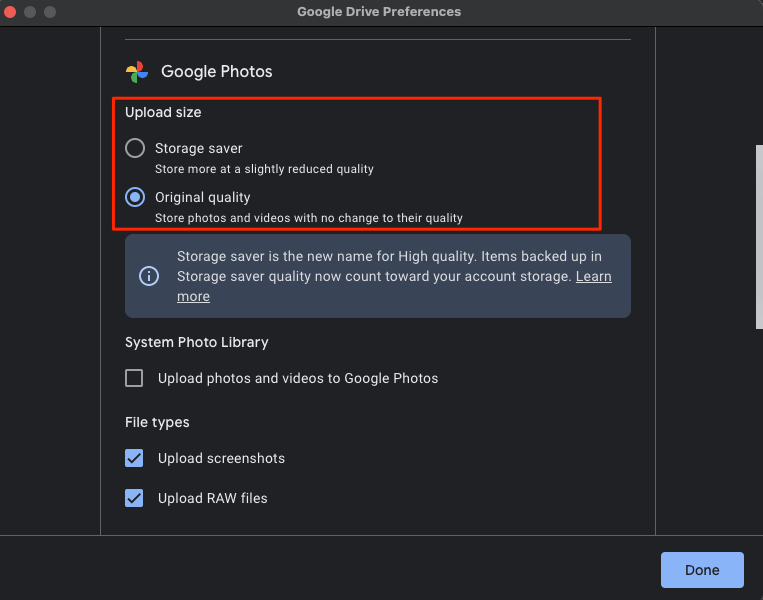
- Now right-tick on Upload Photos and videos to Google Photos under System Photo Library.
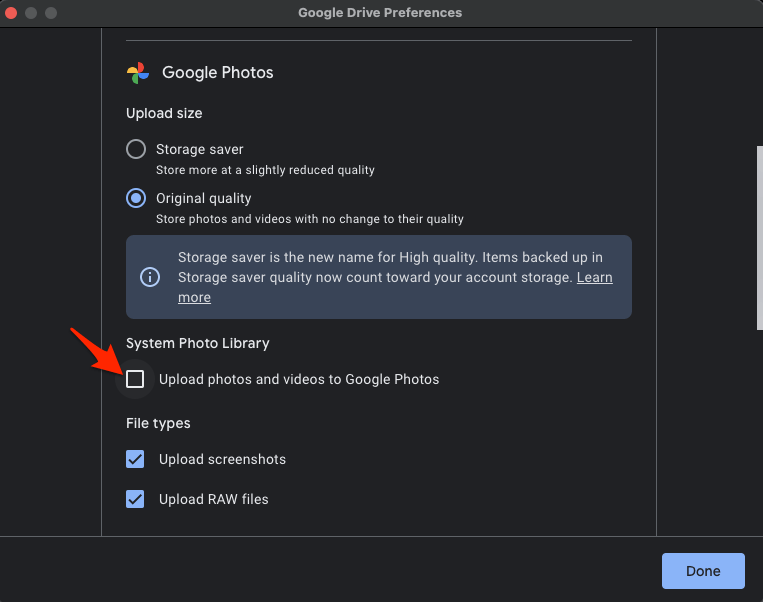
- Confirm upload to system photo library.
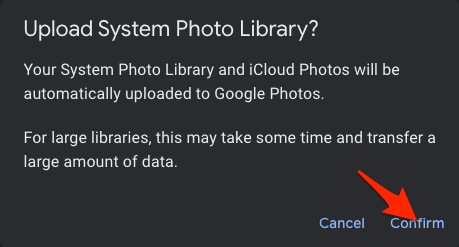
- You may have to grant your Mac media access to Google Drive App. Click on Open Privacy Settings.
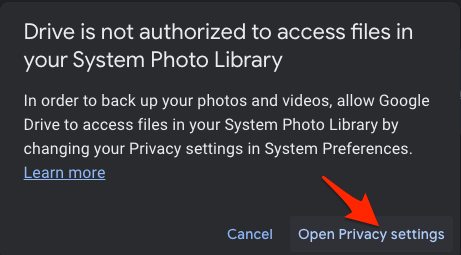
- A settings page will open; right tick Google Drive to grant access.
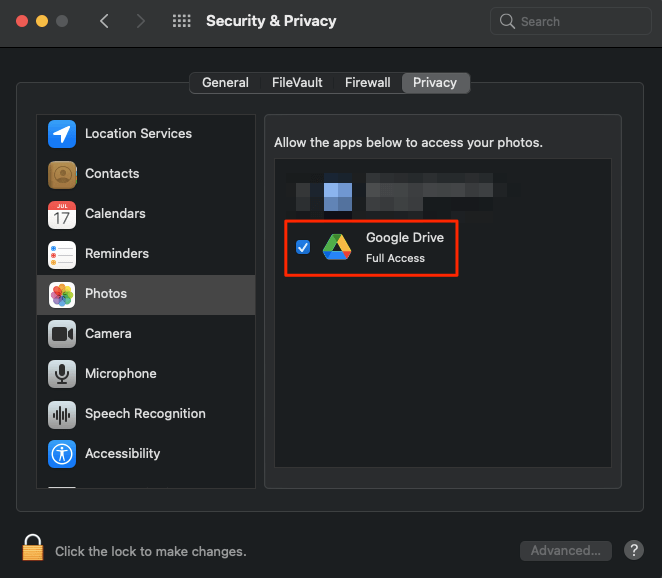
- Done! All the system photos and iCloud photos will be uploaded to Google Photos.
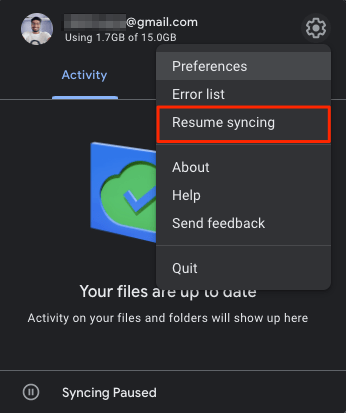
- Make sure that Syncing is enabled in Drive for Desktop App.
Conclusion
You are also offered the option to upload system screenshots or RAW files to G-Photos. RAW is the standard file format for uncompressed images captured by digital cameras and Scanners.
That’s it with this detailed guide to install and set up Google Photos on MacBook PC using Google Drive for Desktop.
Hi. The information looks very good, I must try it if it’s still accurate today, 10/2024? BRGDS Yka