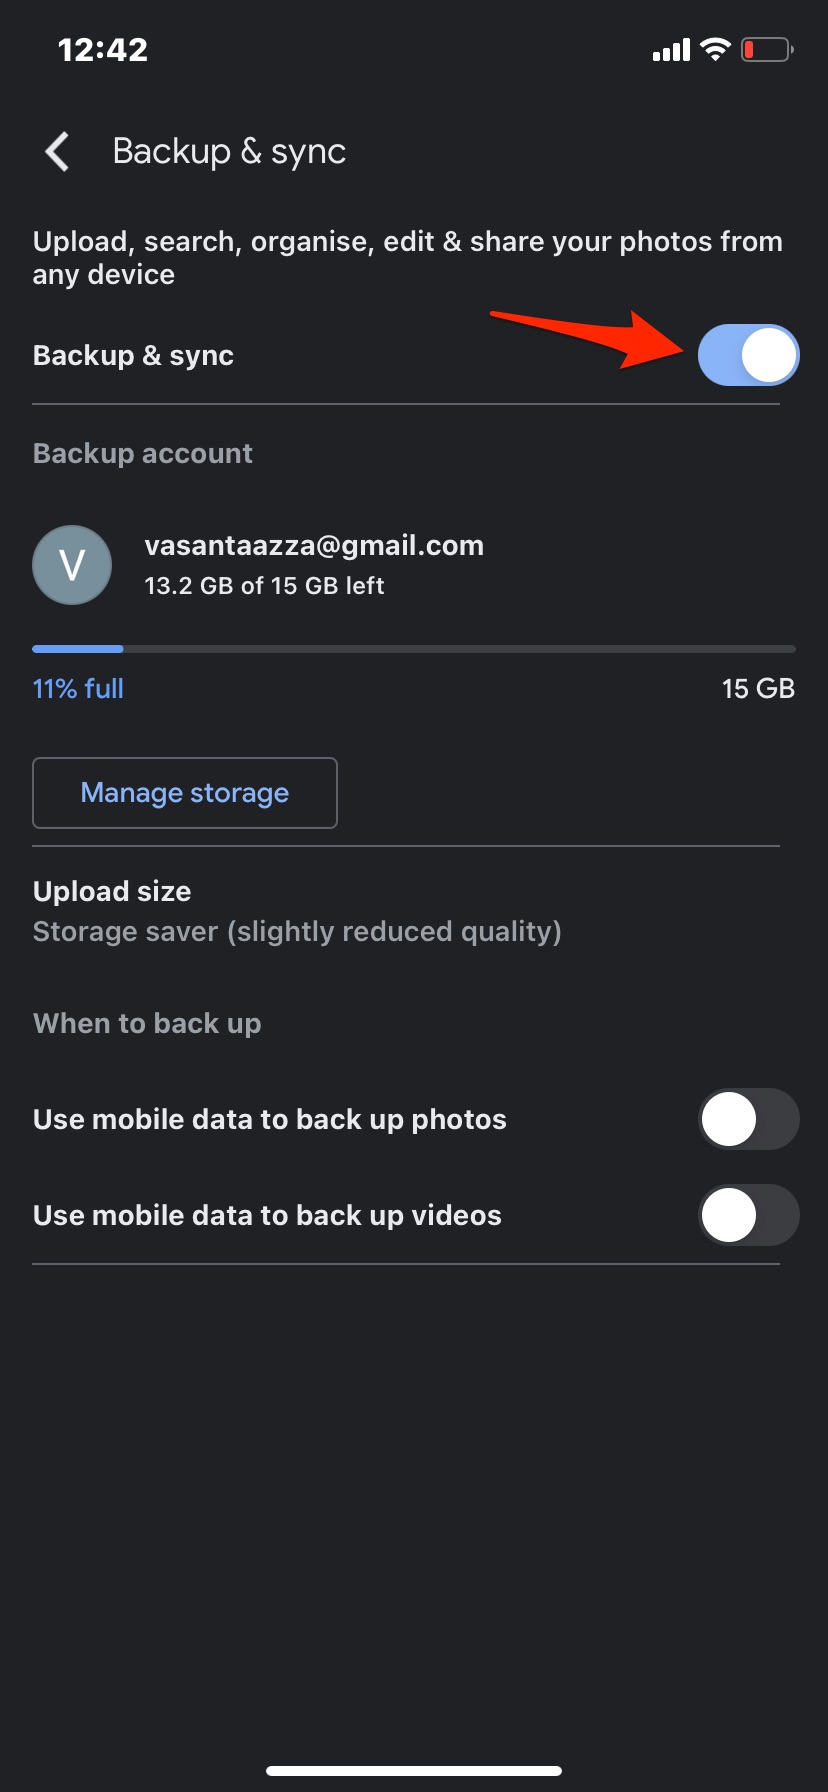
If you enable backup and sync on the Google Photos app on your Android or iPhone, the app will automatically upload all the photos and videos taken from your device camera to your Google account by default. There may be some situations where you just wish to upload photos, but do not want to backup videos to the Google Photos Cloud.
The videos taken from modern mobile phone cameras are of exceptionally high quality, and they take up a considerable amount of cloud space if uploaded; excluding them from the backup process is the best option available. This guide will tell you a few tricks and tweaks that can help you upload only photos from your Android or iPhone mobile and exclude the videos from the backup process.
Steps to Disable Video Backup to Google Photos on Android
It is interesting to note that the Google Photos app by default only backs up the photos and videos that are taken from the phone camera. The media captured from the camera is stored in a distinct folder; if you move the video files from that specific folder to a different/new folder, then Google Photos won’t be able to upload the video files to your Google account. Here are the steps you need to follow;
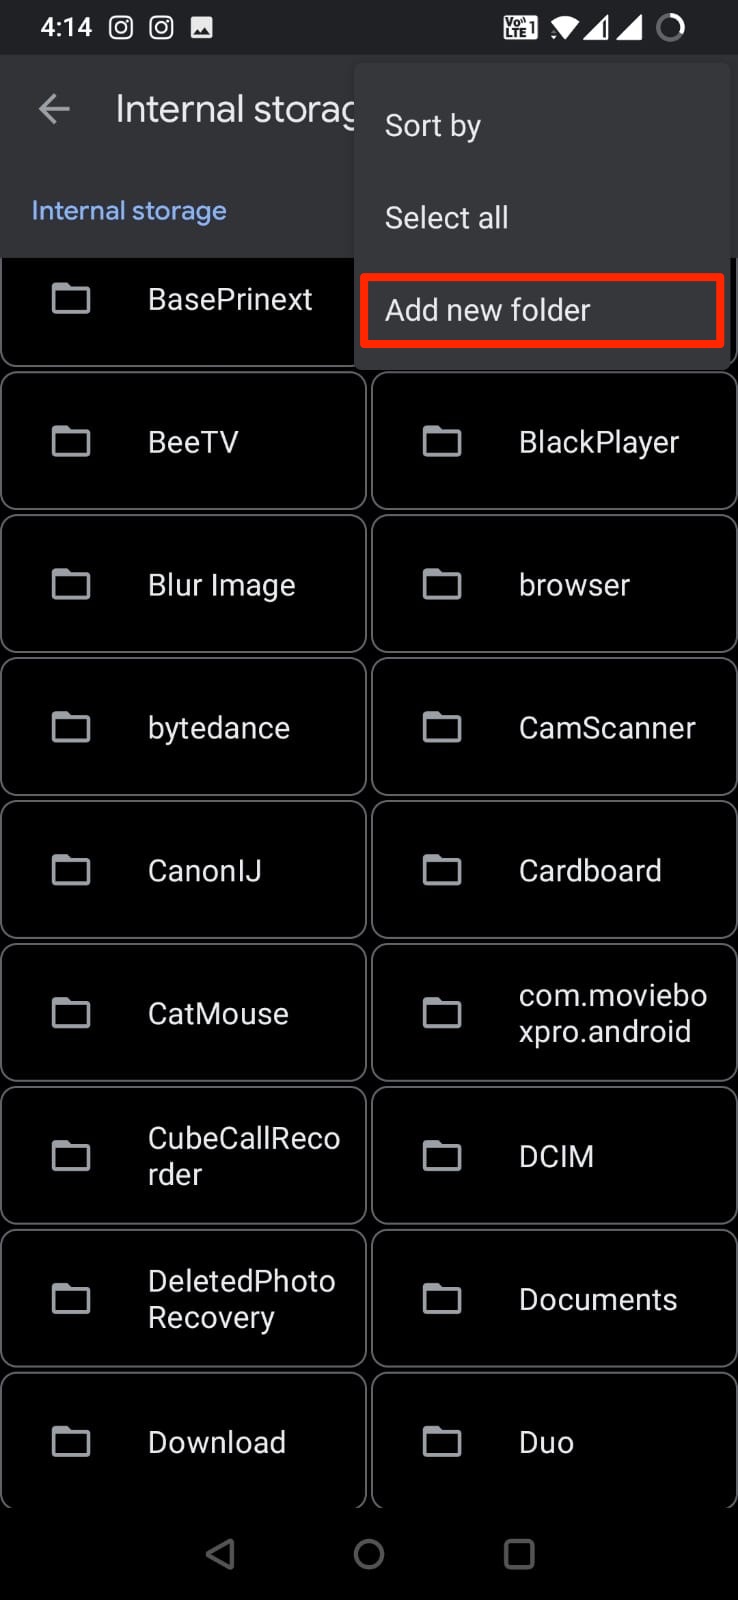
Step 1. Open the File Manager/Google Files app on your Android. I have my camera content in internal storage.
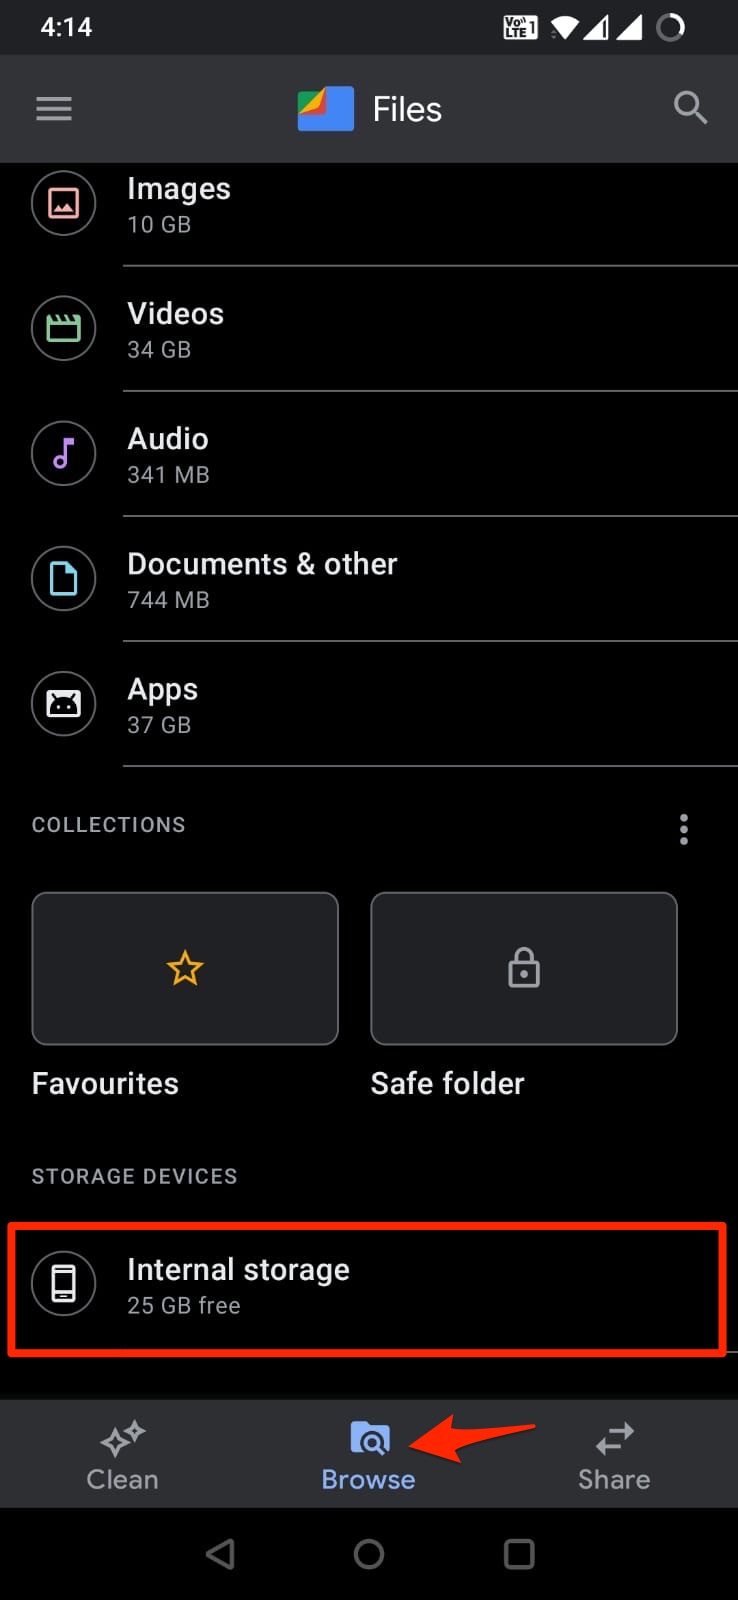
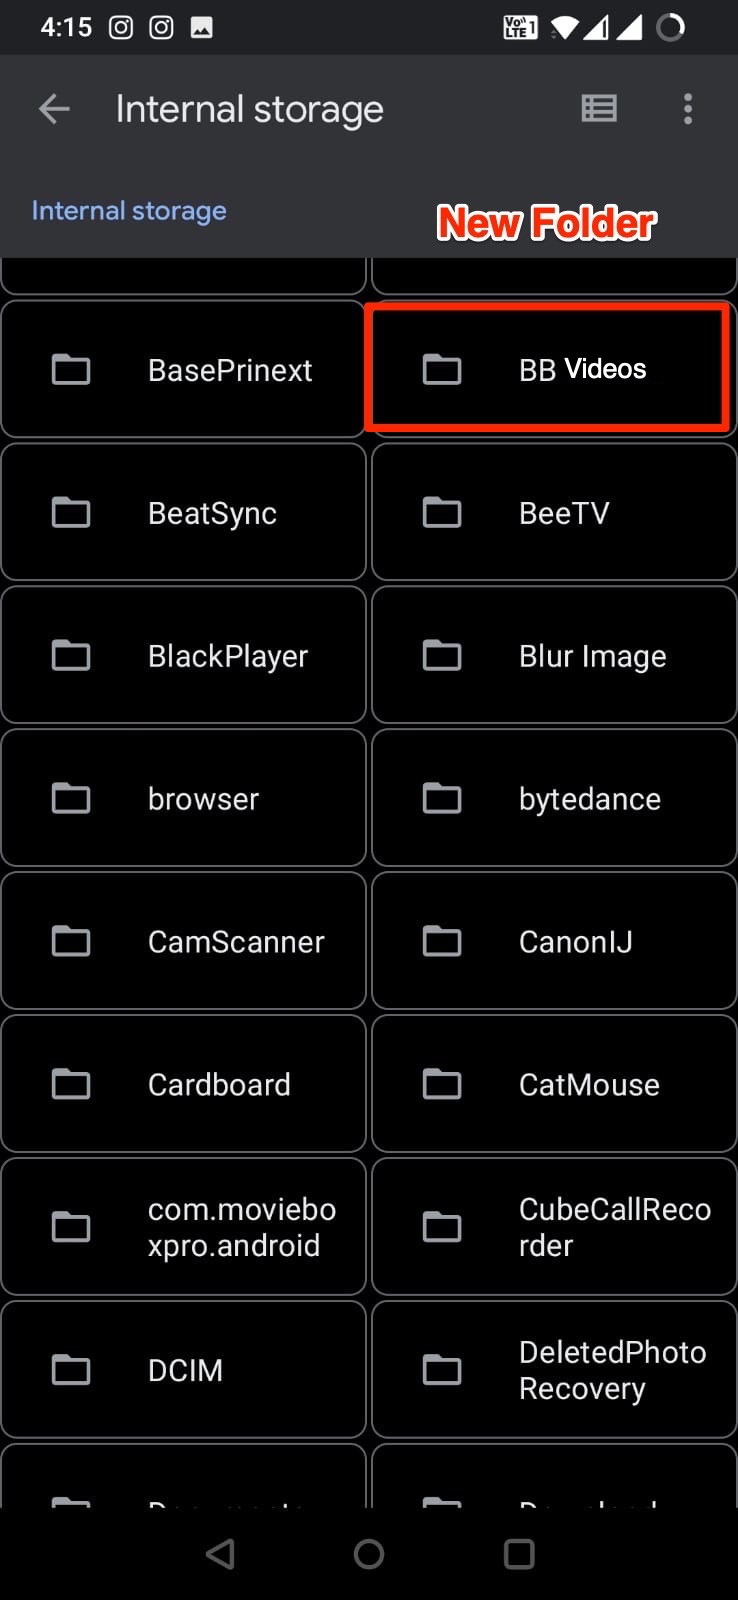
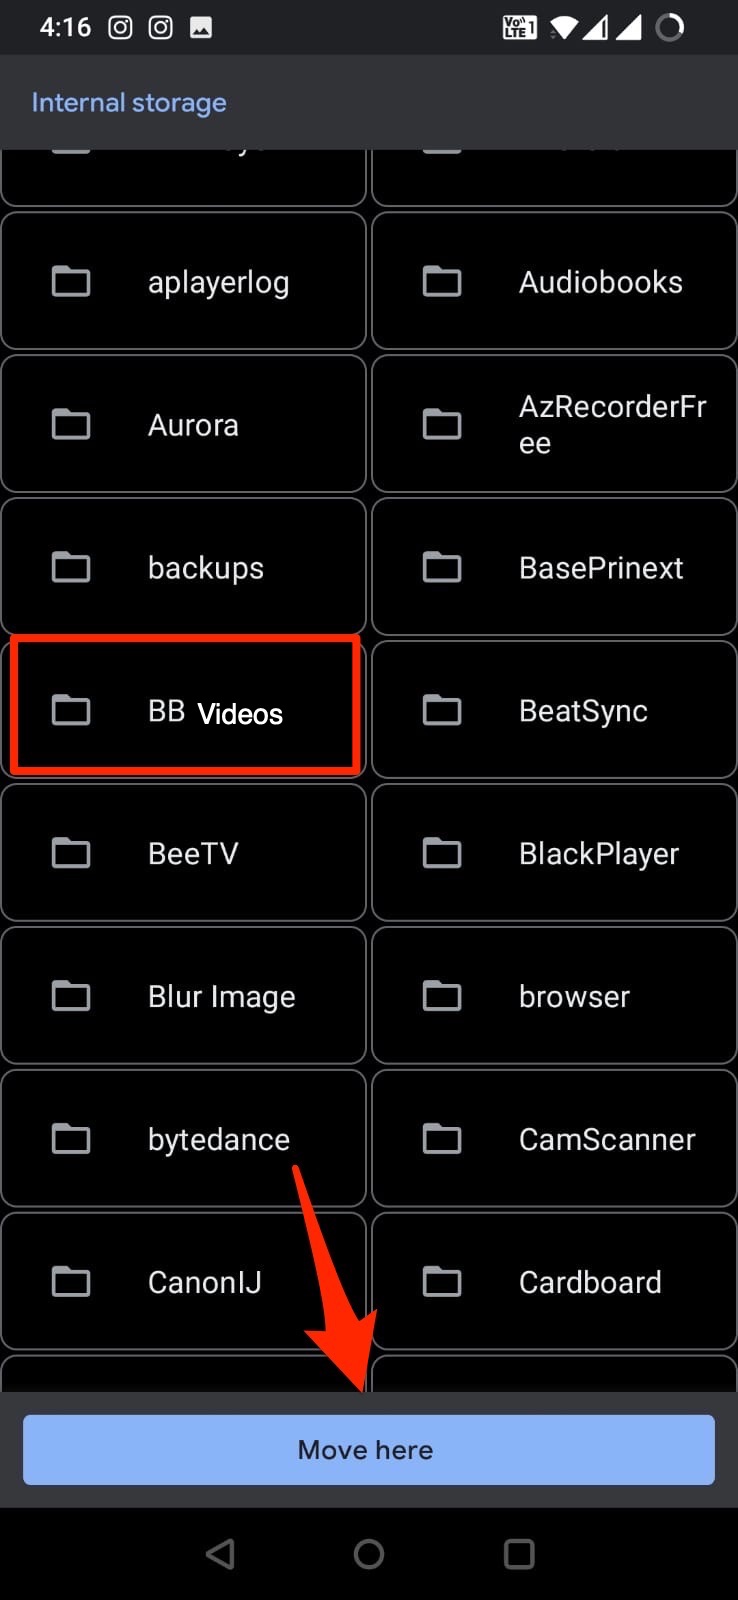
Step 2. Create a New Folder; let’s name it ‘BB Videos. ‘
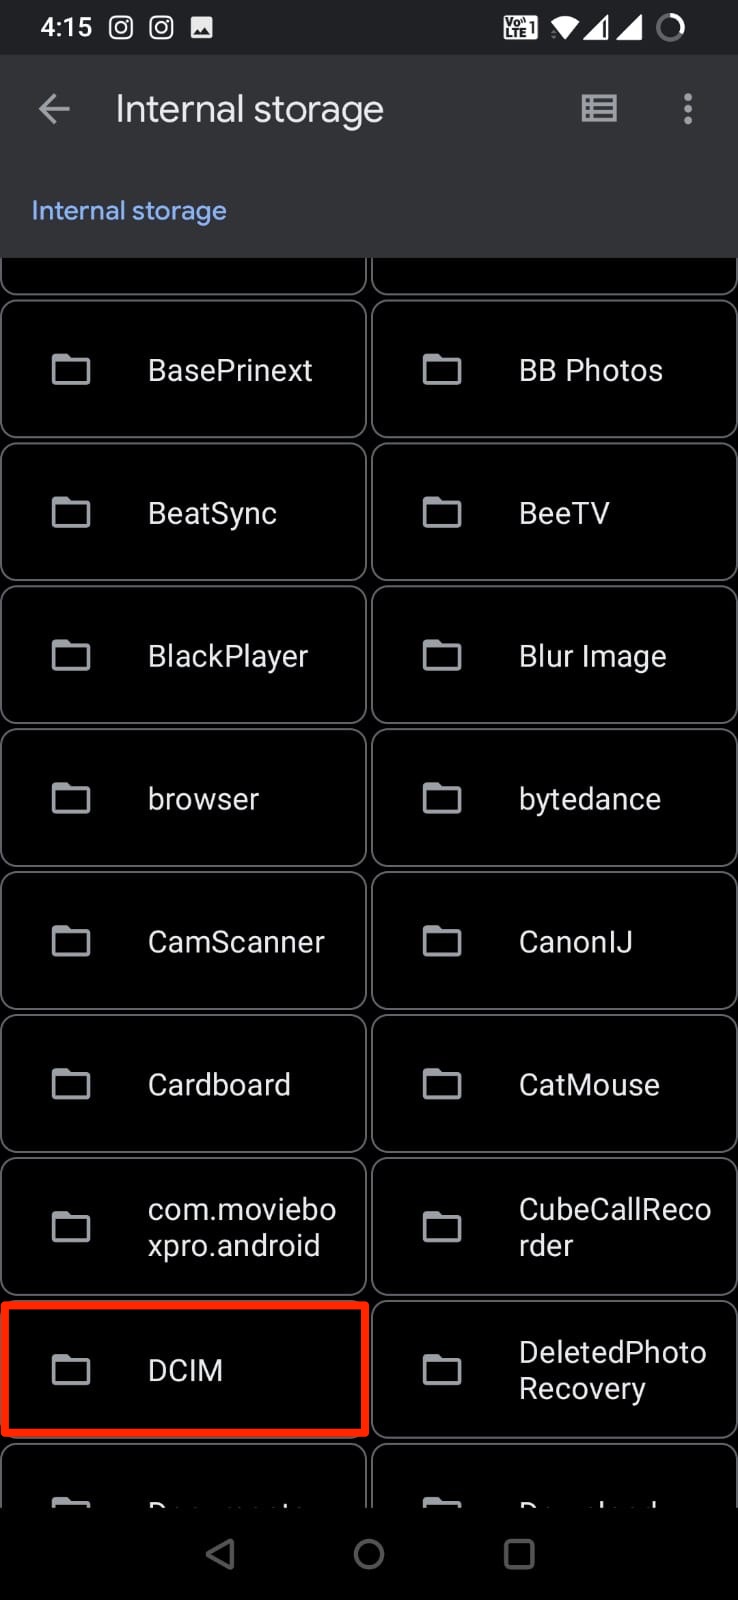
Step 3. Now look for the DCIM folder in the storage. All the camera content is stored in the DCIM folder.
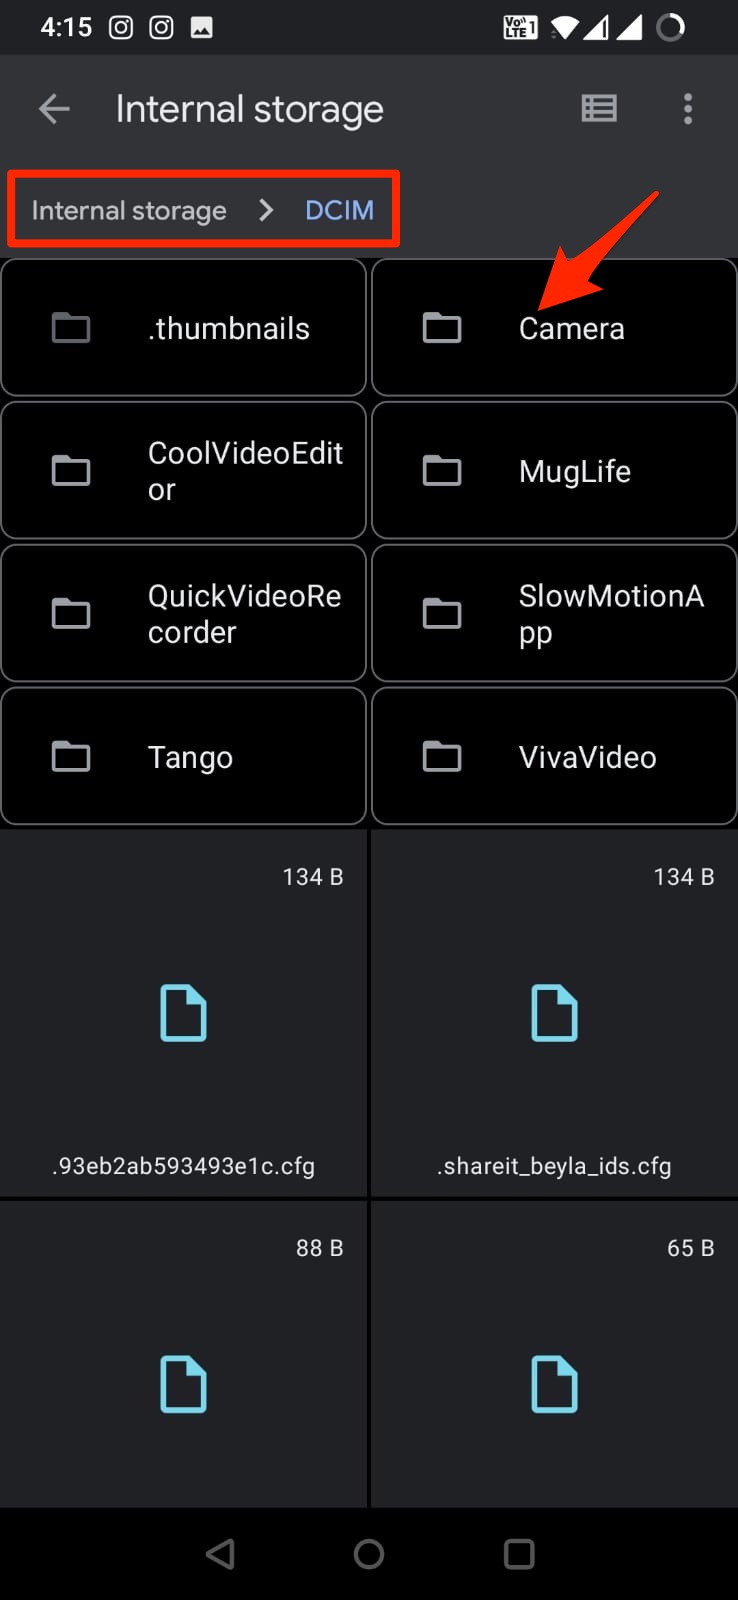
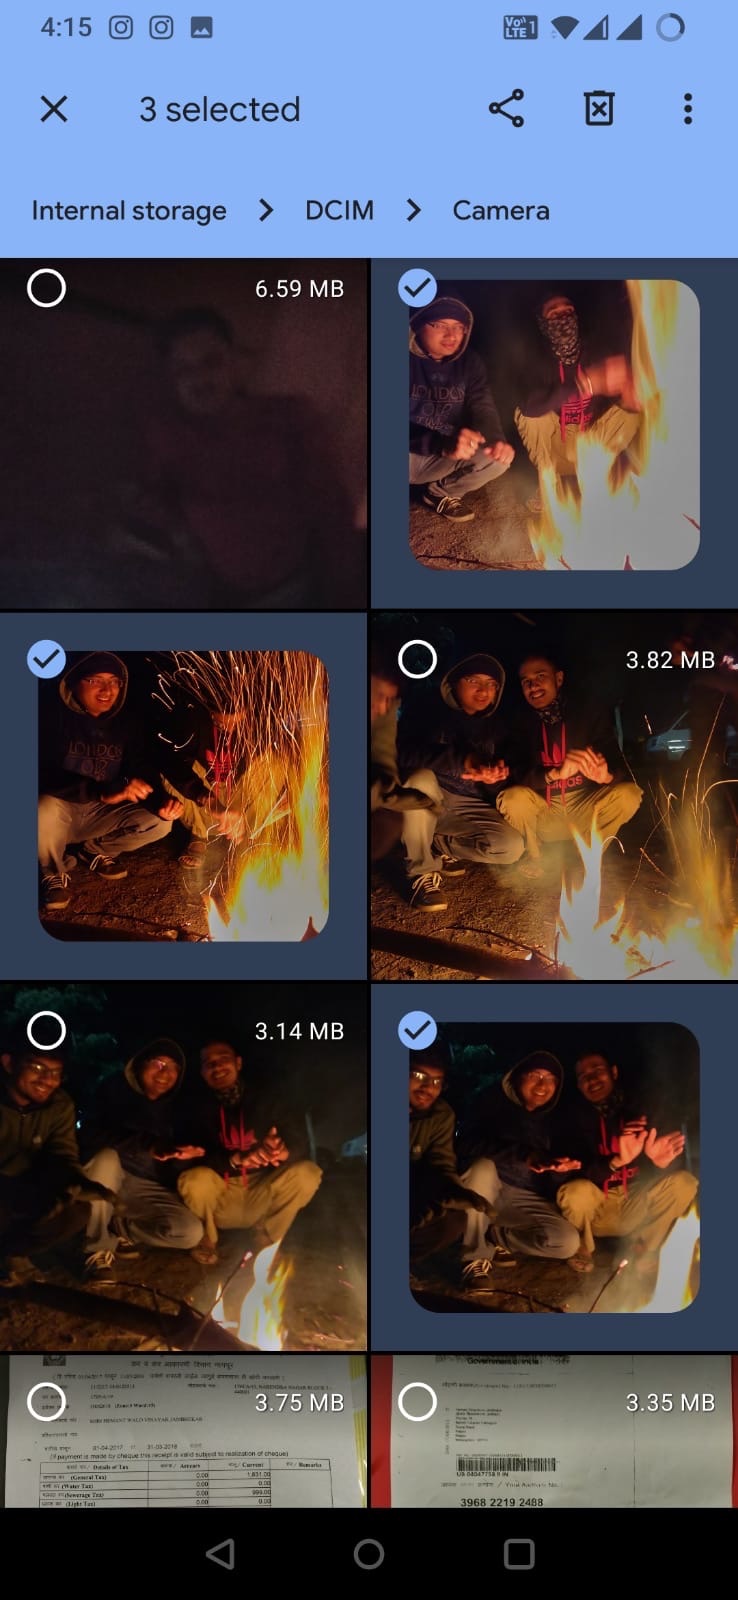
Step 4. Open the Camera folder and select all the videos (or specific videos) that you do not want to back up to your Google account.
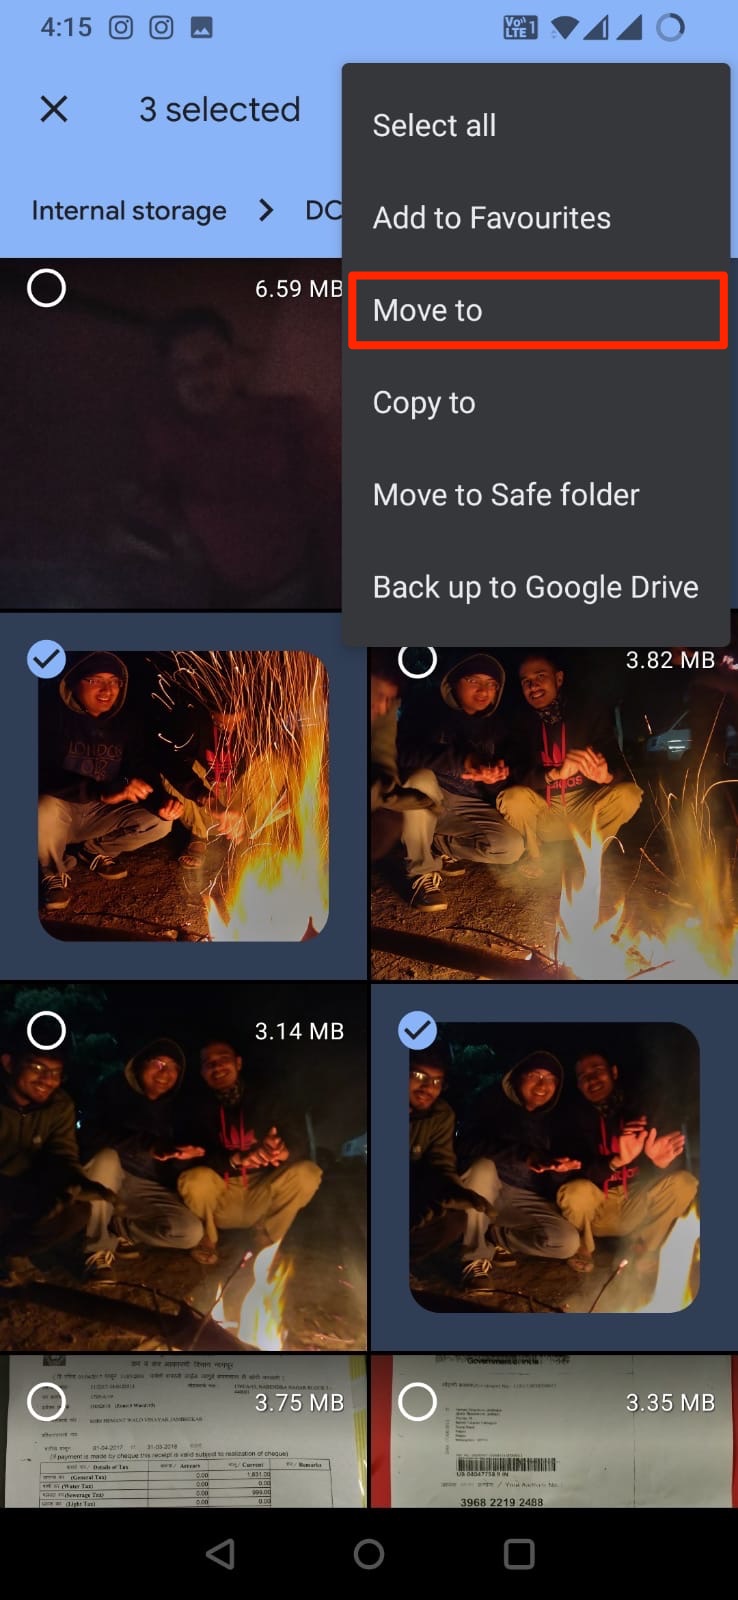
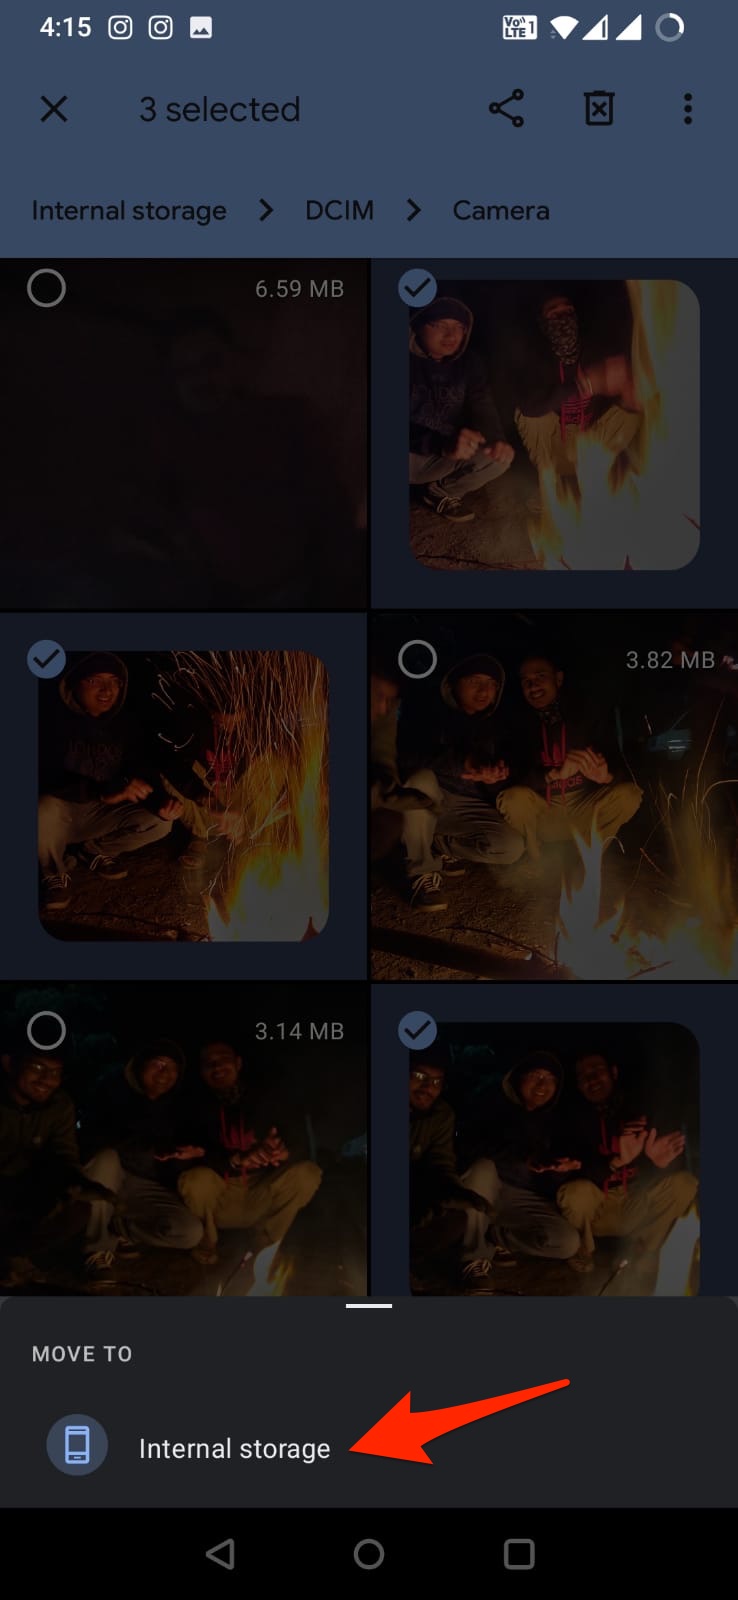
Step 5. Now navigate to the new folder (BB Videos) that you created and paste the selected video files. The videos are removed from the default camera folder and moved to a different folder.
The Photos app cannot auto upload files from other folders unless you make that specific folder to backup in G-Photos app settings.
Step 6. Now open Google Photos App and turn on the Backup and Sync toggle if not already enabled. That’s it only the photos (and videos that you didn’t move to the new folder) will be backed up to Google Account; no other files will be uploaded to the cloud.
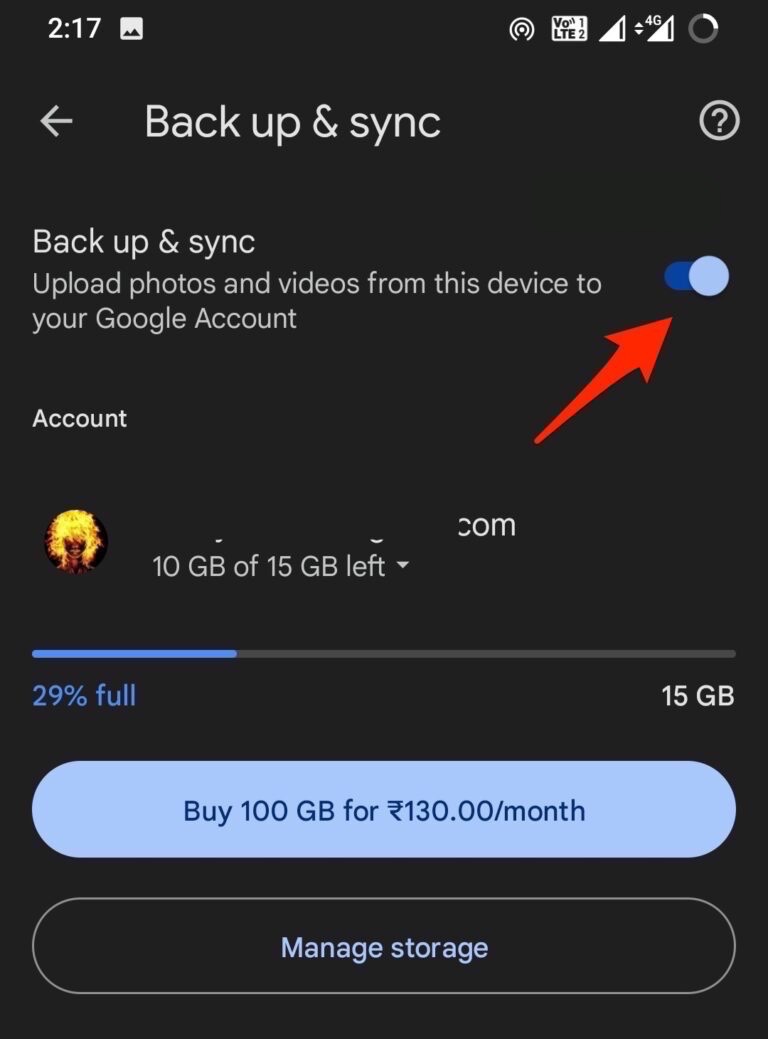
Similarly, if you are backing photos from any folder of your Android mobile, you can move the videos from the folder to a different location so that only pictures are uploaded to the Google account.
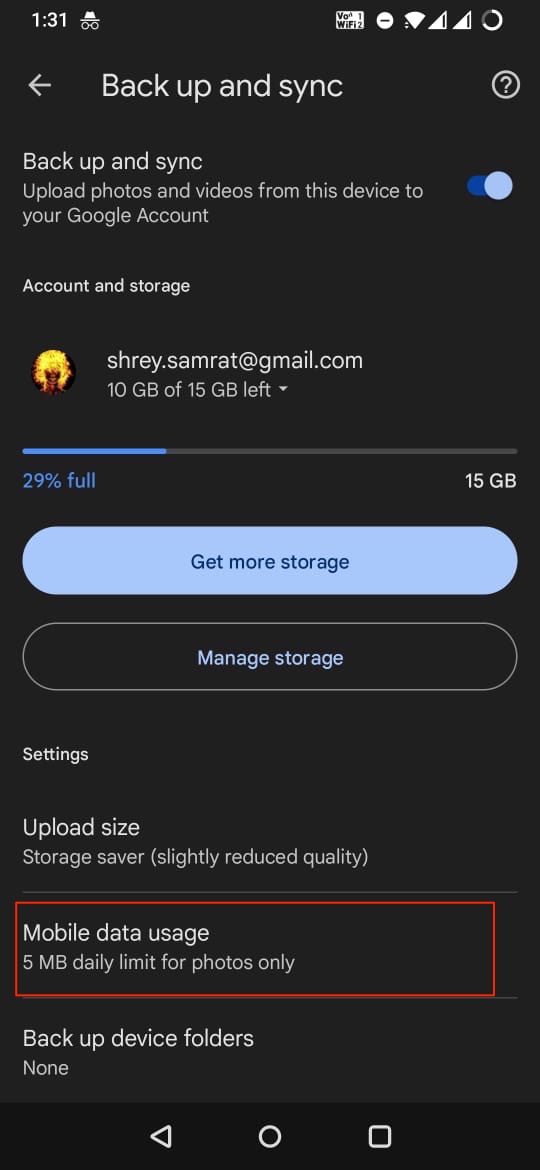
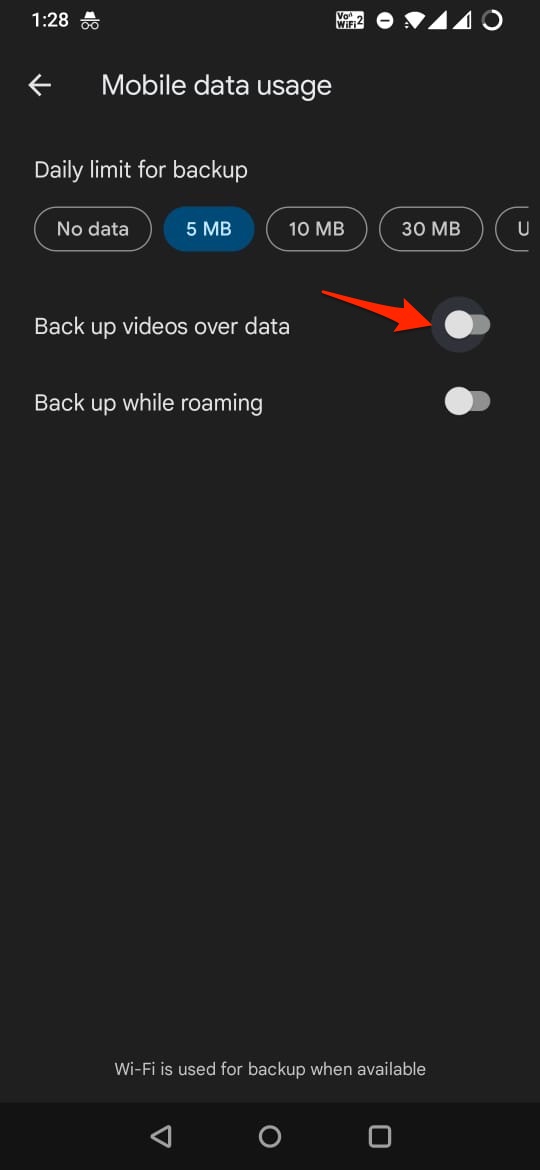
On the other hand, Google Photos App for Android also has a settings option that allows you to disable the video backup over mobile data, and click on Mobile data usage → Turn OFF Back-Up videos over data.
Still, the videos will be backed up to Google when you are connected to WiFi. So, moving the videos to a different folder is the best option you can implement.
Steps to Disable Video Backup to Google Photos on iPhone
The Google Photos app on iPhone also allows you to backup photos and videos to your Google account. But here iPhone or iPad does not offer any File Manager app to move the videos to a different location explicitly. All the videos and photos are backed up to Cloud.
You can make use of Google Photos settings itself to make tweaks that could help you from preventing video upload to Google Photos on iOS devices. You can also select photos for backup on your iPhone.
Method 1. Check Photos Setting
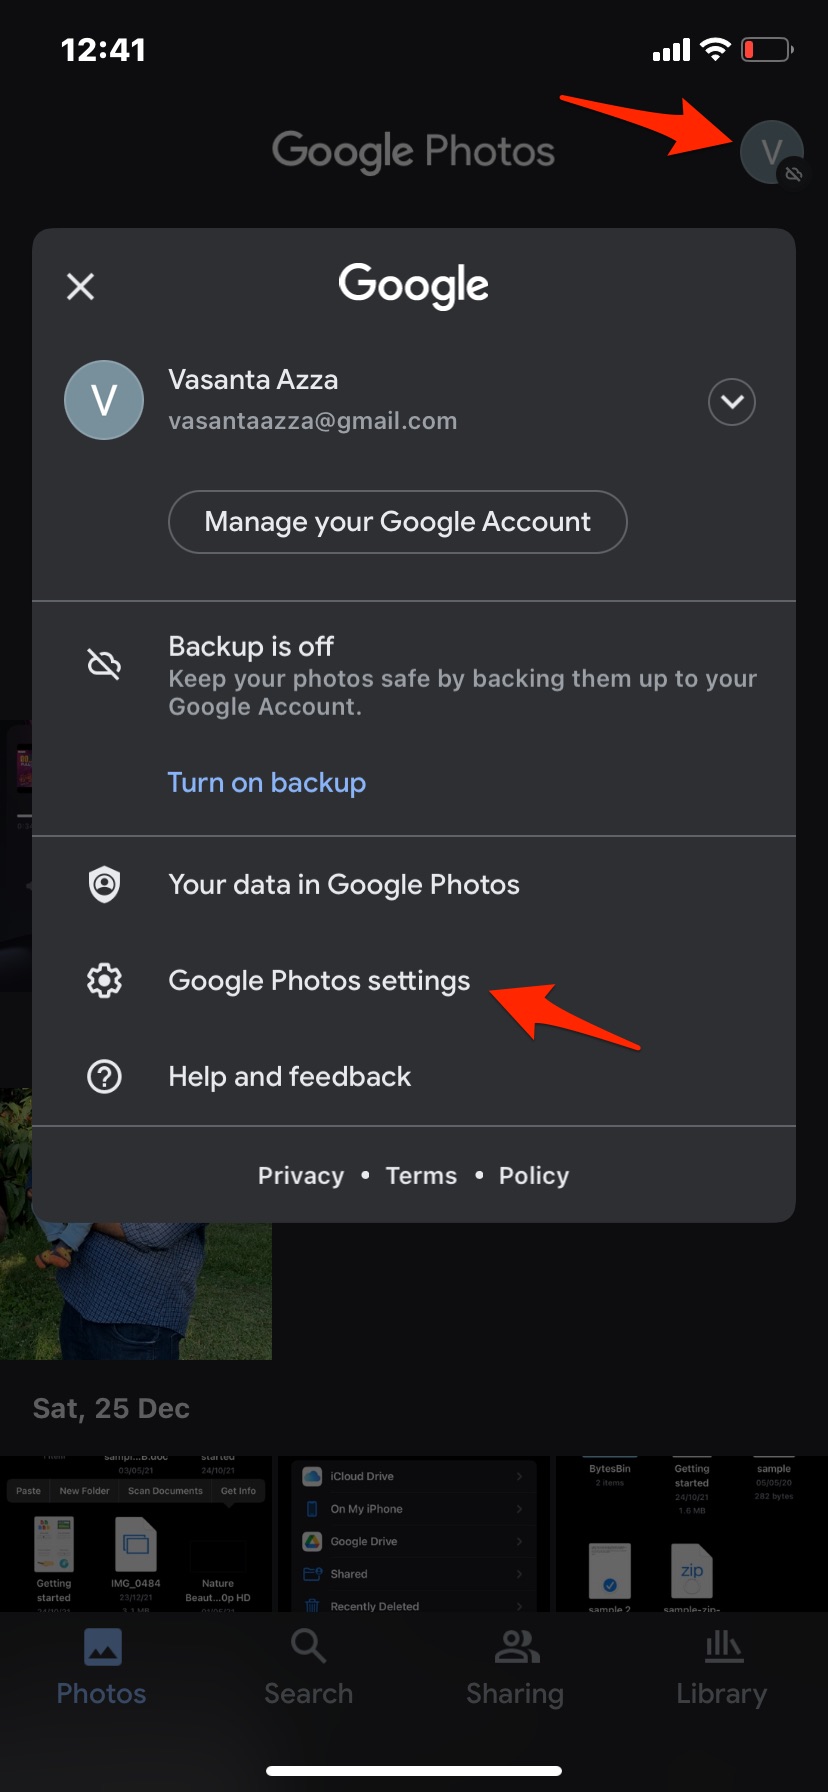
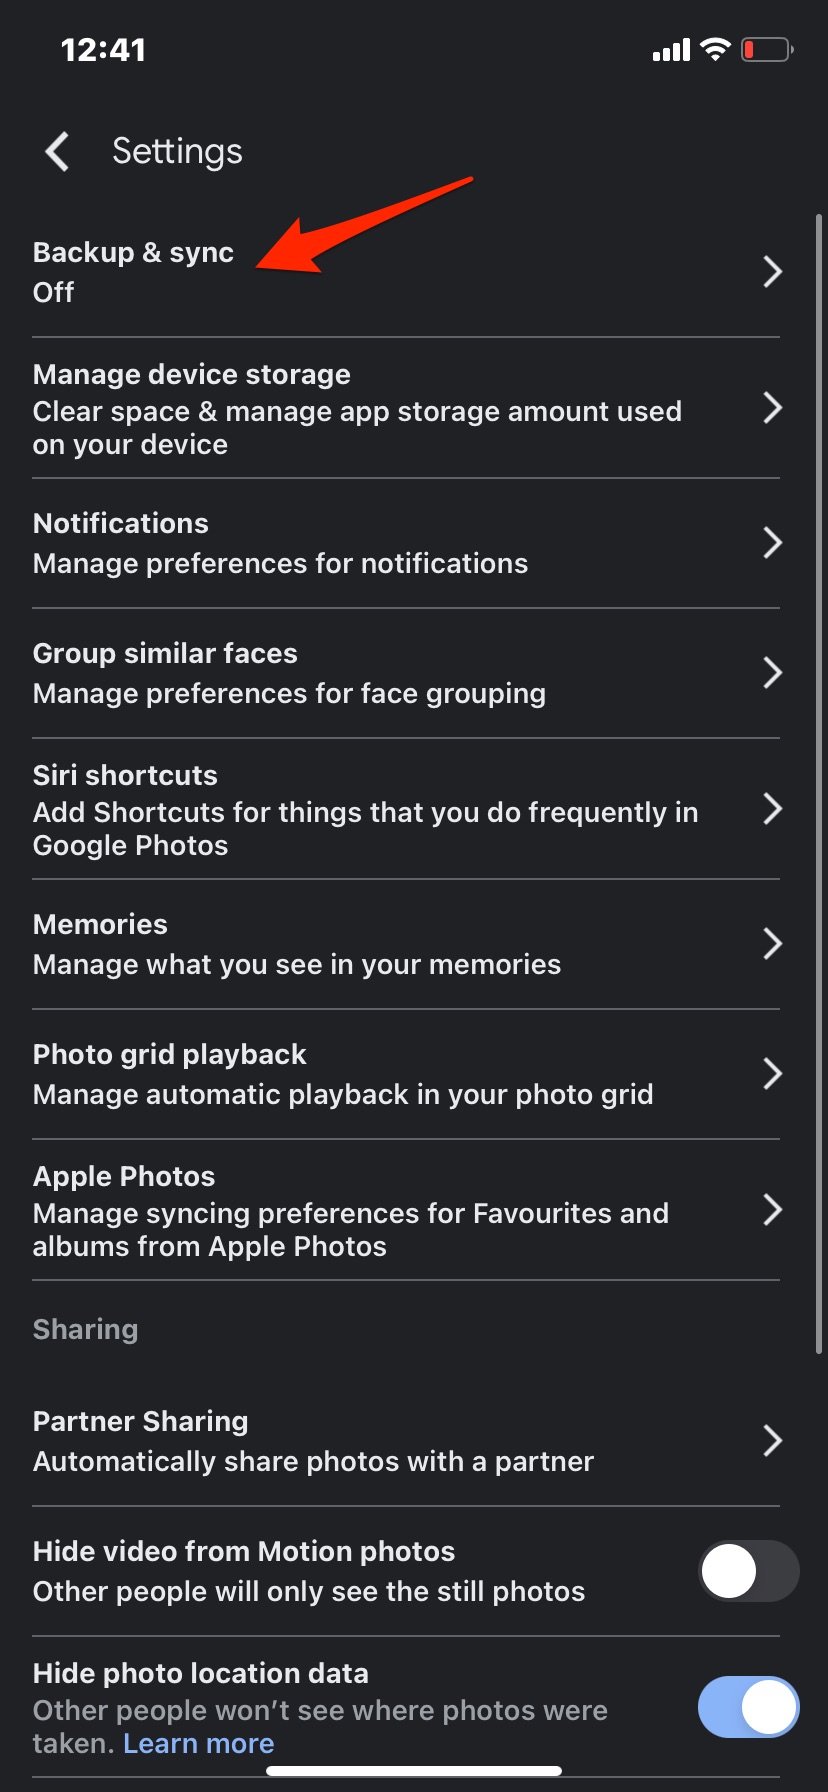
Open the Photos app, click on the profile icon, and tap on Photos Settings. Click on Backup and Sync and enable it, if is not ON.
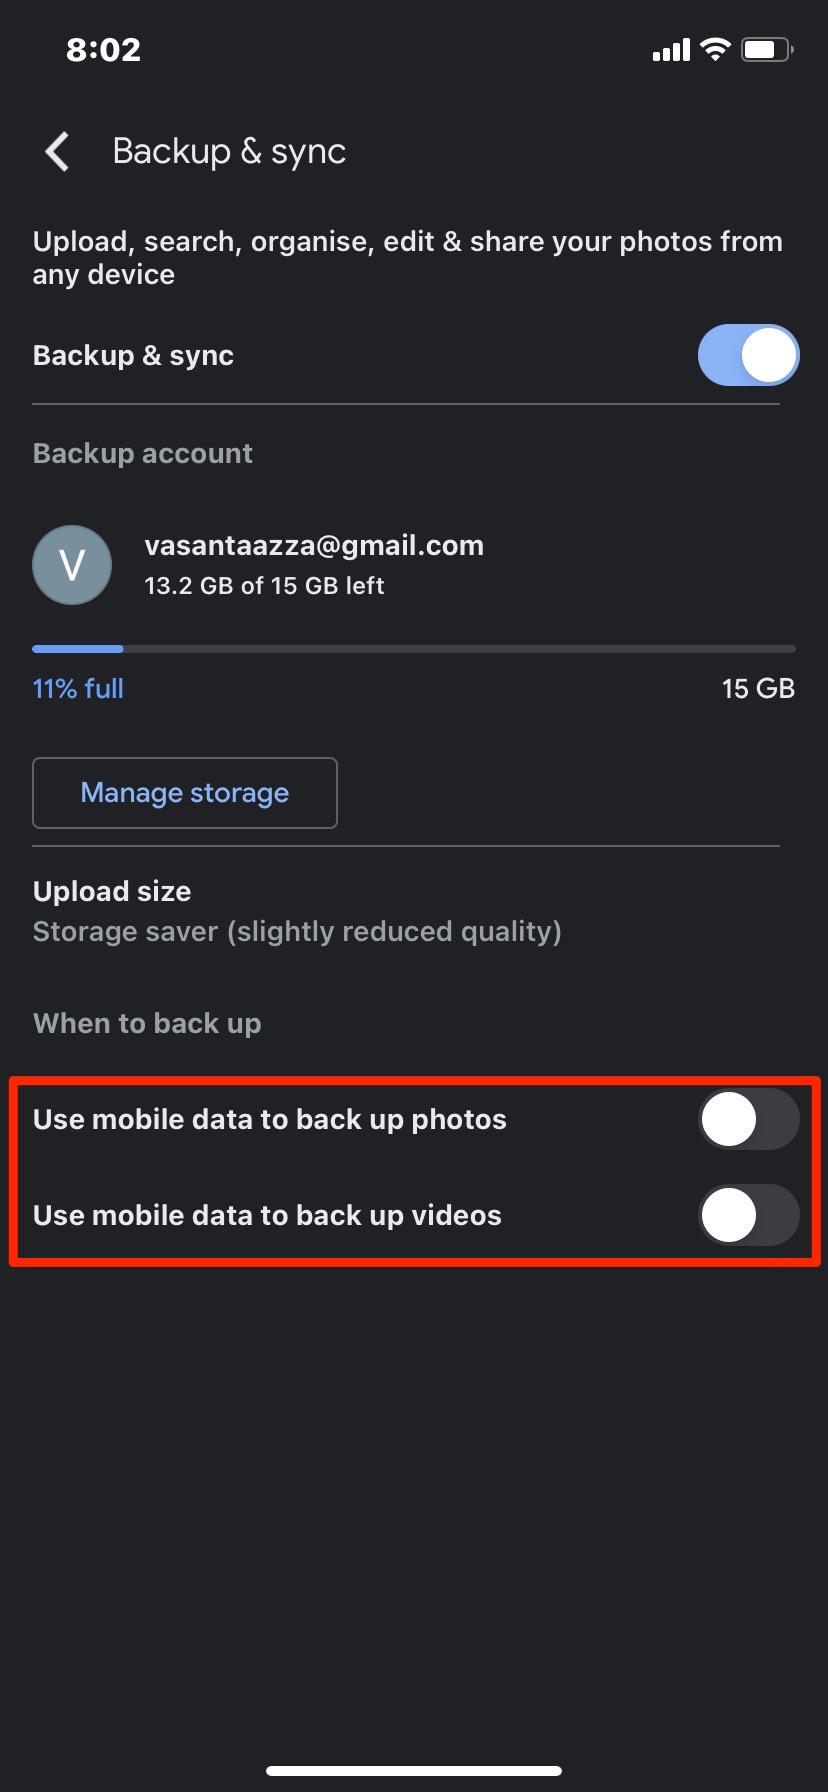
Below, you will find a couple of options; if you turn on the toggle to use mobile data to back up photos and videos, the media will be uploaded to Google when connected to mobile cellular data and WiFi.
You need to turn the toggle off to Use mobile data to back up videos. The videos will not be backed up to Google over your cellular data, but videos still get uploaded when connected to WiFi. So, if your iPhone is connecting to WiFi, you need to Turn off the Backup & Sync option on the Photos app to avoid video upload over Wi-Fi.
Method 2. Select Photos for Access
You can grant G-photos app access to only specific media files from your iOS or iPadOS devices, thus restricting unwanted files from uploading to your Google account.
- Open Google Photos on iPhone Settings.
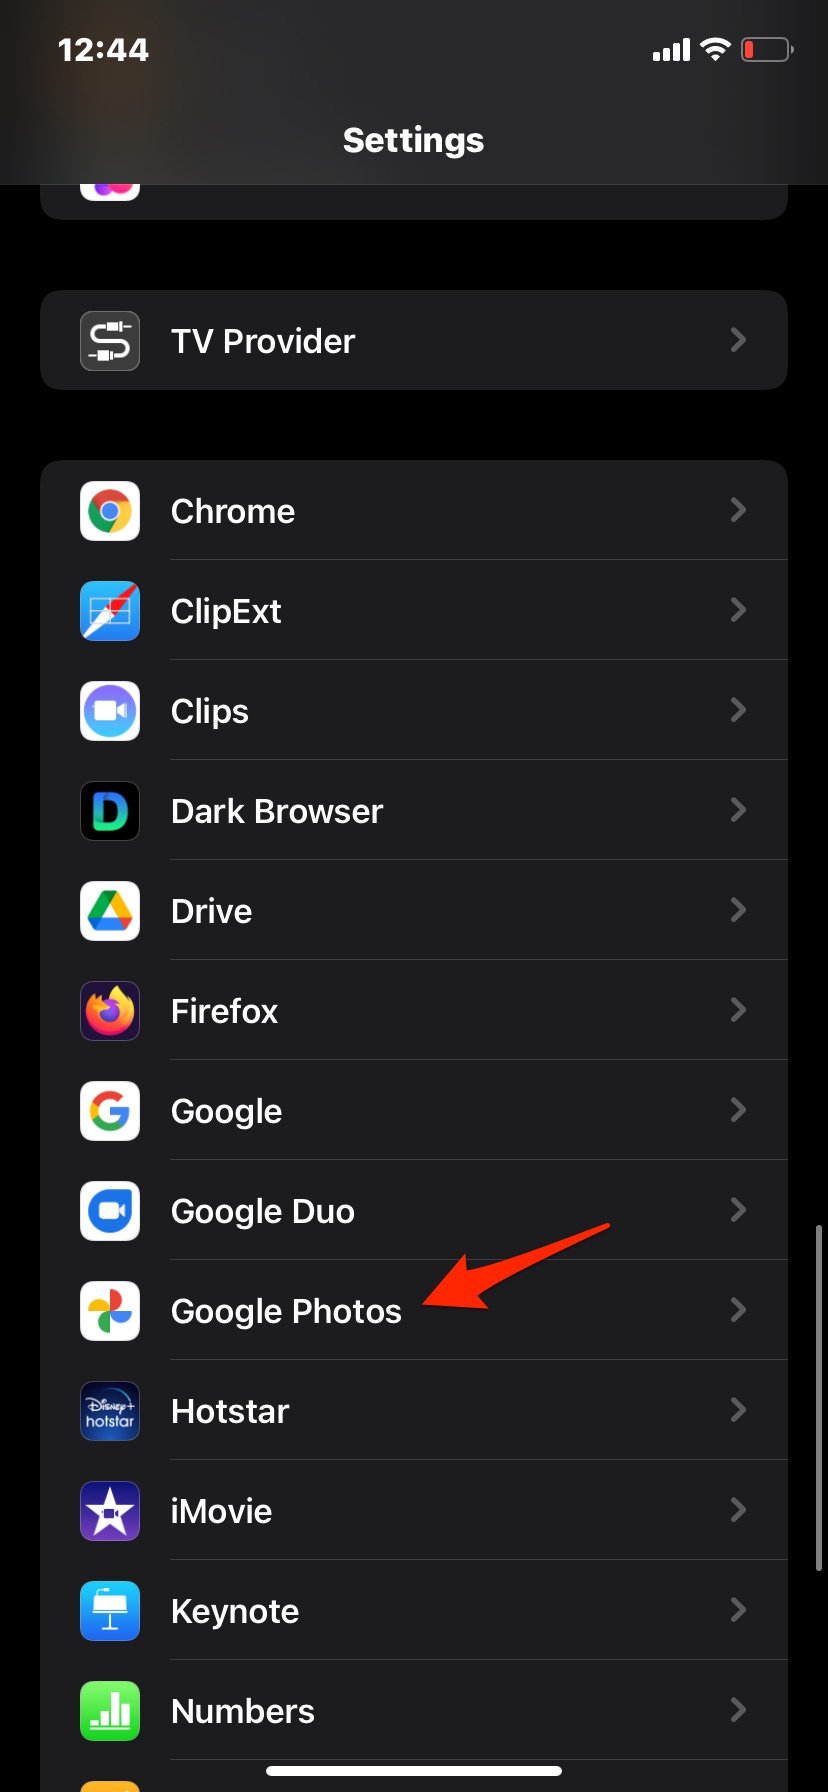
- Click on Photos under Allow Google Photos to Access.
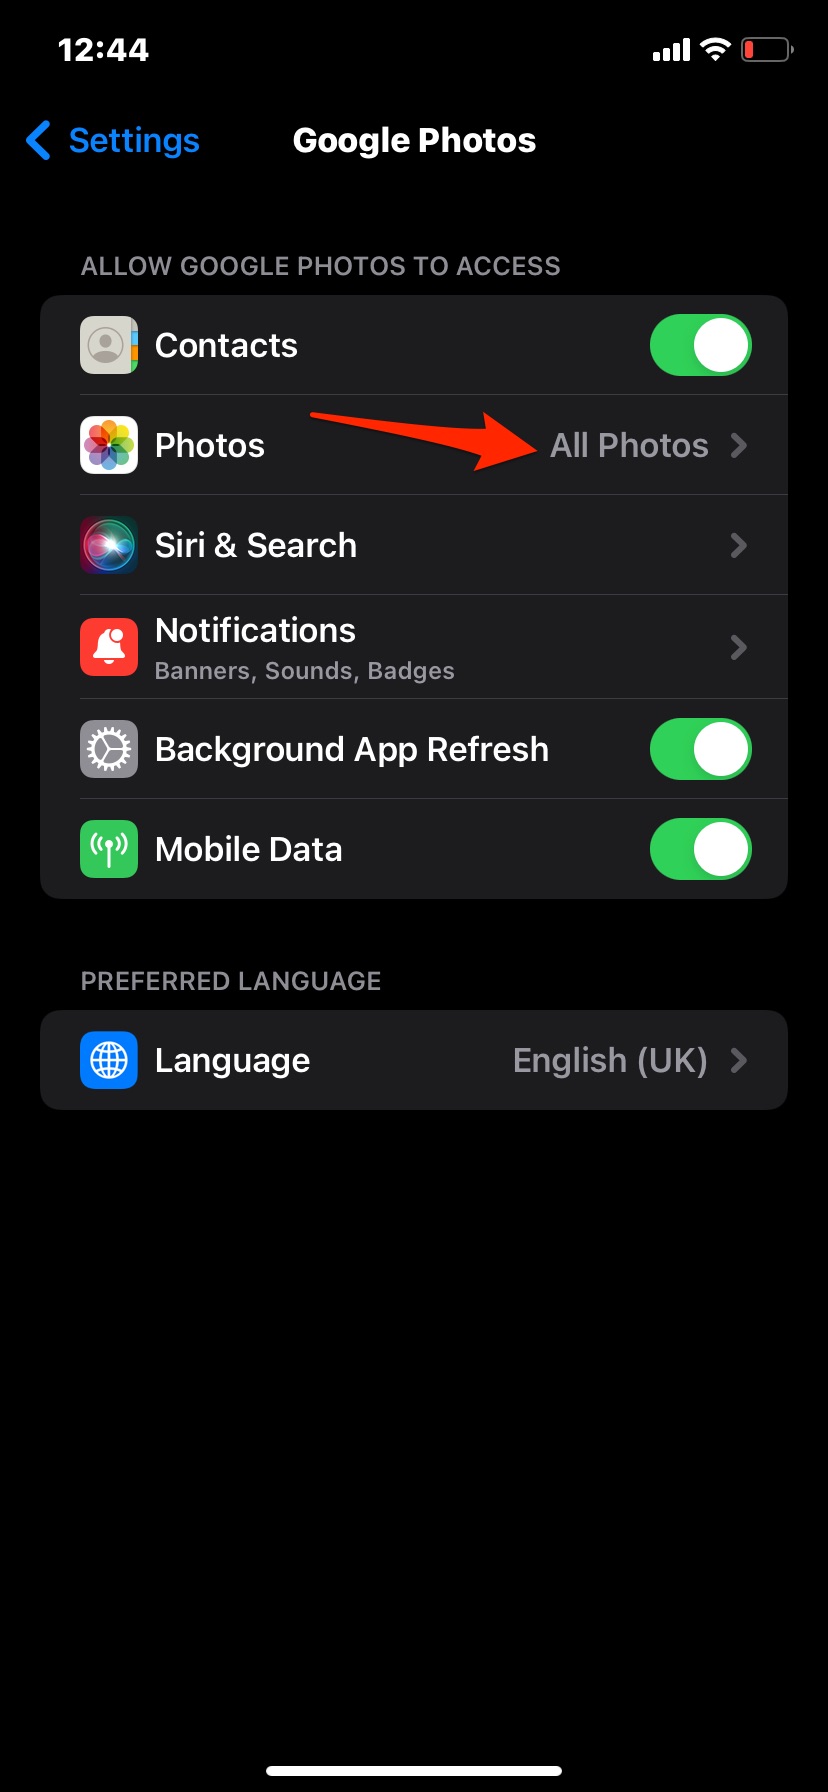
- Click on Selected Photos.
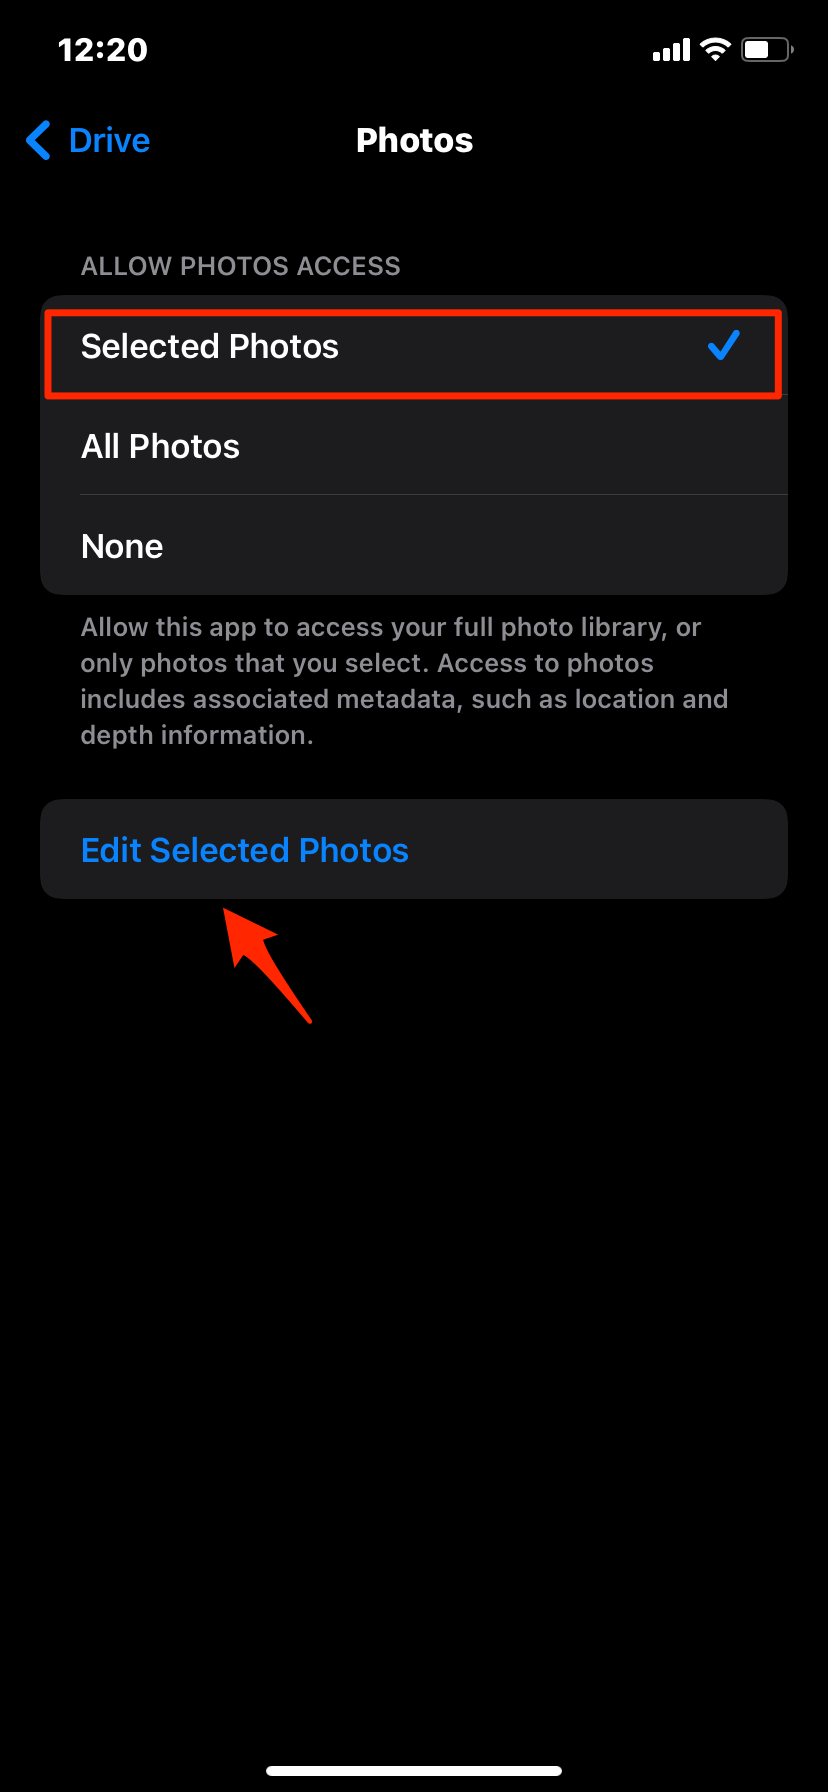
- Click on Edit Selected Photos.
- Here only select the photos that you want to upload to G-Photos and hit Done.
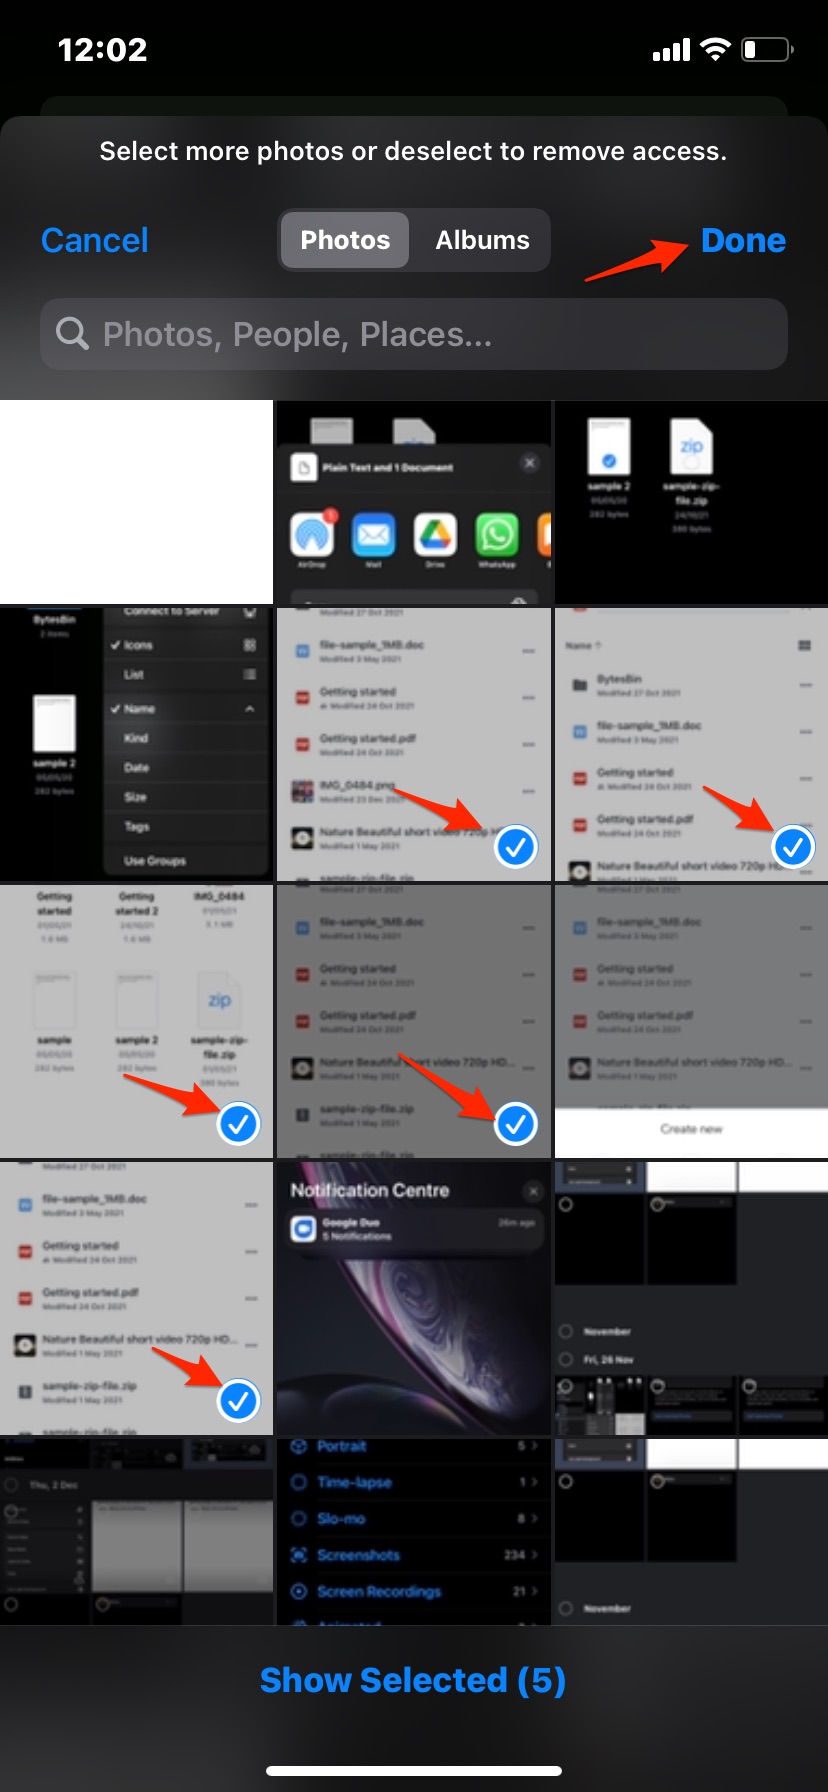
- Enable backup and sync in Photos app settings.
- All the selected photos will be uploaded to the Google account.
Frequently Asked Question (F.A.Q)
How to Disable Video Backup on Google Photos?
You can disable video backup on the Google Photos app by turning off video upload over mobile data in app settings.
Are Videos Automatically Uploaded to Google Photos?
Yes, videos from iPhone Photos or Android camera folder are by default uploaded to Google if you enable Backup and Sync.
How to Stop Video Backup to Google Photos on WiFi?
You can stop video uploads to Google Photos on WiFi by moving videos from the DCIM folder to a separate folder on Android.
How to Disable Video Backup on Google Photos on iPhone?
There is no option to disable video backup on the photos app though you can prevent video upload over mobile data.
Using this guide, you can prevent videos from auto-upload to Google photos on your iPhone and Android mobile.

