Google Slides, the presentation tool offered by tech giant Google, is a versatile tool used by many. This free web-based platform has all the features conventional presentation platforms like Microsoft PowerPoint have and a few extras too. Google Slides offers all of the qualities that a presenting tool should have. From its various templates to its collaborative features, it is quite a useful tool with many useful features.
One such useful feature is the Spell Check feature. The simple but necessary feature can help users create the perfect presentation with minimal errors. In this guide, we will be discussing how and why the feature should be used.
What does the Spell Check Feature Do?
The Spell Check feature, as the name suggests, helps users find and rectify spelling errors in Google Slides. Users can enable or disable the spelling suggestions, autocorrect, and auto substitutions features too.
How to Check Spelling Errors in Google Slides?
The most basic but utilitarian function is the spell check feature. Misspellings can be corrected quickly with this feature.
Step 1: Open Google Slides on your computer.
Step 2: Go to the presentation you’re working on.
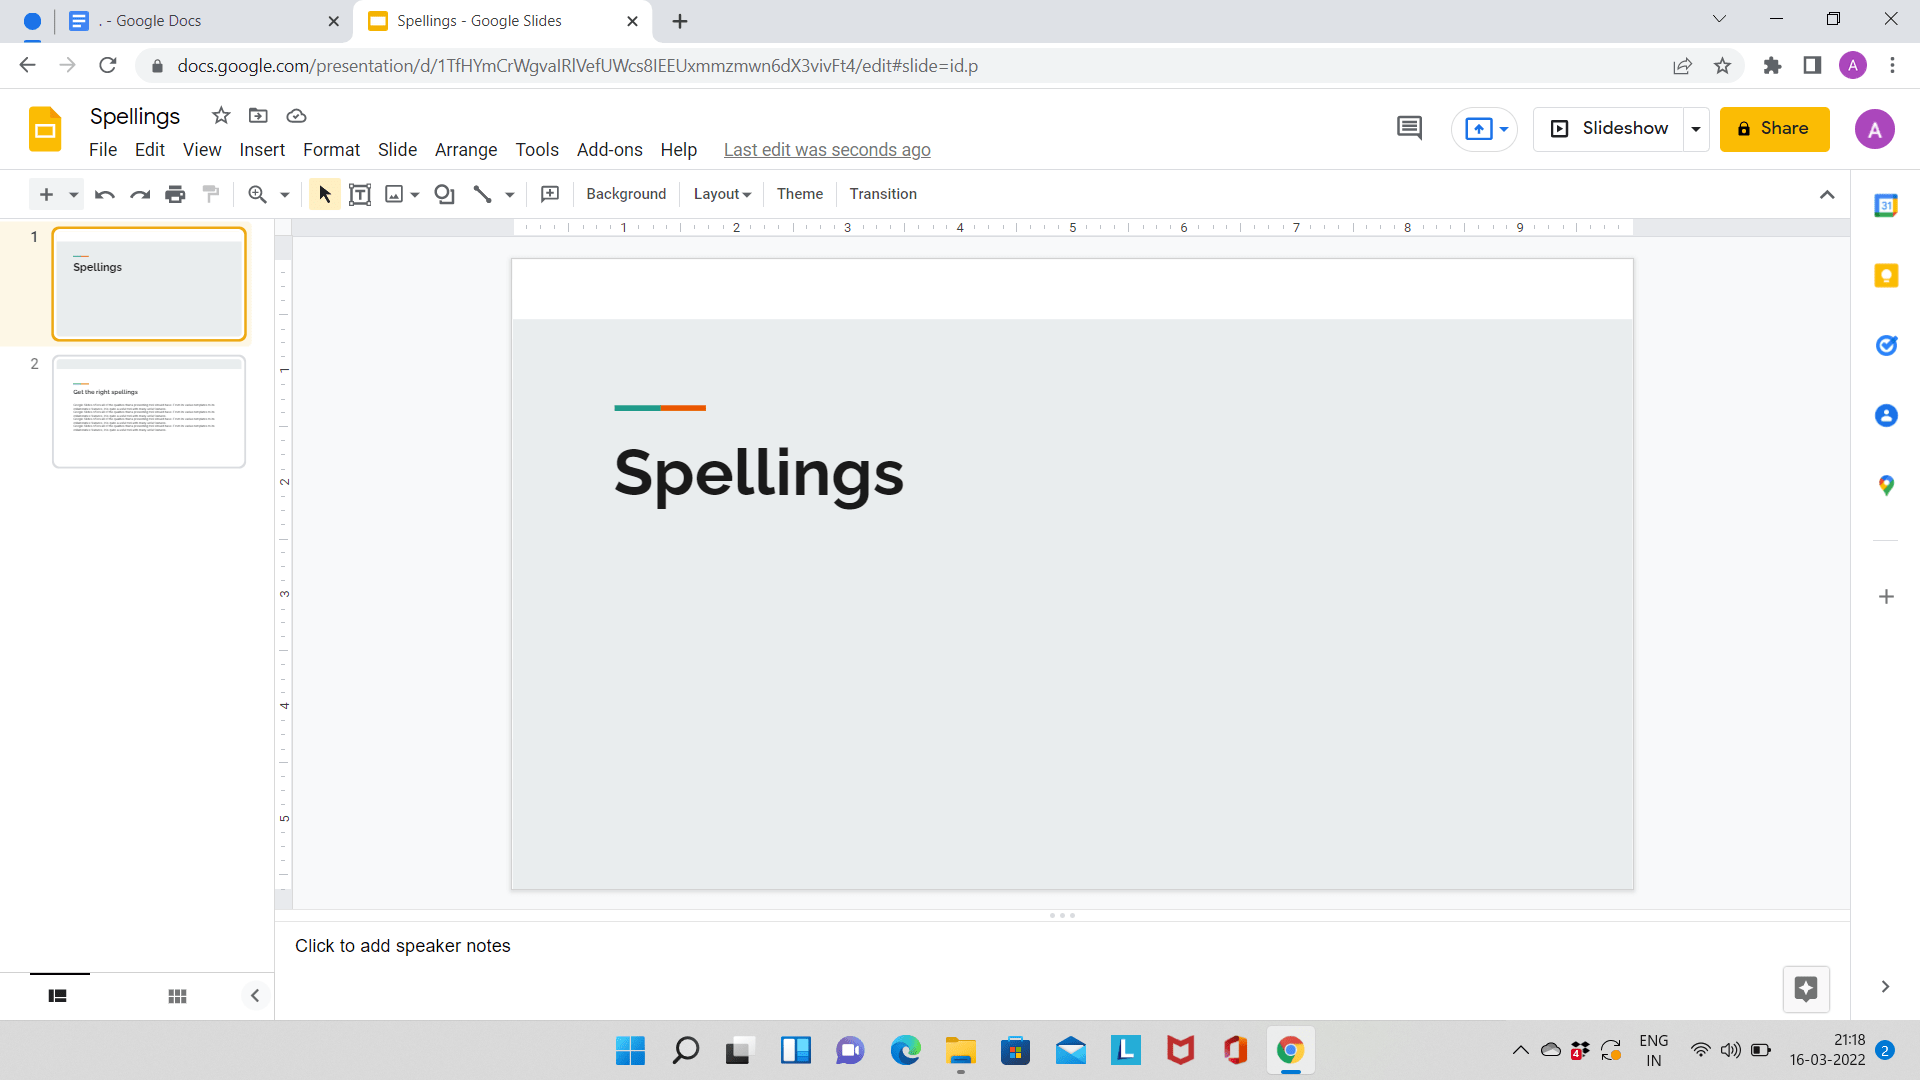
Step 3: Click on the ‘Tools’ tab located in the menu located at the top. Next, click on ‘Spelling‘ and then ‘Spell Check’.
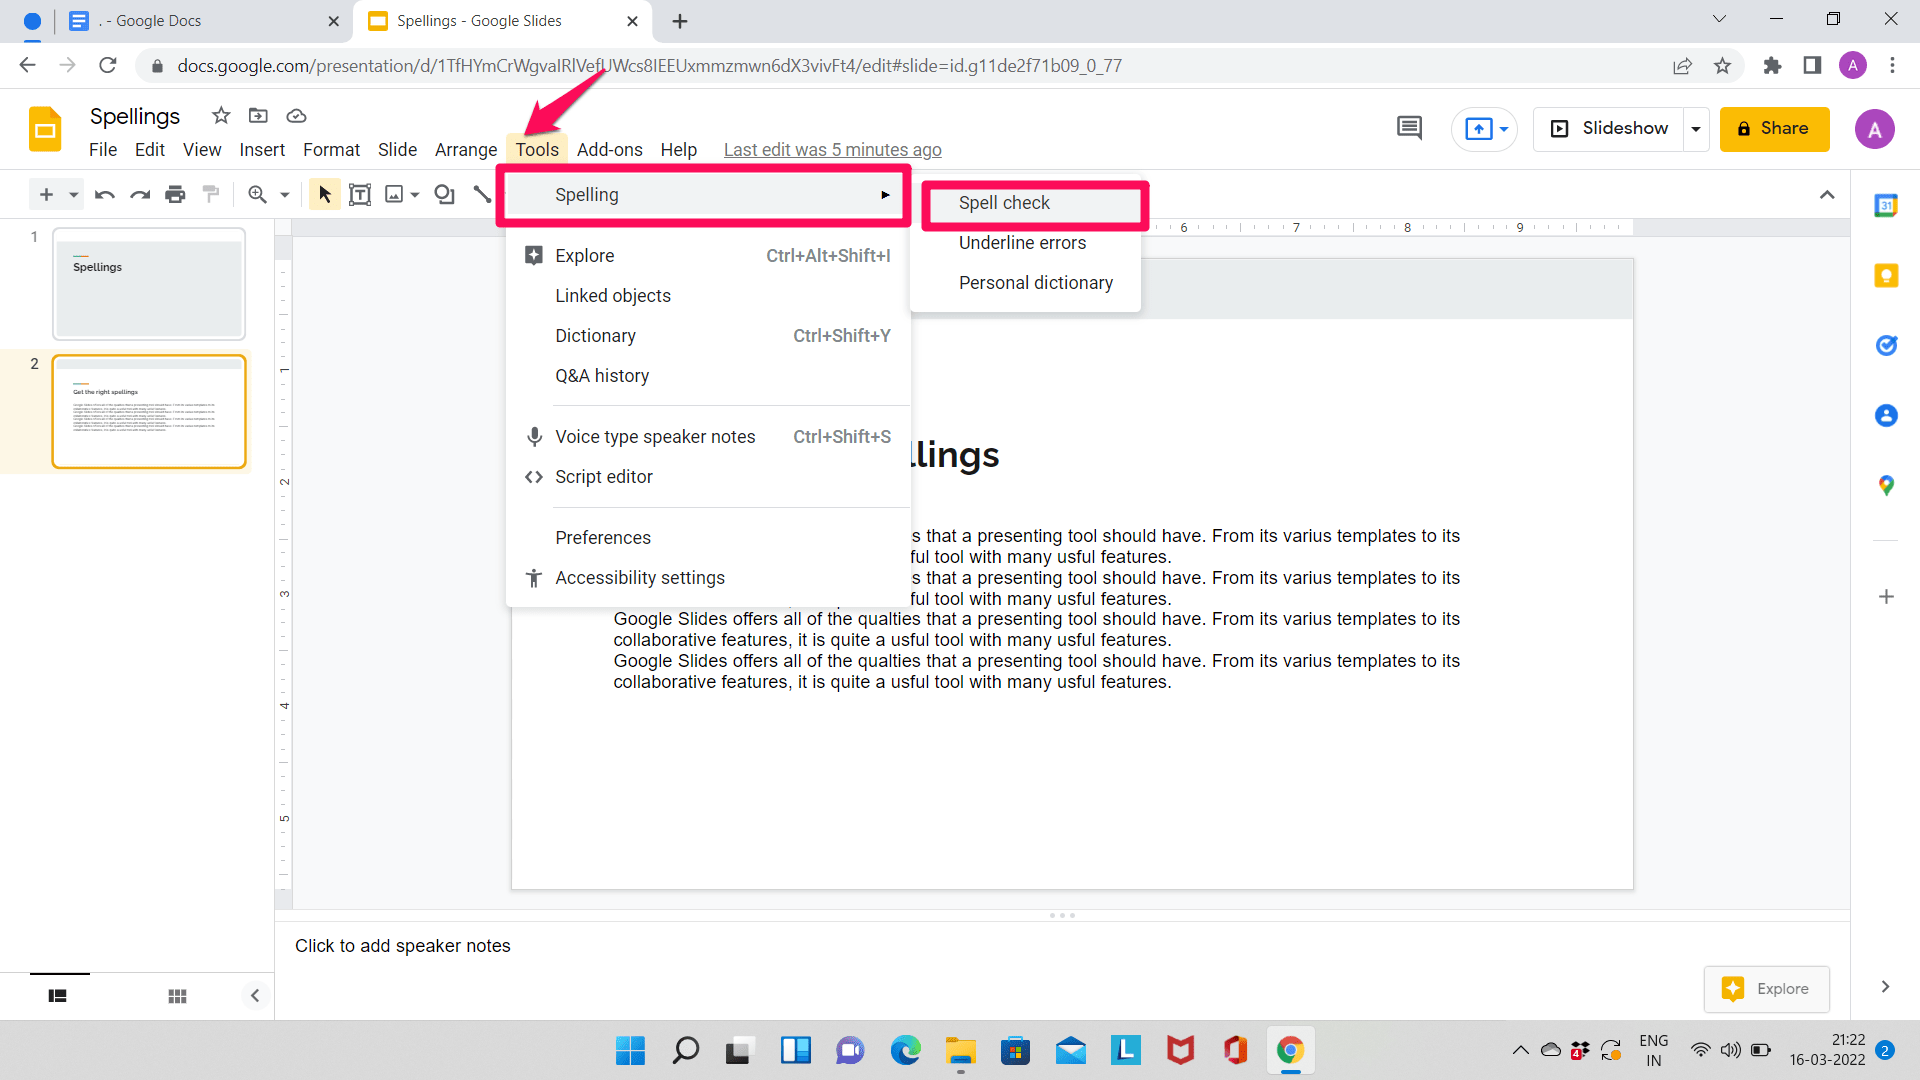
Step 4: All the misspellings will be identified and spelling suggestions will be displayed. Accept or ignore the suggestions. Click on ‘Change’ if you want to accept the suggestion or ‘Ignore’ if you want to ignore it.
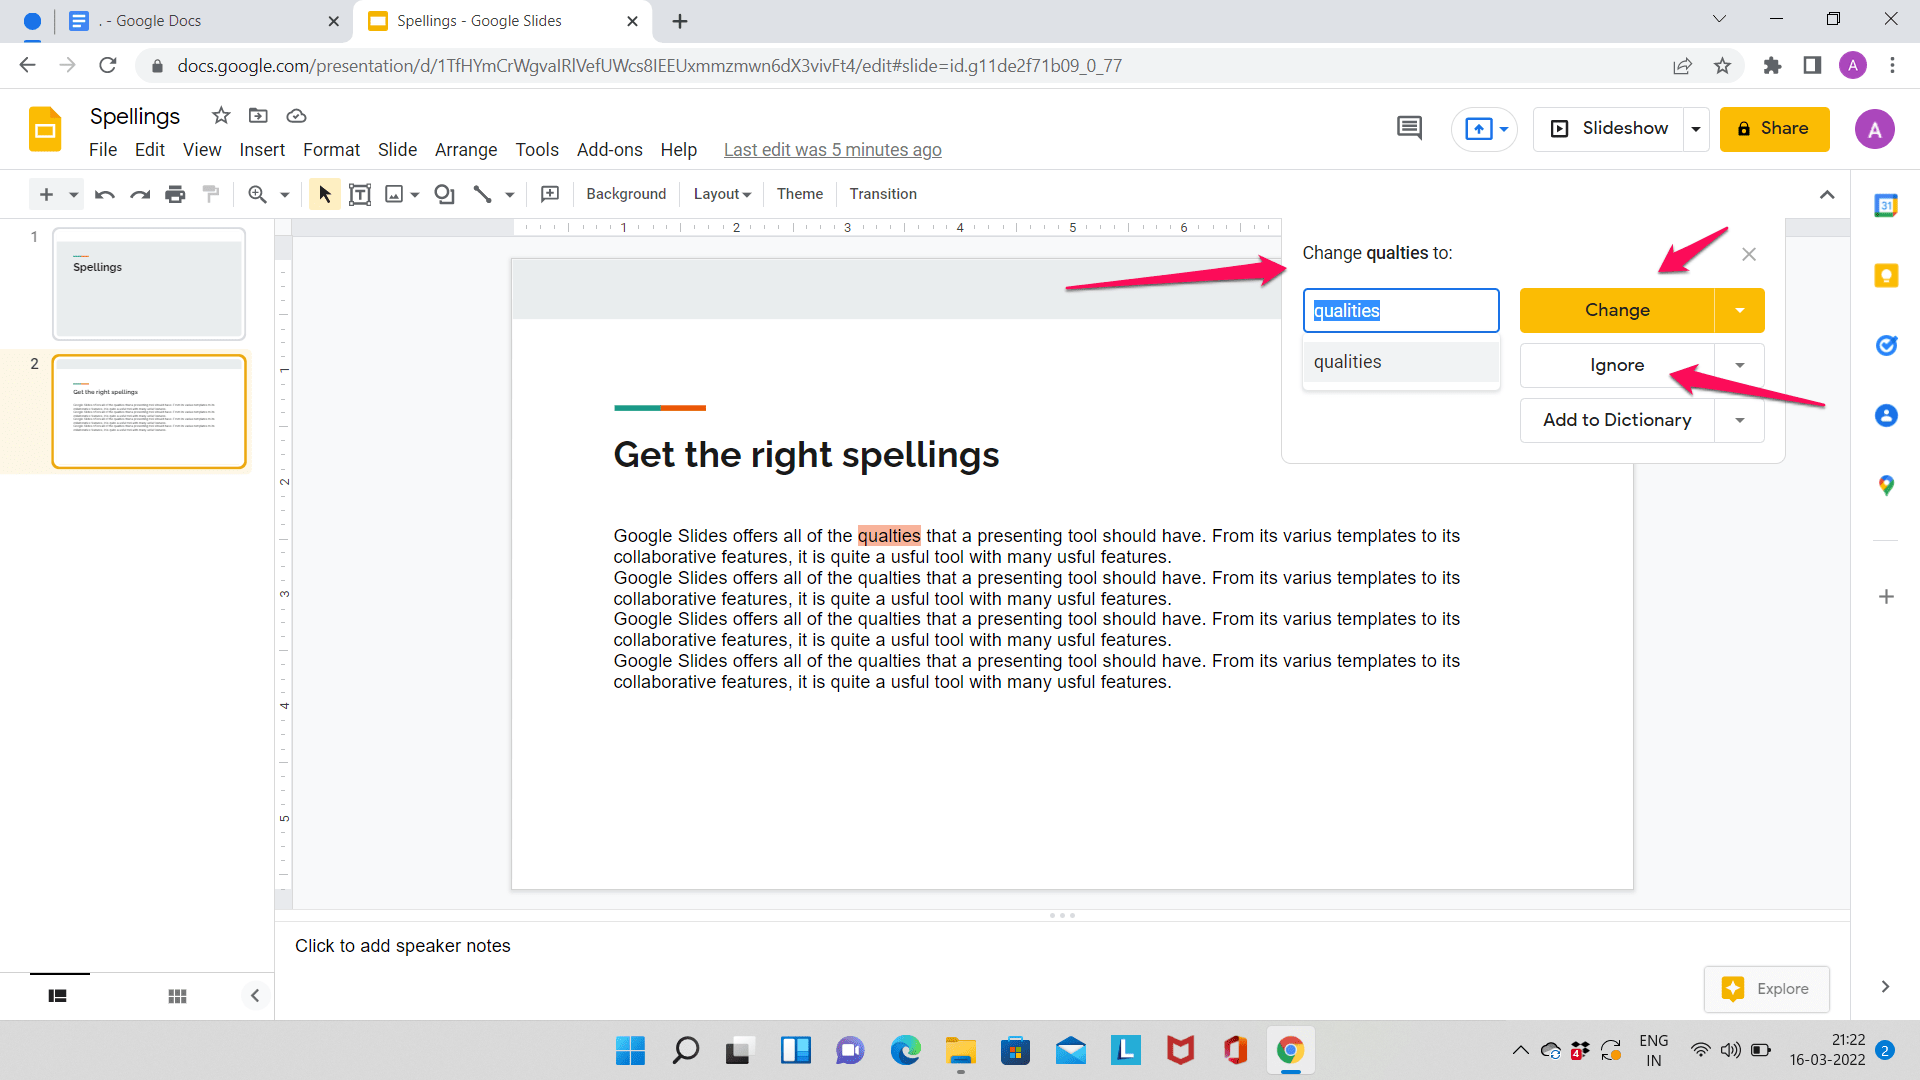
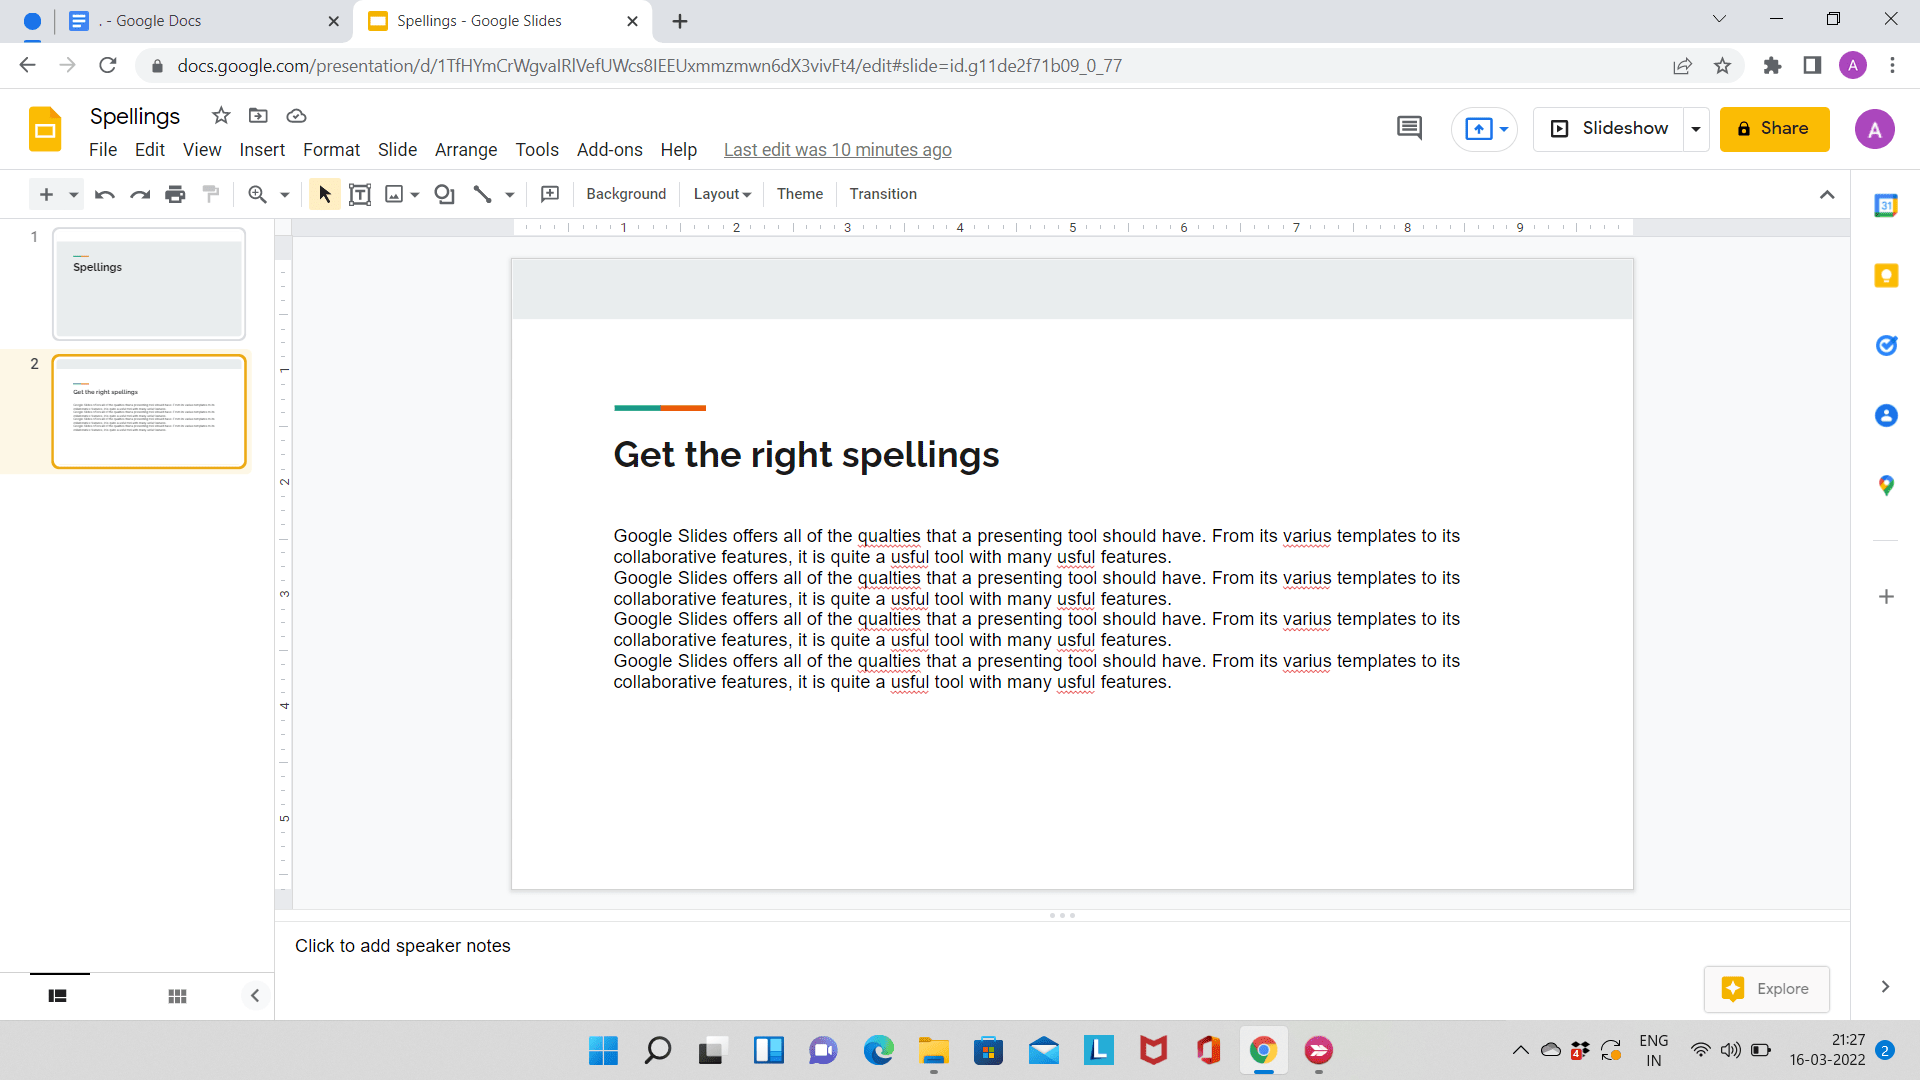
Note: Please keep in mind that misspelled words will be highlighted in red if you enable spelling suggestions.
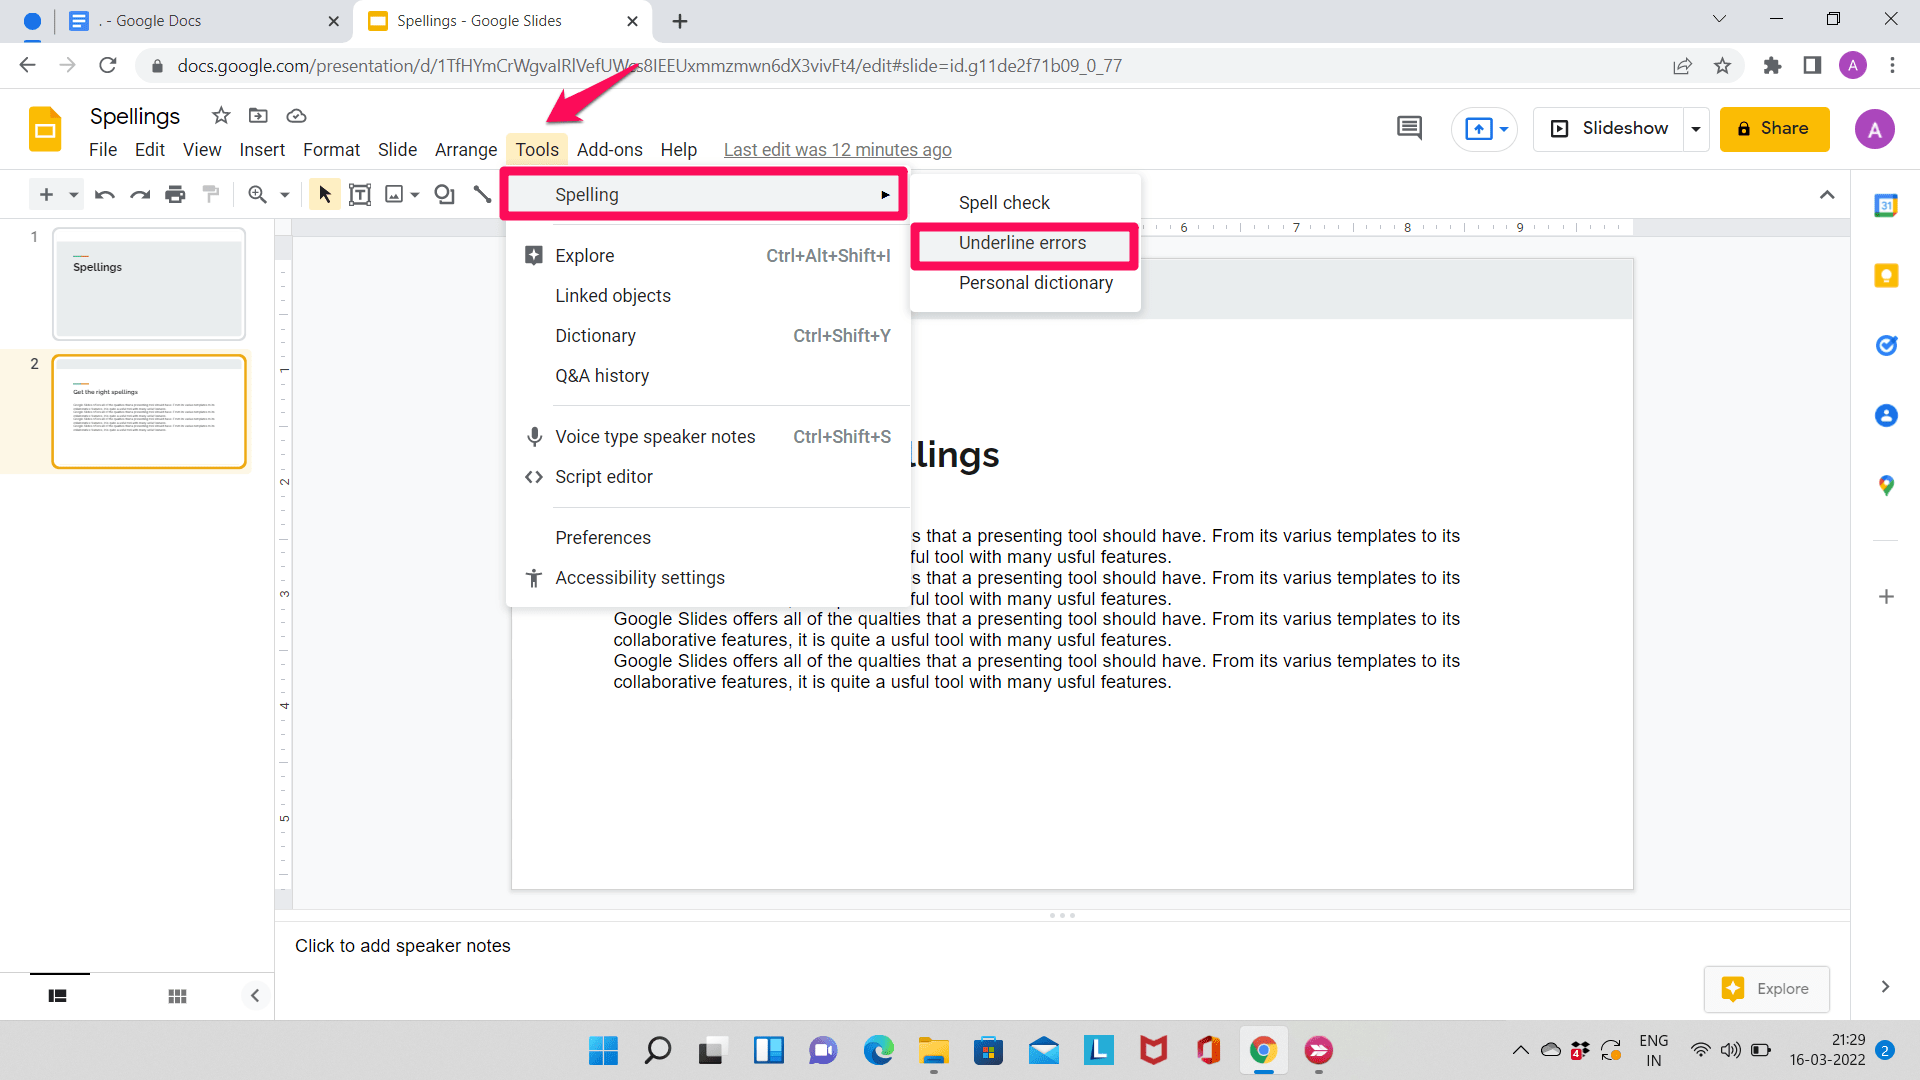
Spelling suggestions can be enabled/disabled by clicking on ‘Underline errors‘ under the ‘Spelling’ menu of the ‘Tools’ tab.
How to Add Words to the Personal Dictionary in Google Slides?
Users can add words to their personal dictionary for easier editing.
Step 1: Open Google Slides on your computer.
Step 2: Go to the presentation you’re working on.
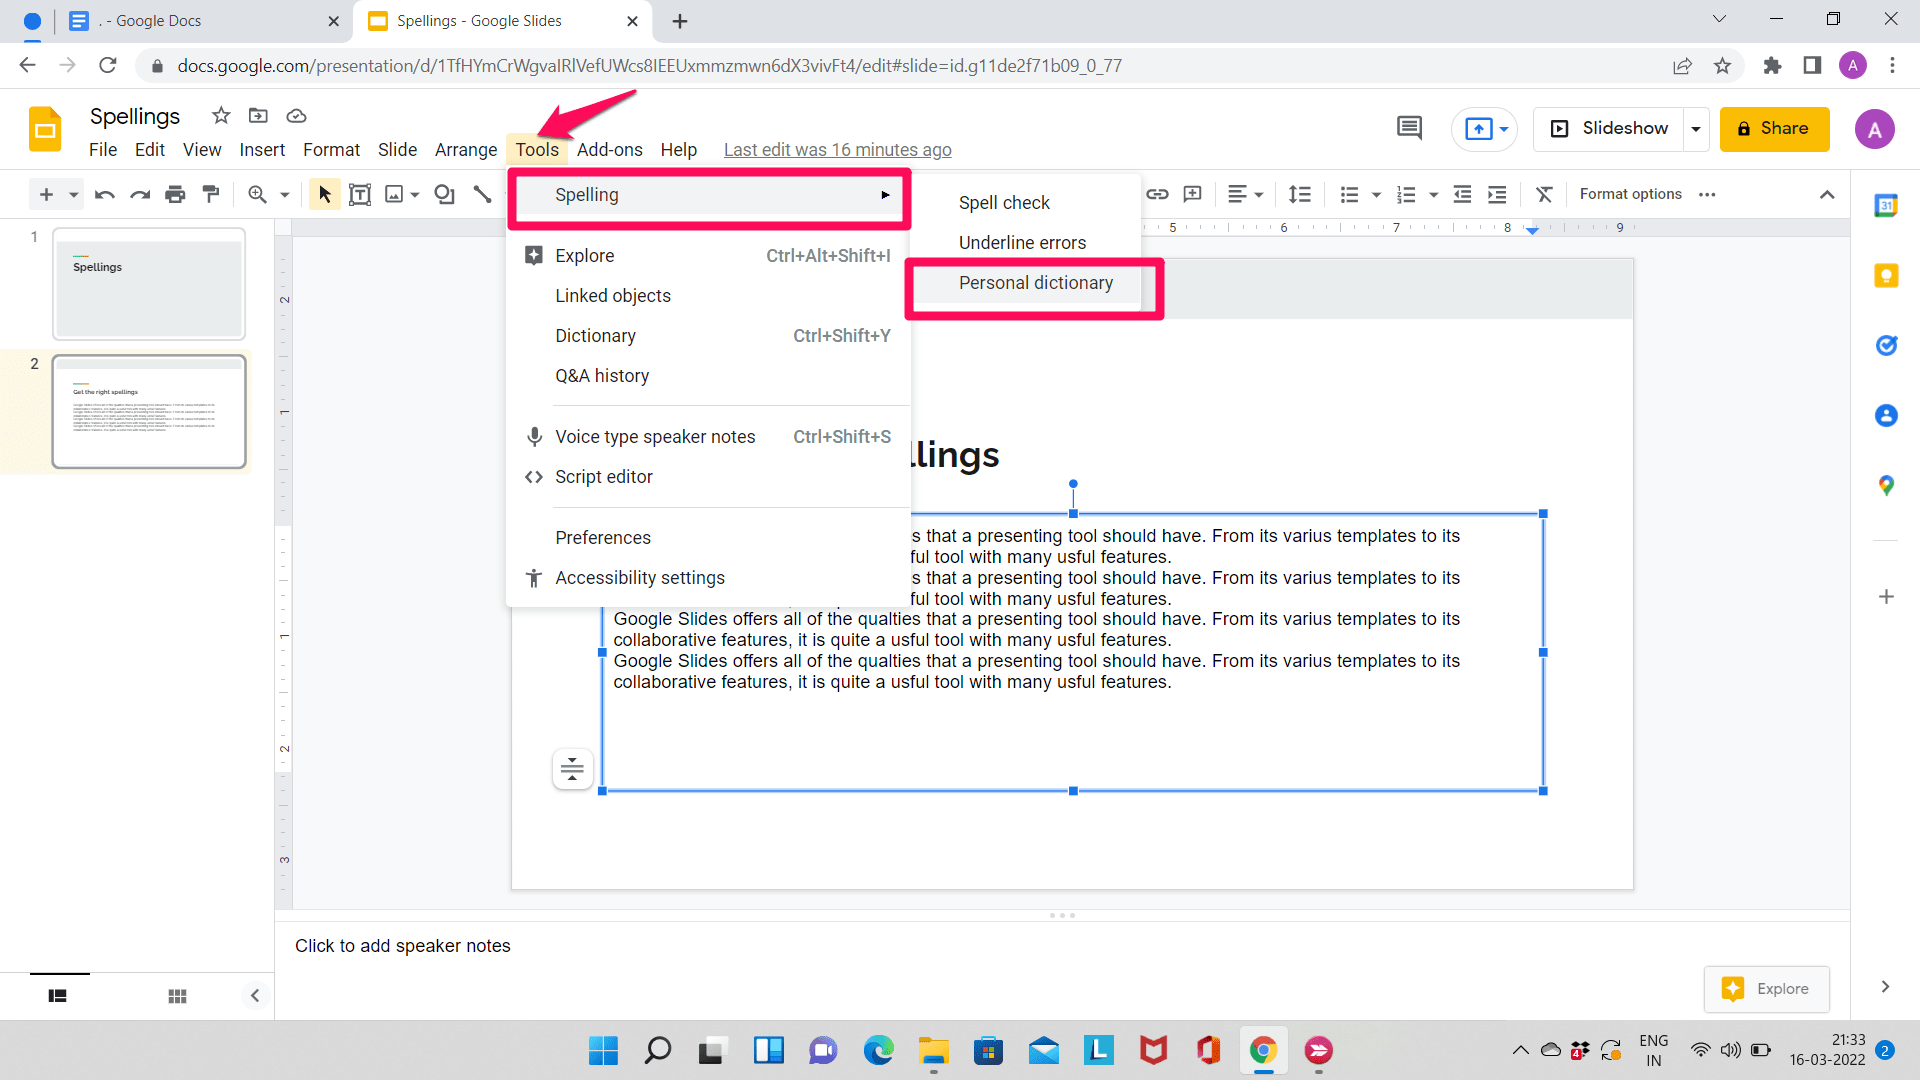
Step 3: Click on the ‘Tools’ tab located in the menu located at the top. Next, click on ‘Spelling’. Here, click on ‘Personal Dictionary’.
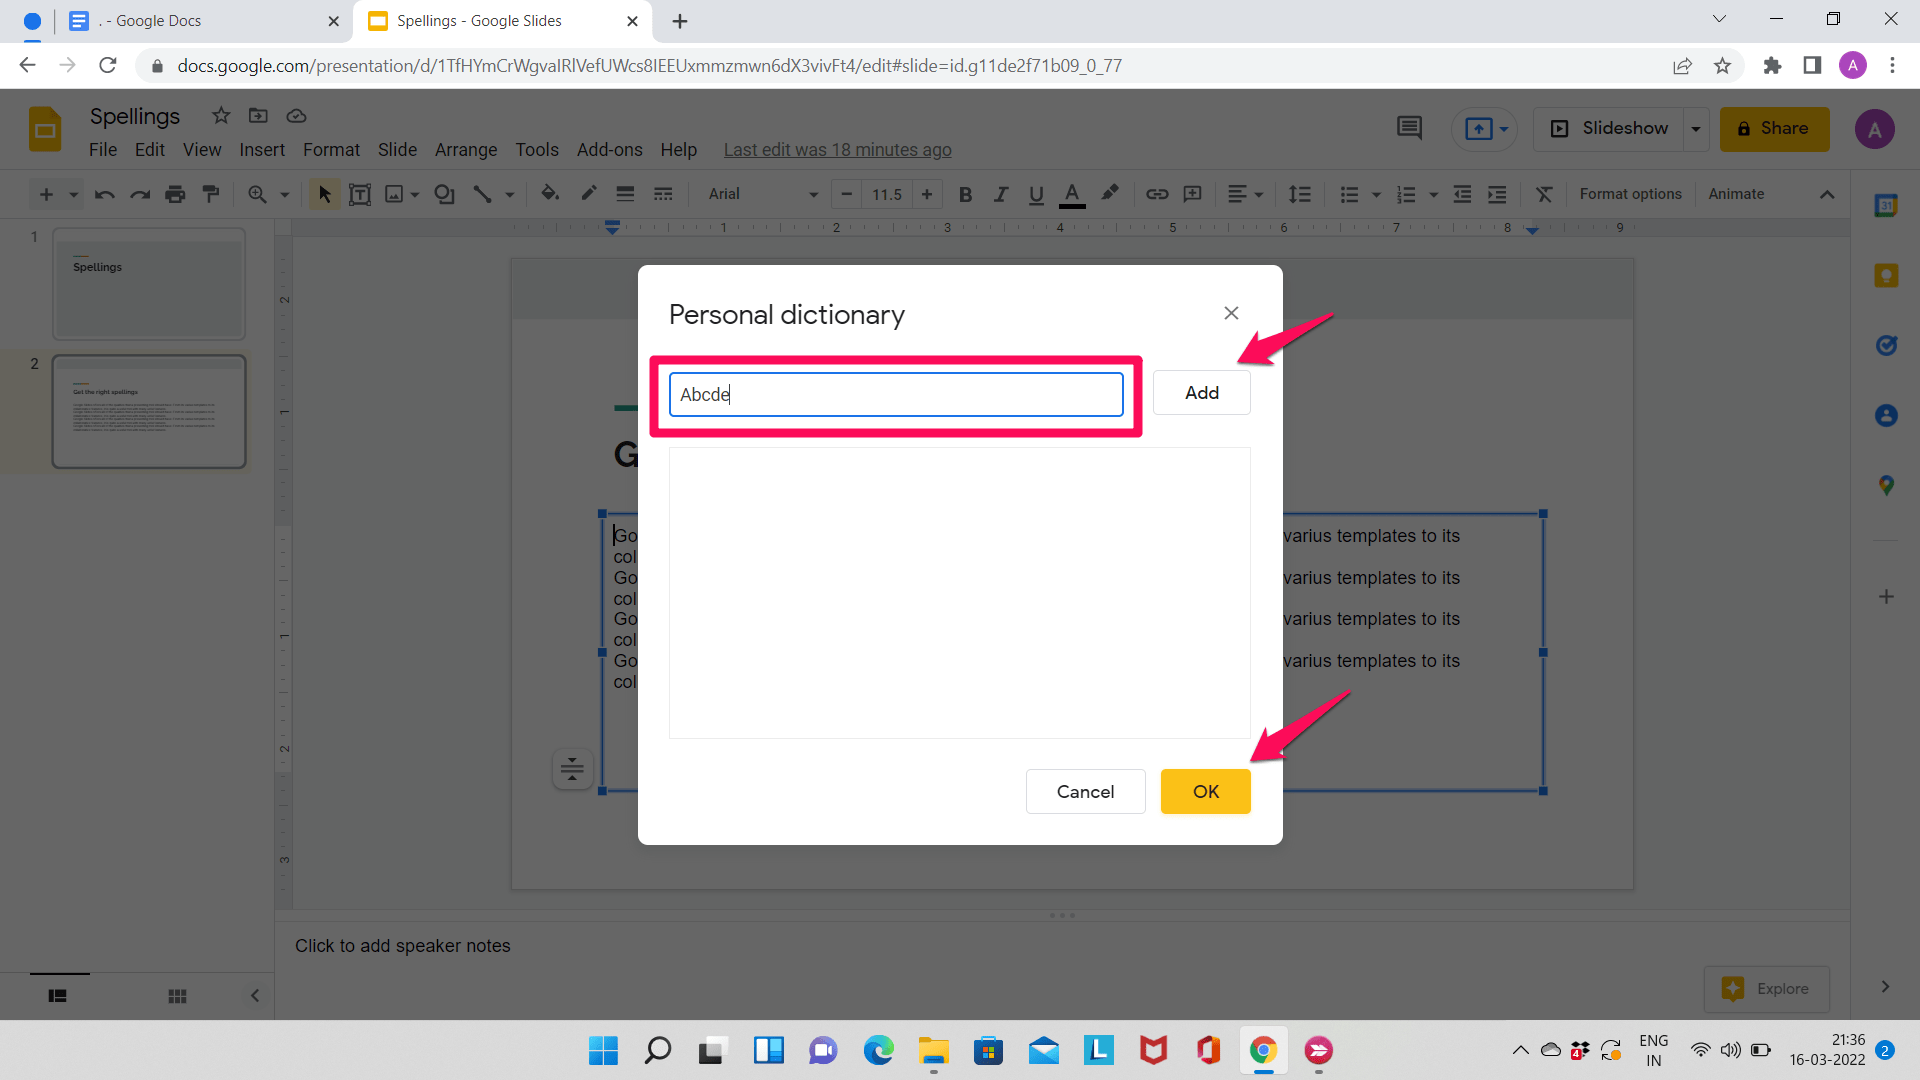
Step 4: Enter the word you want to add to the dictionary and click on ‘Add’. Click on ‘OK’ at the end.
How to Enable/Disable Autocorrect in Google Slides?
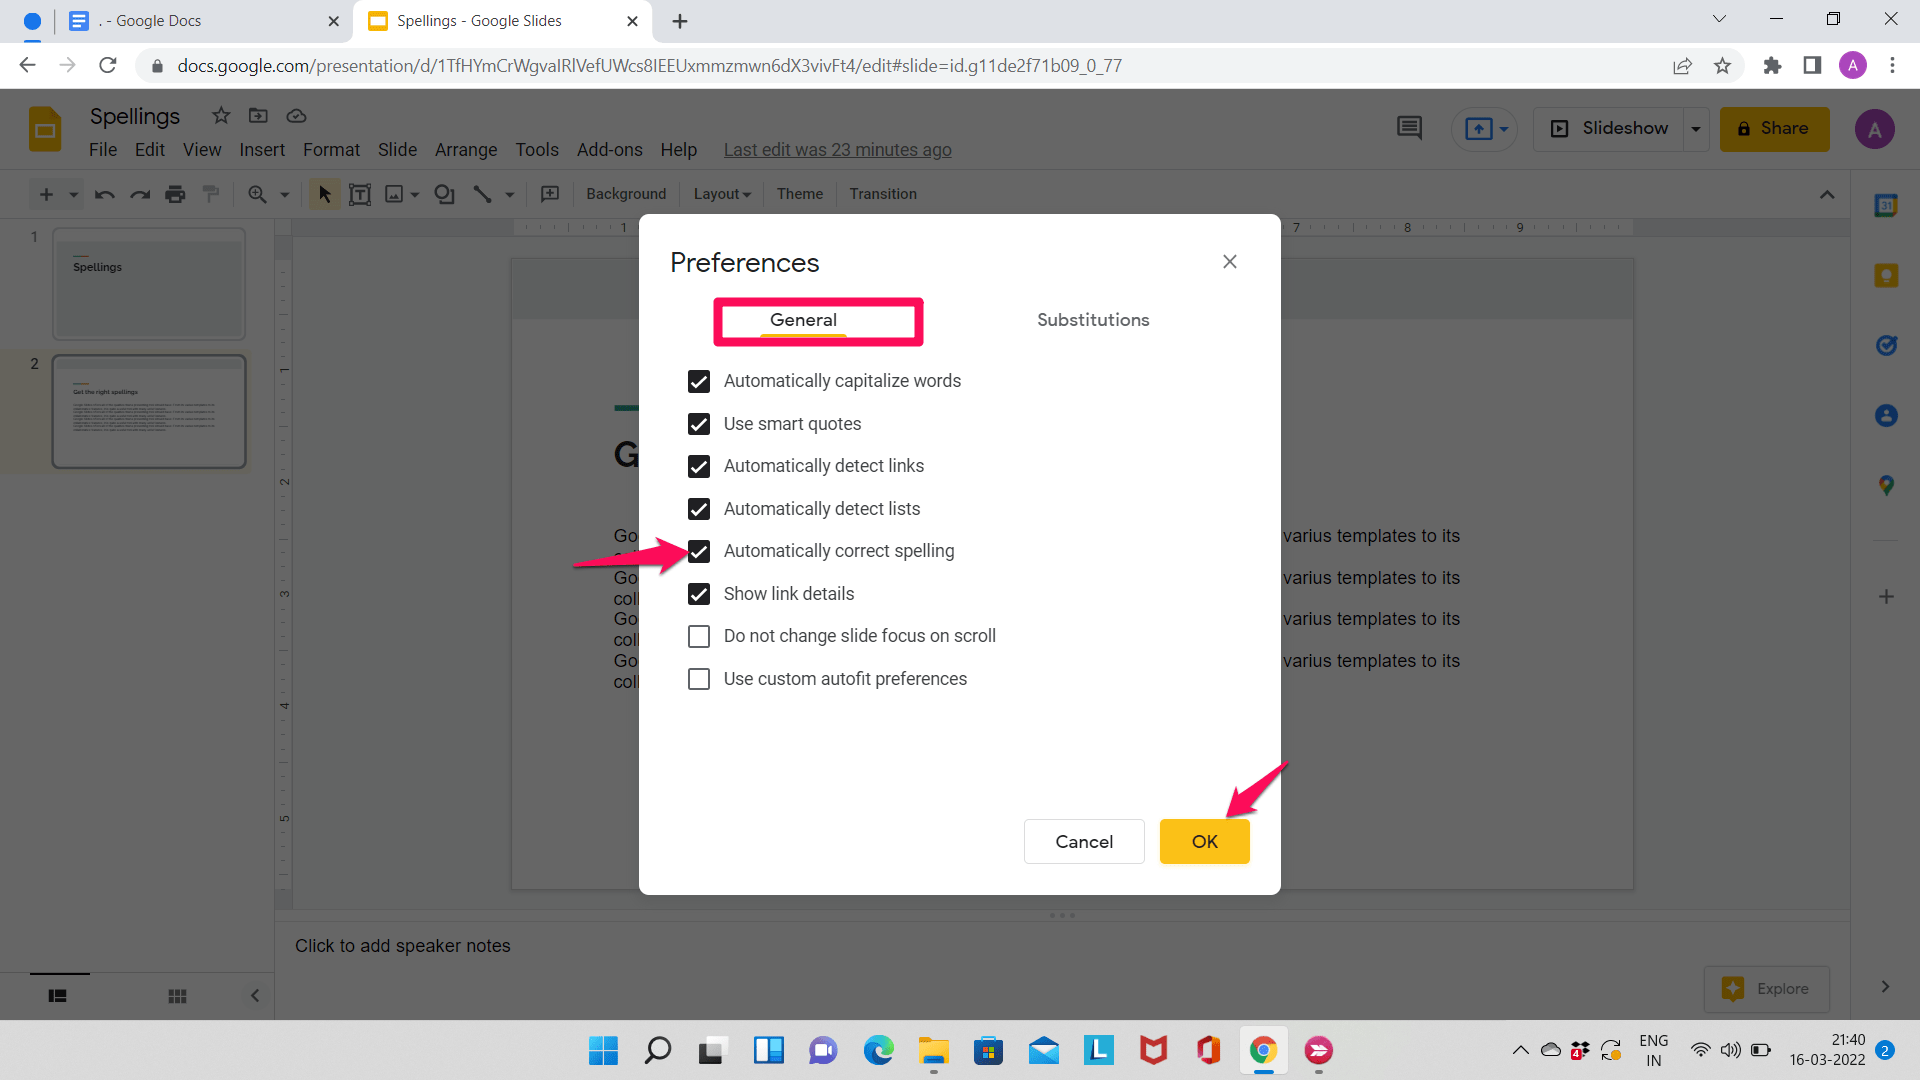
Autocorrect is responsible for auto-capitalization among other things. This can be turned off if you don’t require it.
Step 1: Open Google Slides on your computer. Go to the presentation you are working on.
Step 2: Click on the ‘Tools’ tab located in the menu located at the top and then ‘Preferences’.
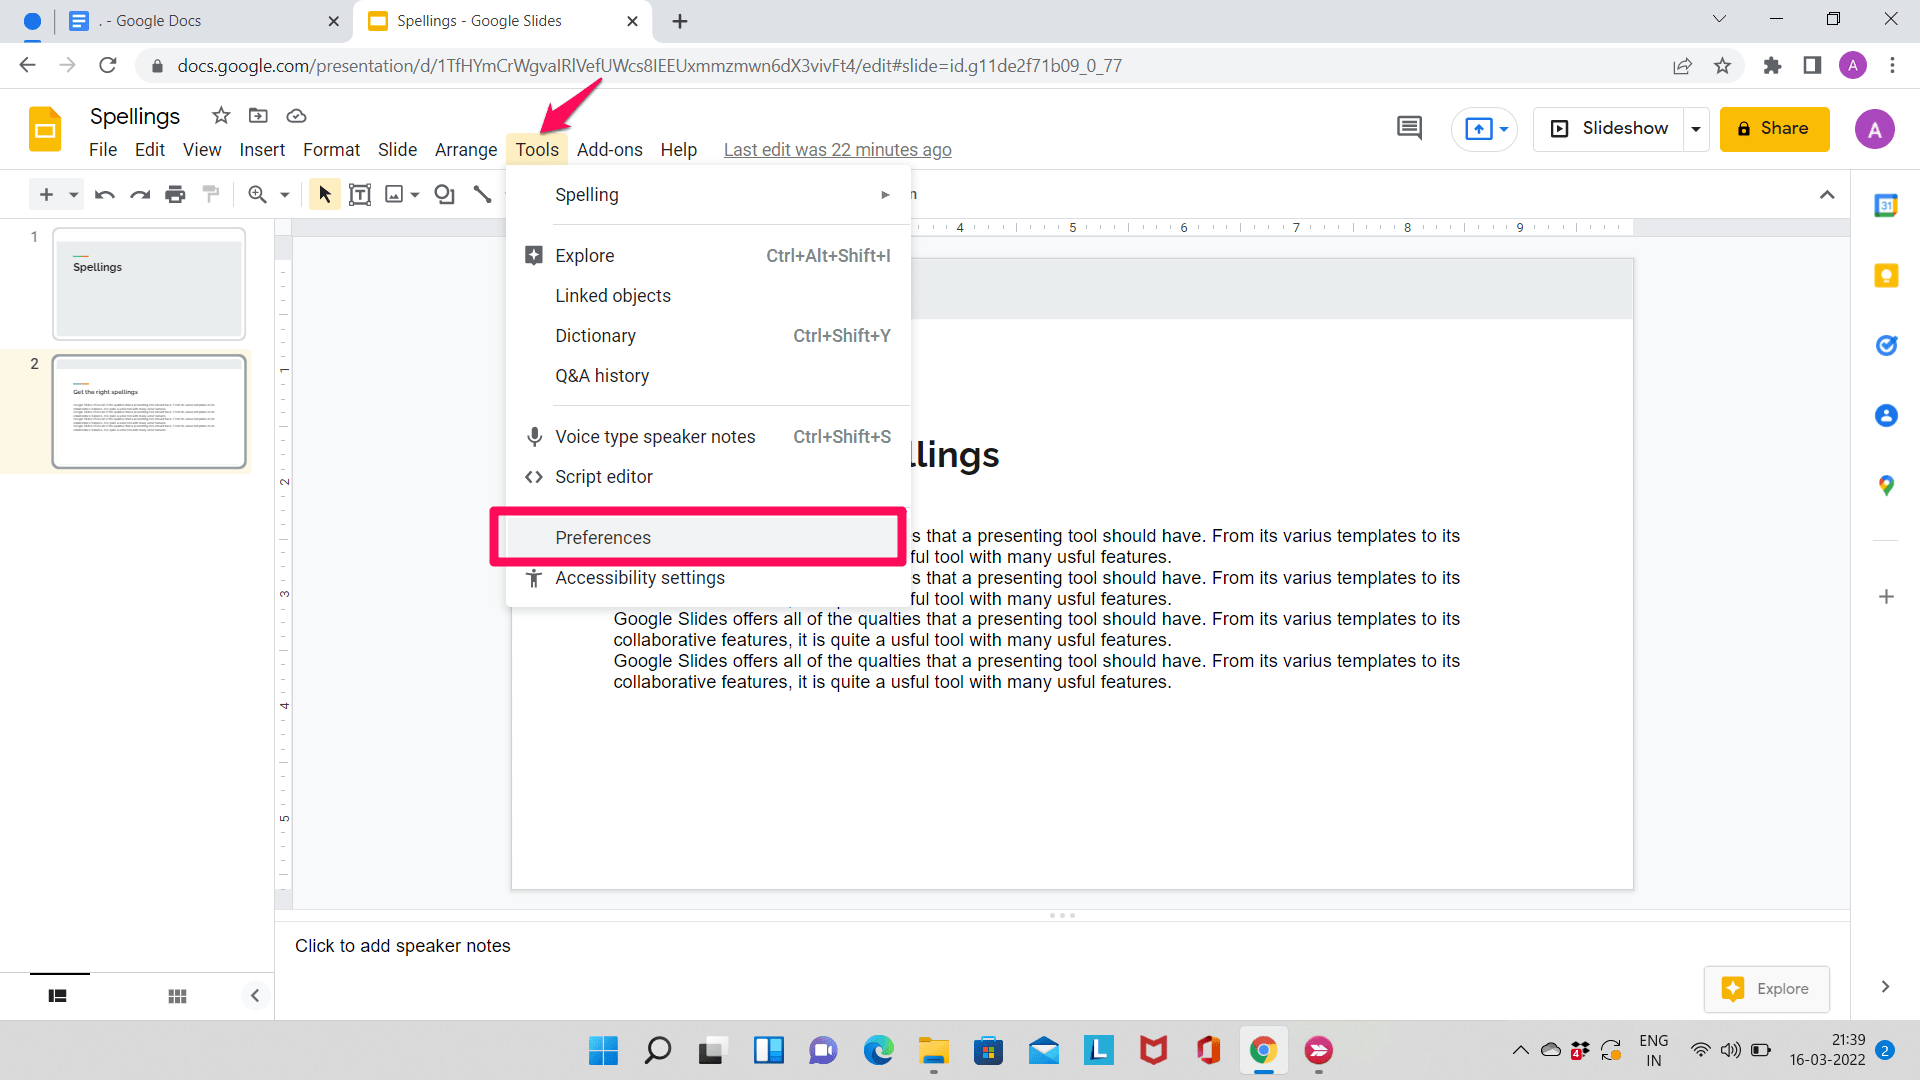
Step 3: In the menu that appears under the ‘General’ tab, uncheck the box to turn off autocorrect and click on ‘OK’.
How to Enable/Disable Auto Substitutions?
- Open Google Slides on your computer. Go to the presentation you’re working on.
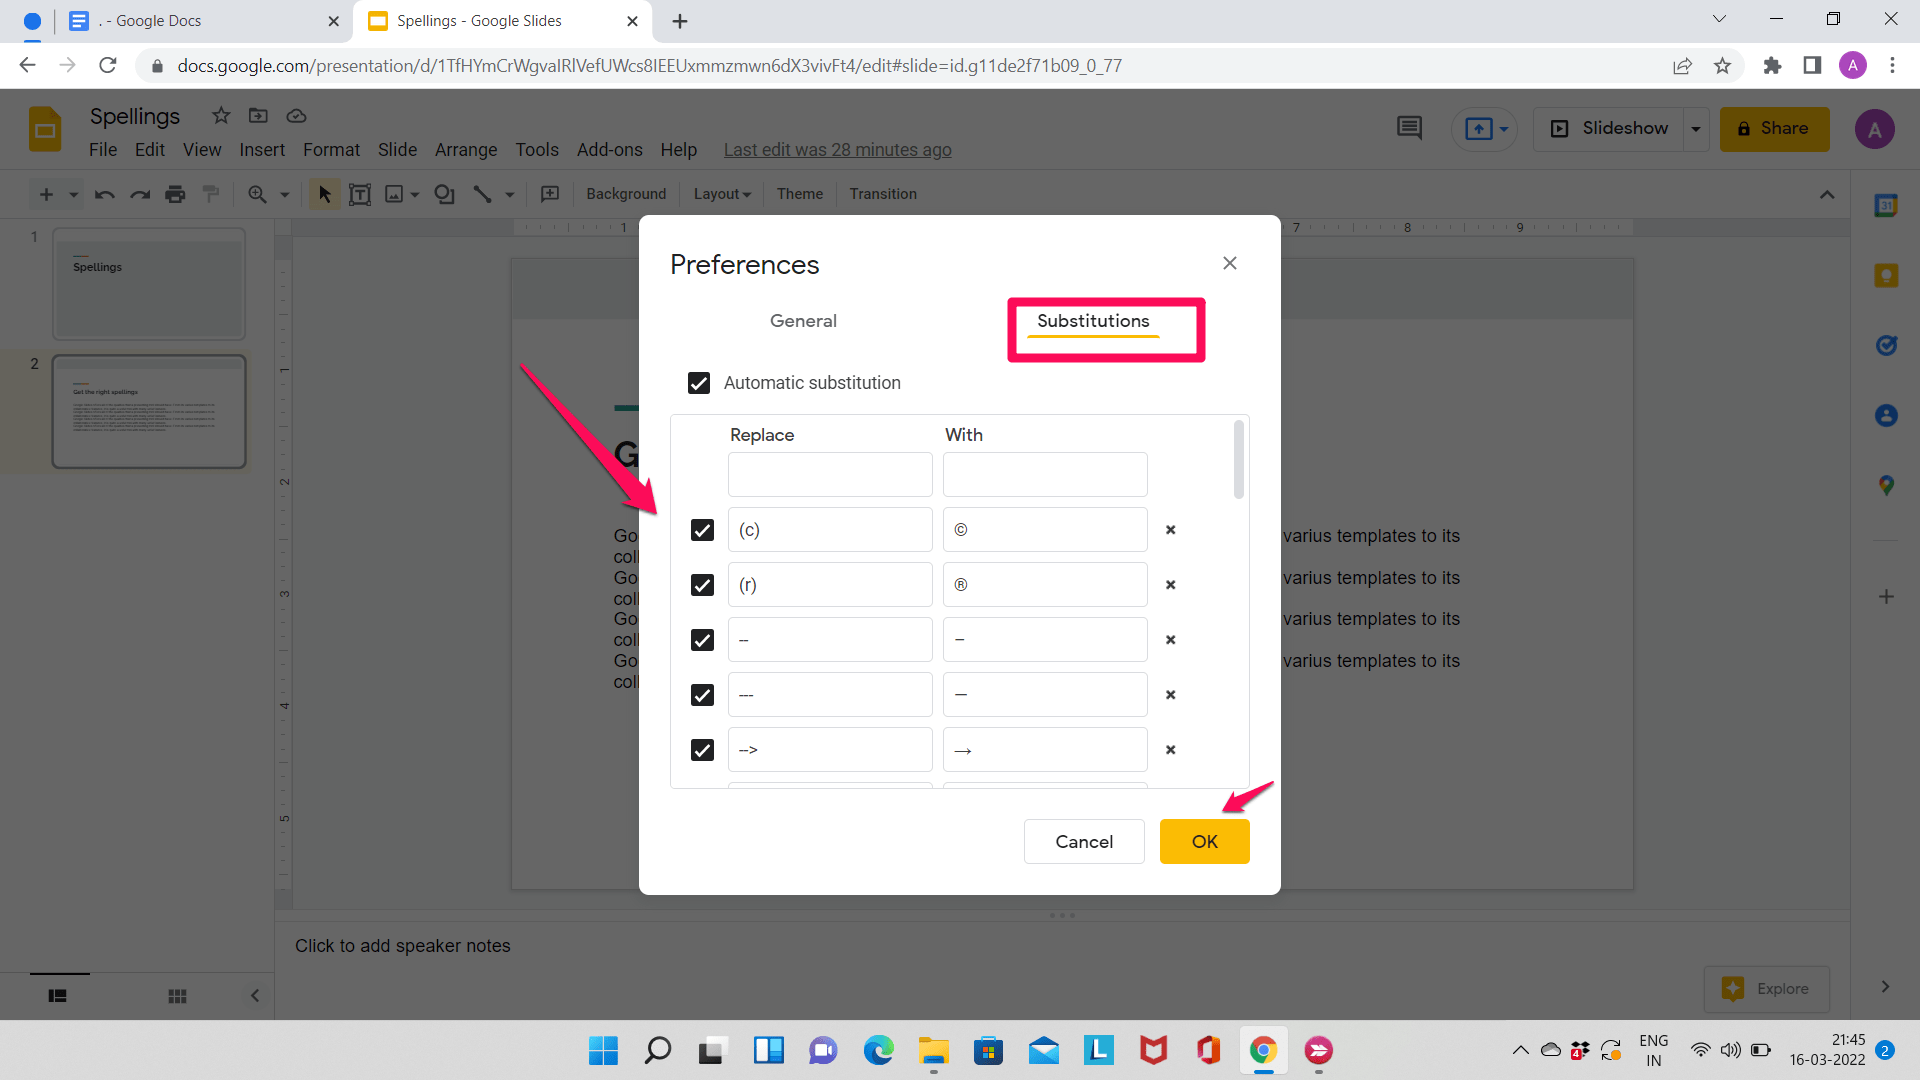
- Click on the ‘Tools’ tab located in the menu located at the top, then click on ‘Preferences’ and go to ‘Substitutions’. Uncheck the box next to the word or symbol you want to disable auto-substitutions for. You can get rid of auto substitutions by clicking on ‘Remove’. Click on ‘OK’.
Conclusion
So, you do not have to worry about spelling errors in your presentation now. You can simply use the spell check feature and you will end up with a great presentation. We hope this guide helped you understand how you can use Spell check in Google Slides and eliminate errors. Try the feature and let us know if you liked it!
