Google Docs is everything that a user wishes if he wants to create a document online. You can create some stunning word doc using GDocs. There may be instances when you want to place an image on top of another photo. You can overlay images in Google Docs and there are a couple of methods available. In this guide, we will learn two methods for overlapping images in Google Docs.
Steps to Overlap Images in Docs Using Text Wrap
You can overlay two images in Google Docs using the Text Wrap option. You can overlap any image over any other image without any restriction.
- Open Google Docs.
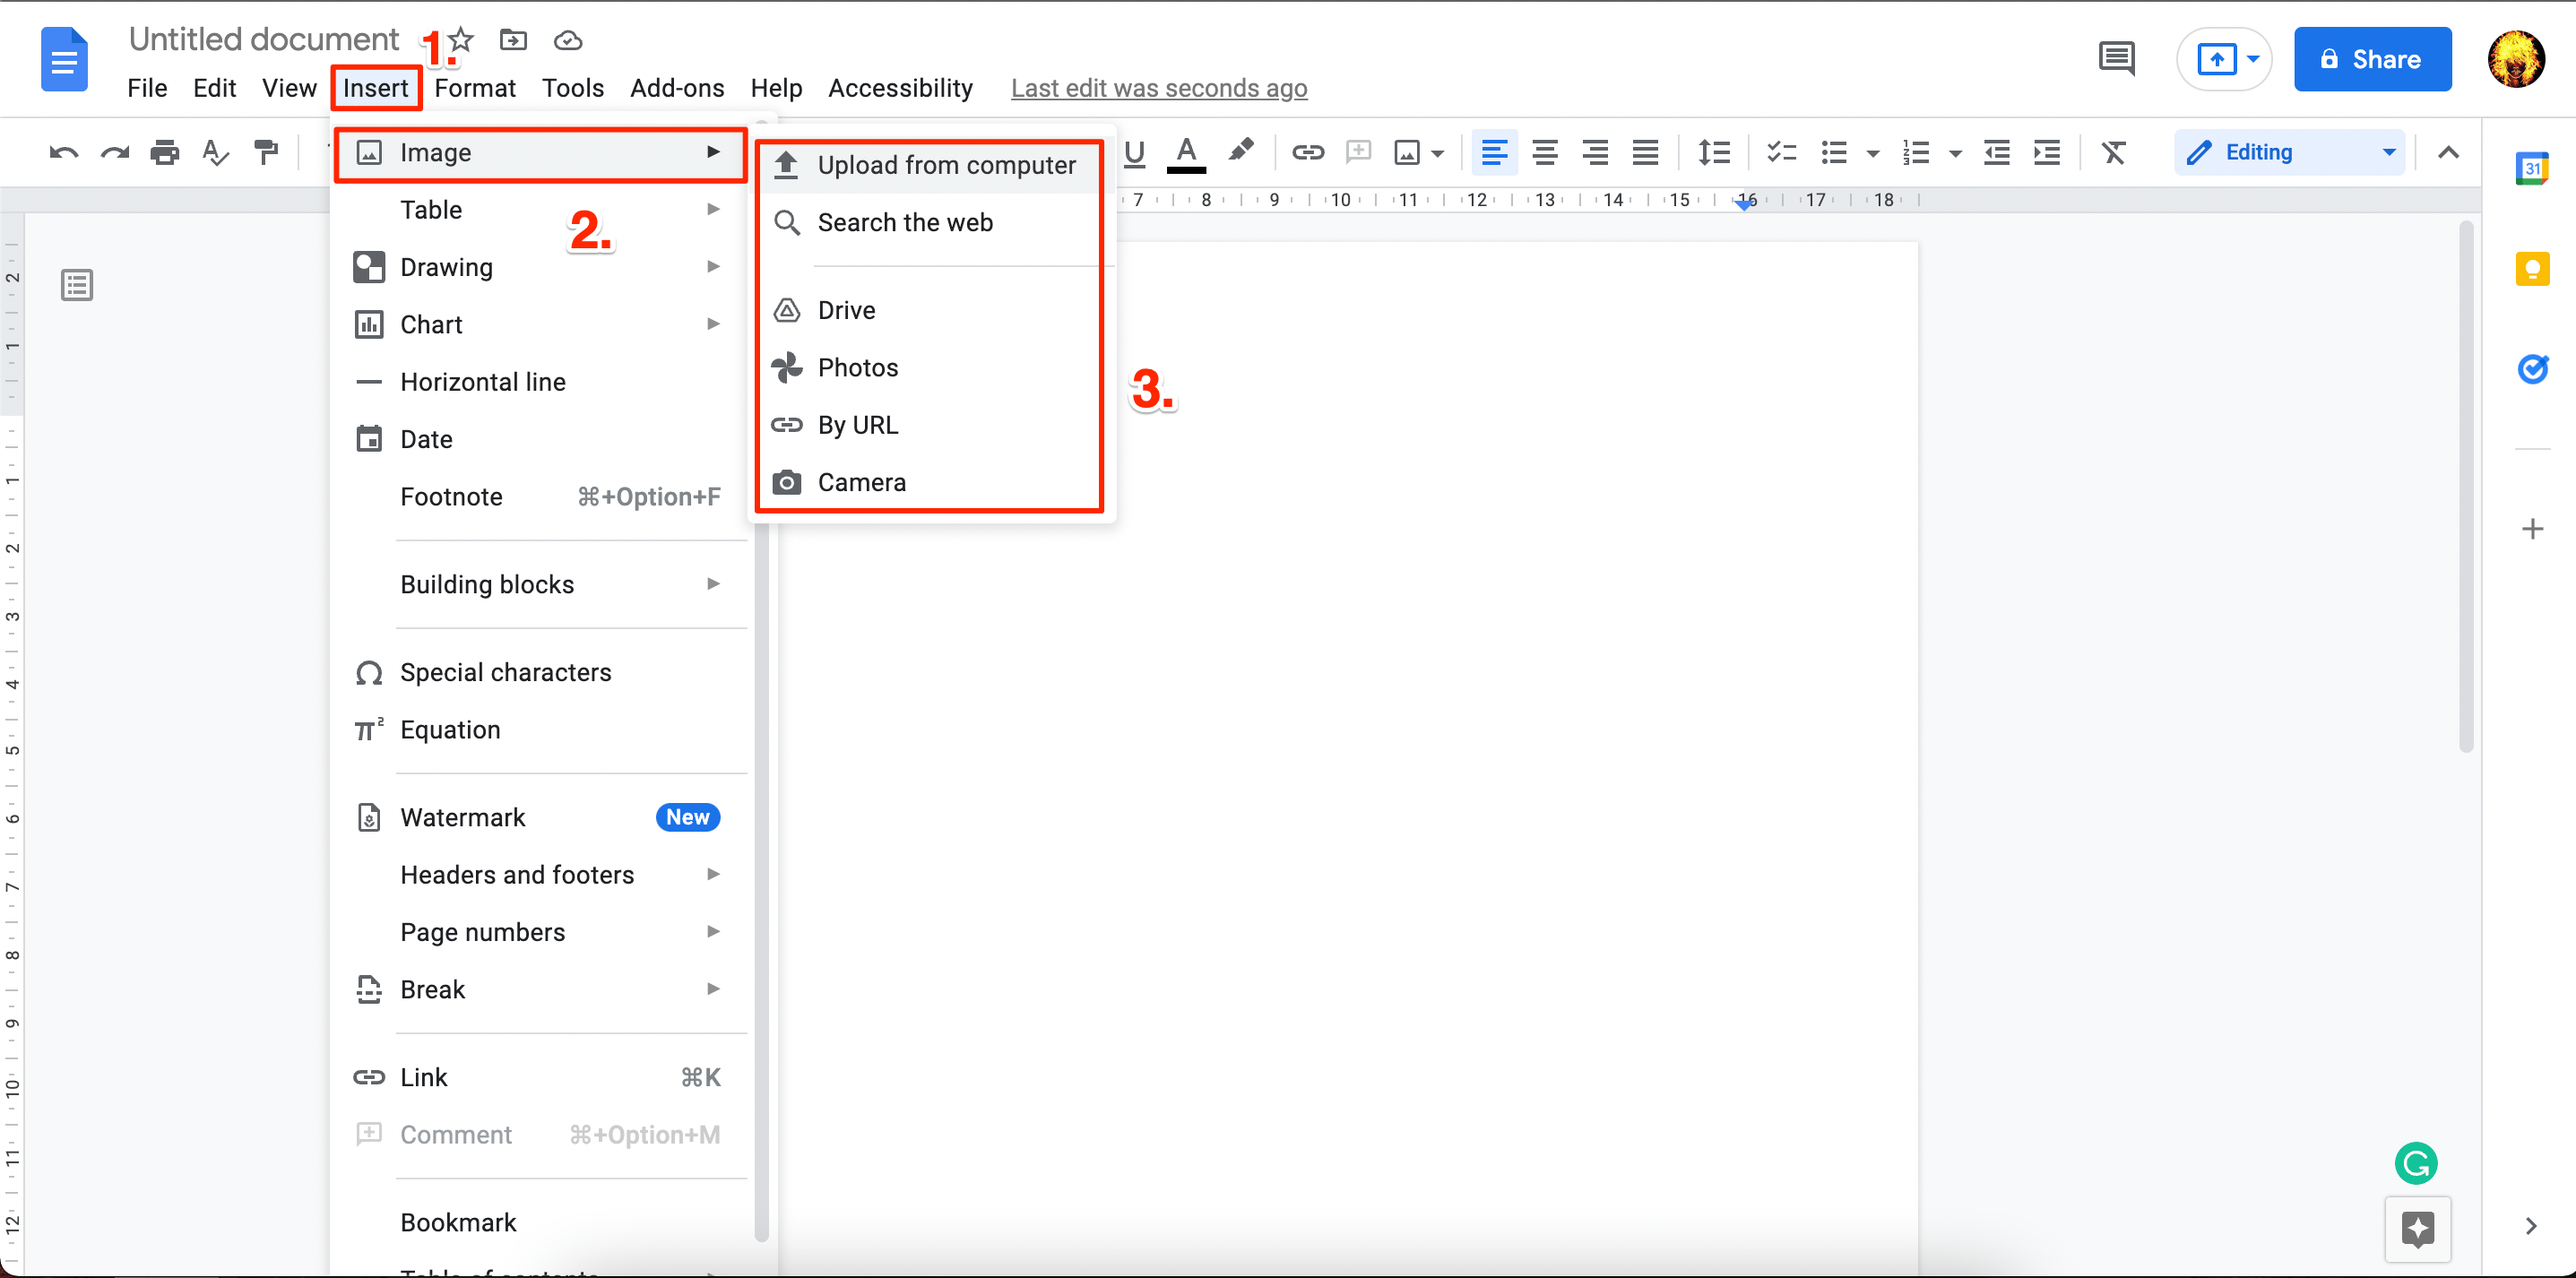
- Click on insert, tap on the Image option, and select the required option to add the images.
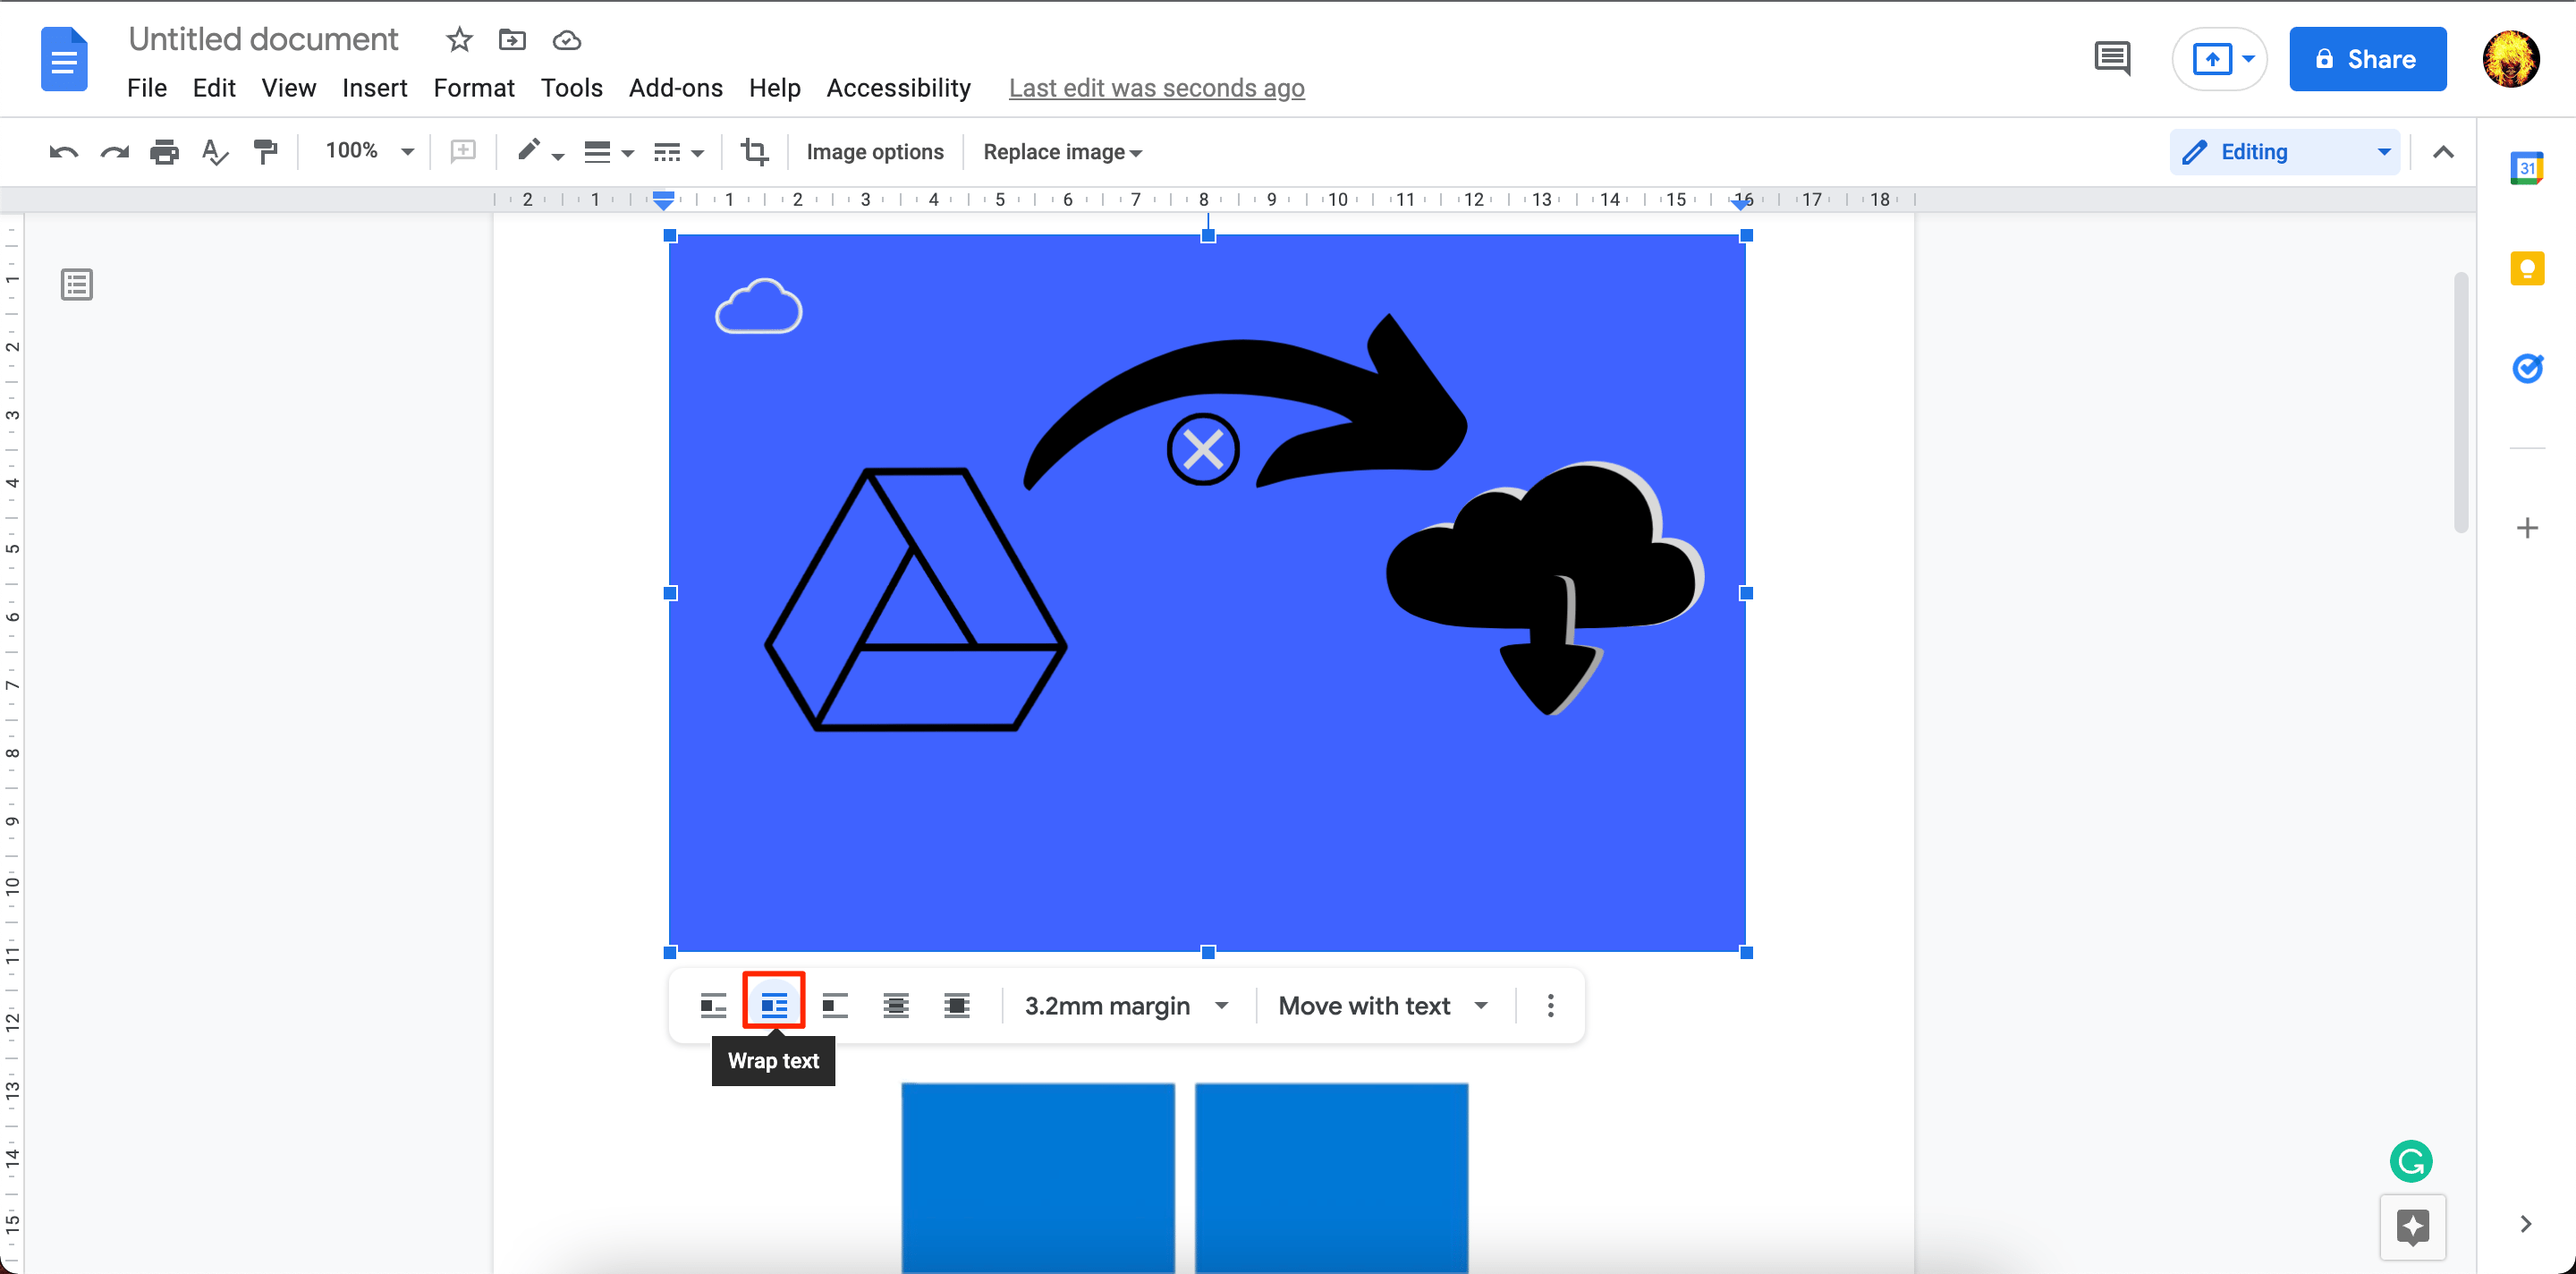
- Now select the image to overlay and click on the Wrap Text option.
- Click on the Margin option and select 0mm margin.
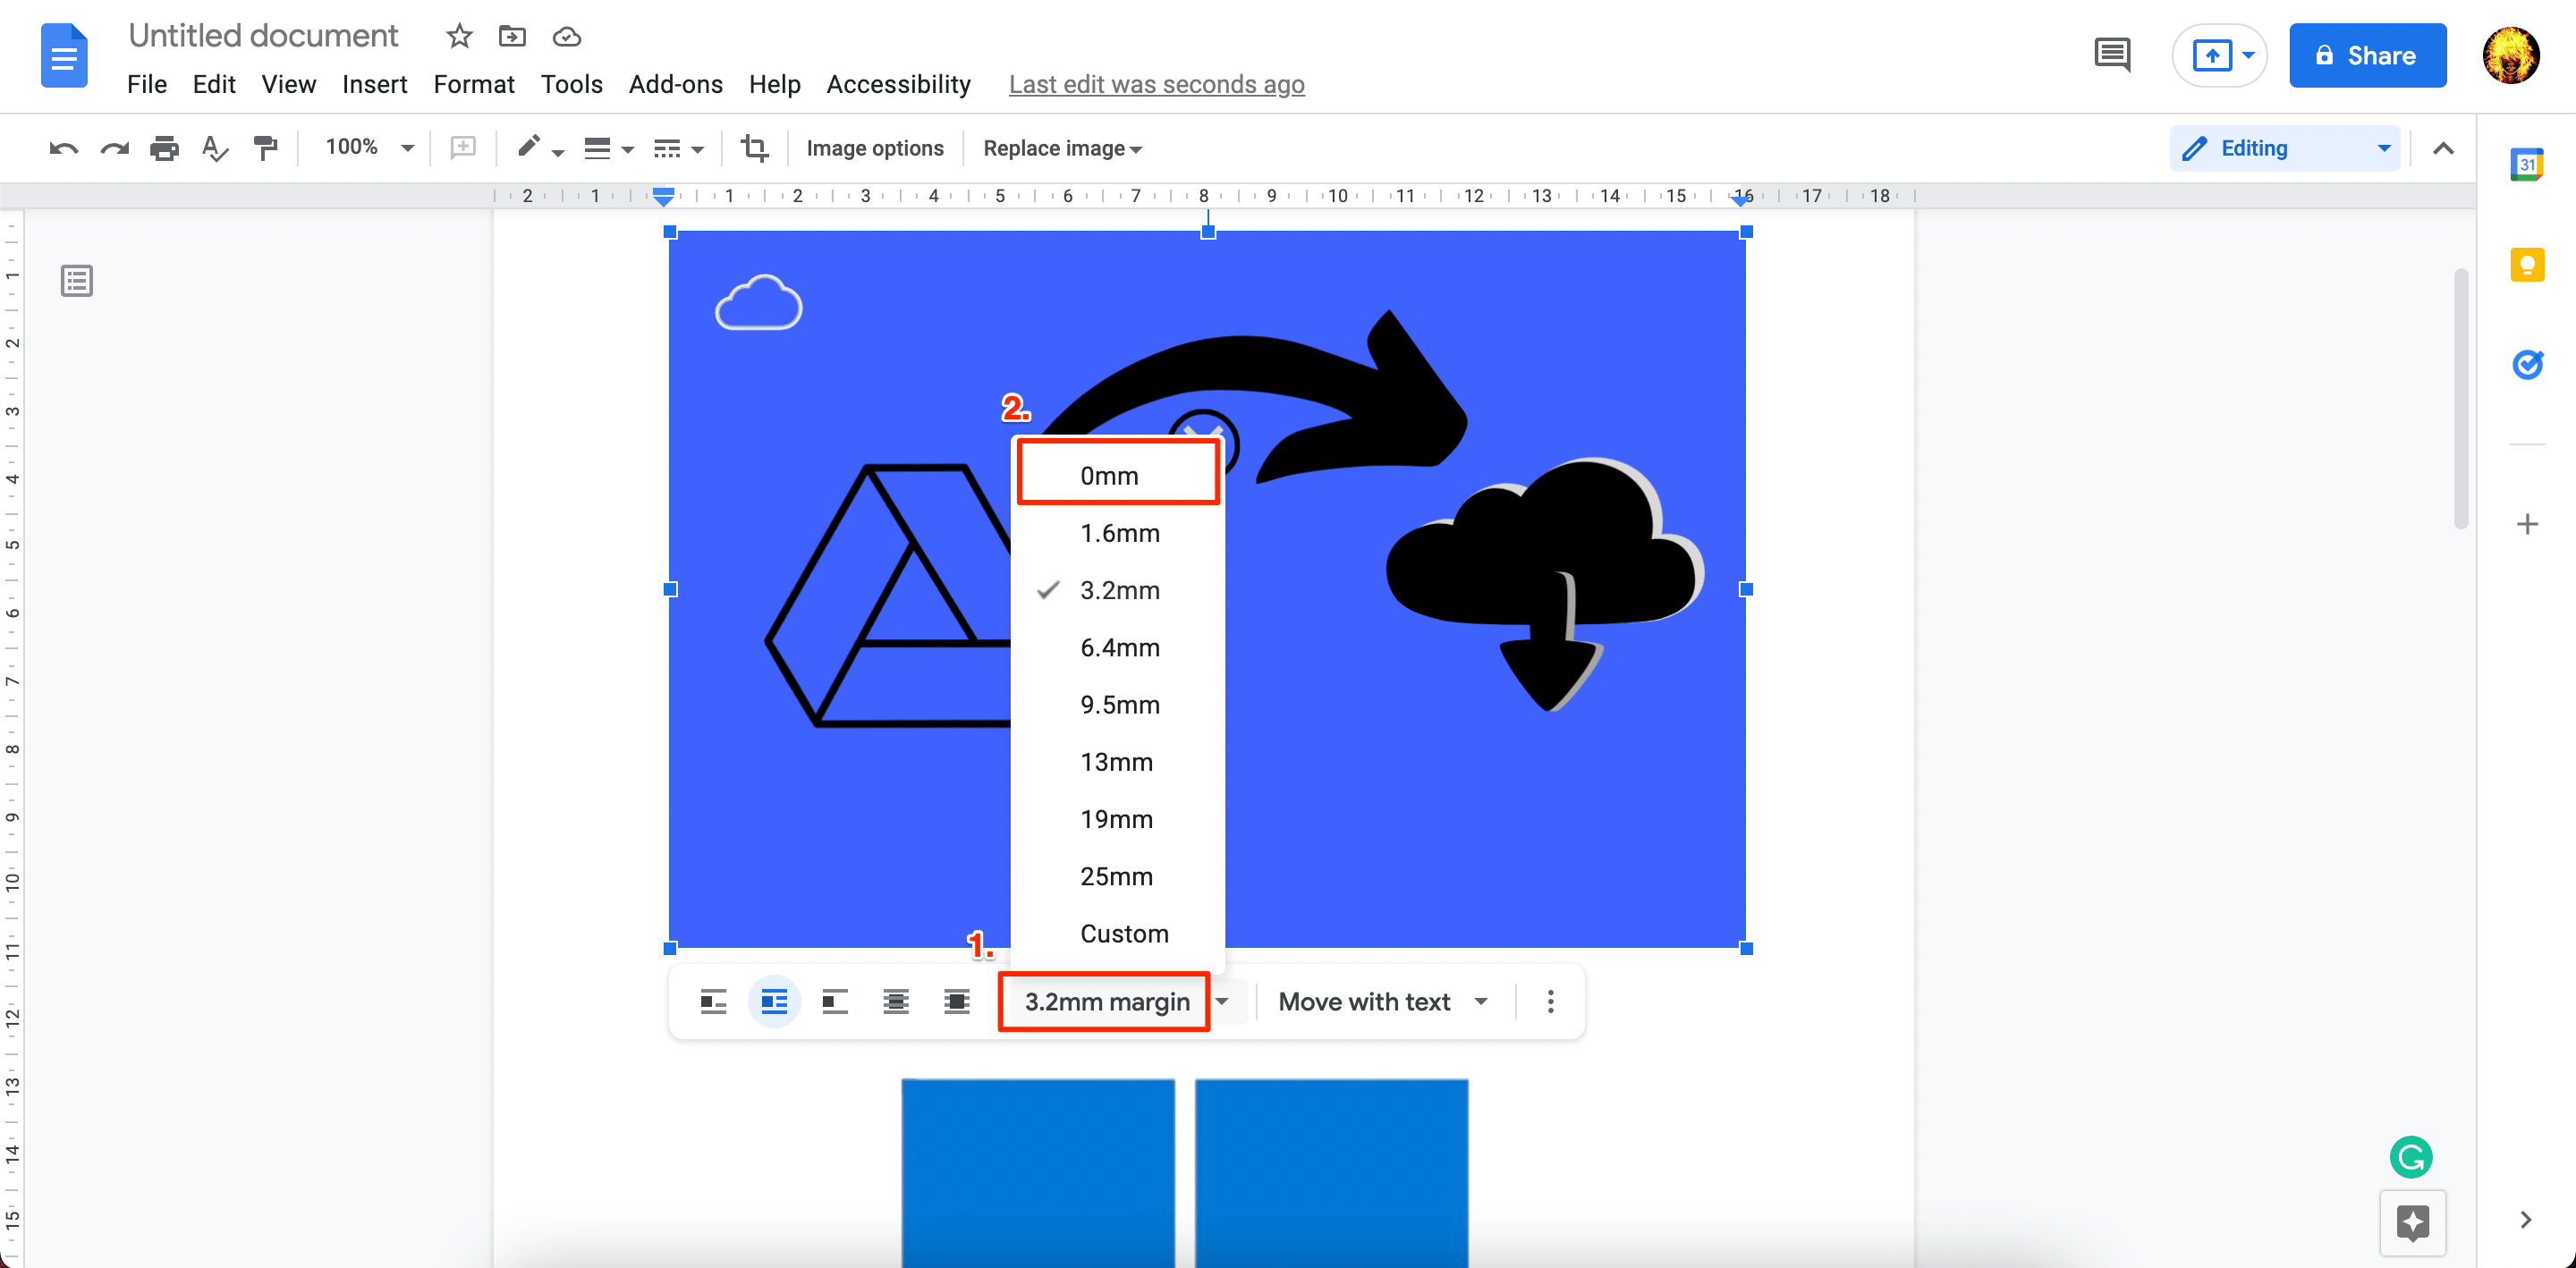
- In the same way, make a 0mm for the other images as well.
- Now, you can drag the image over the other image.
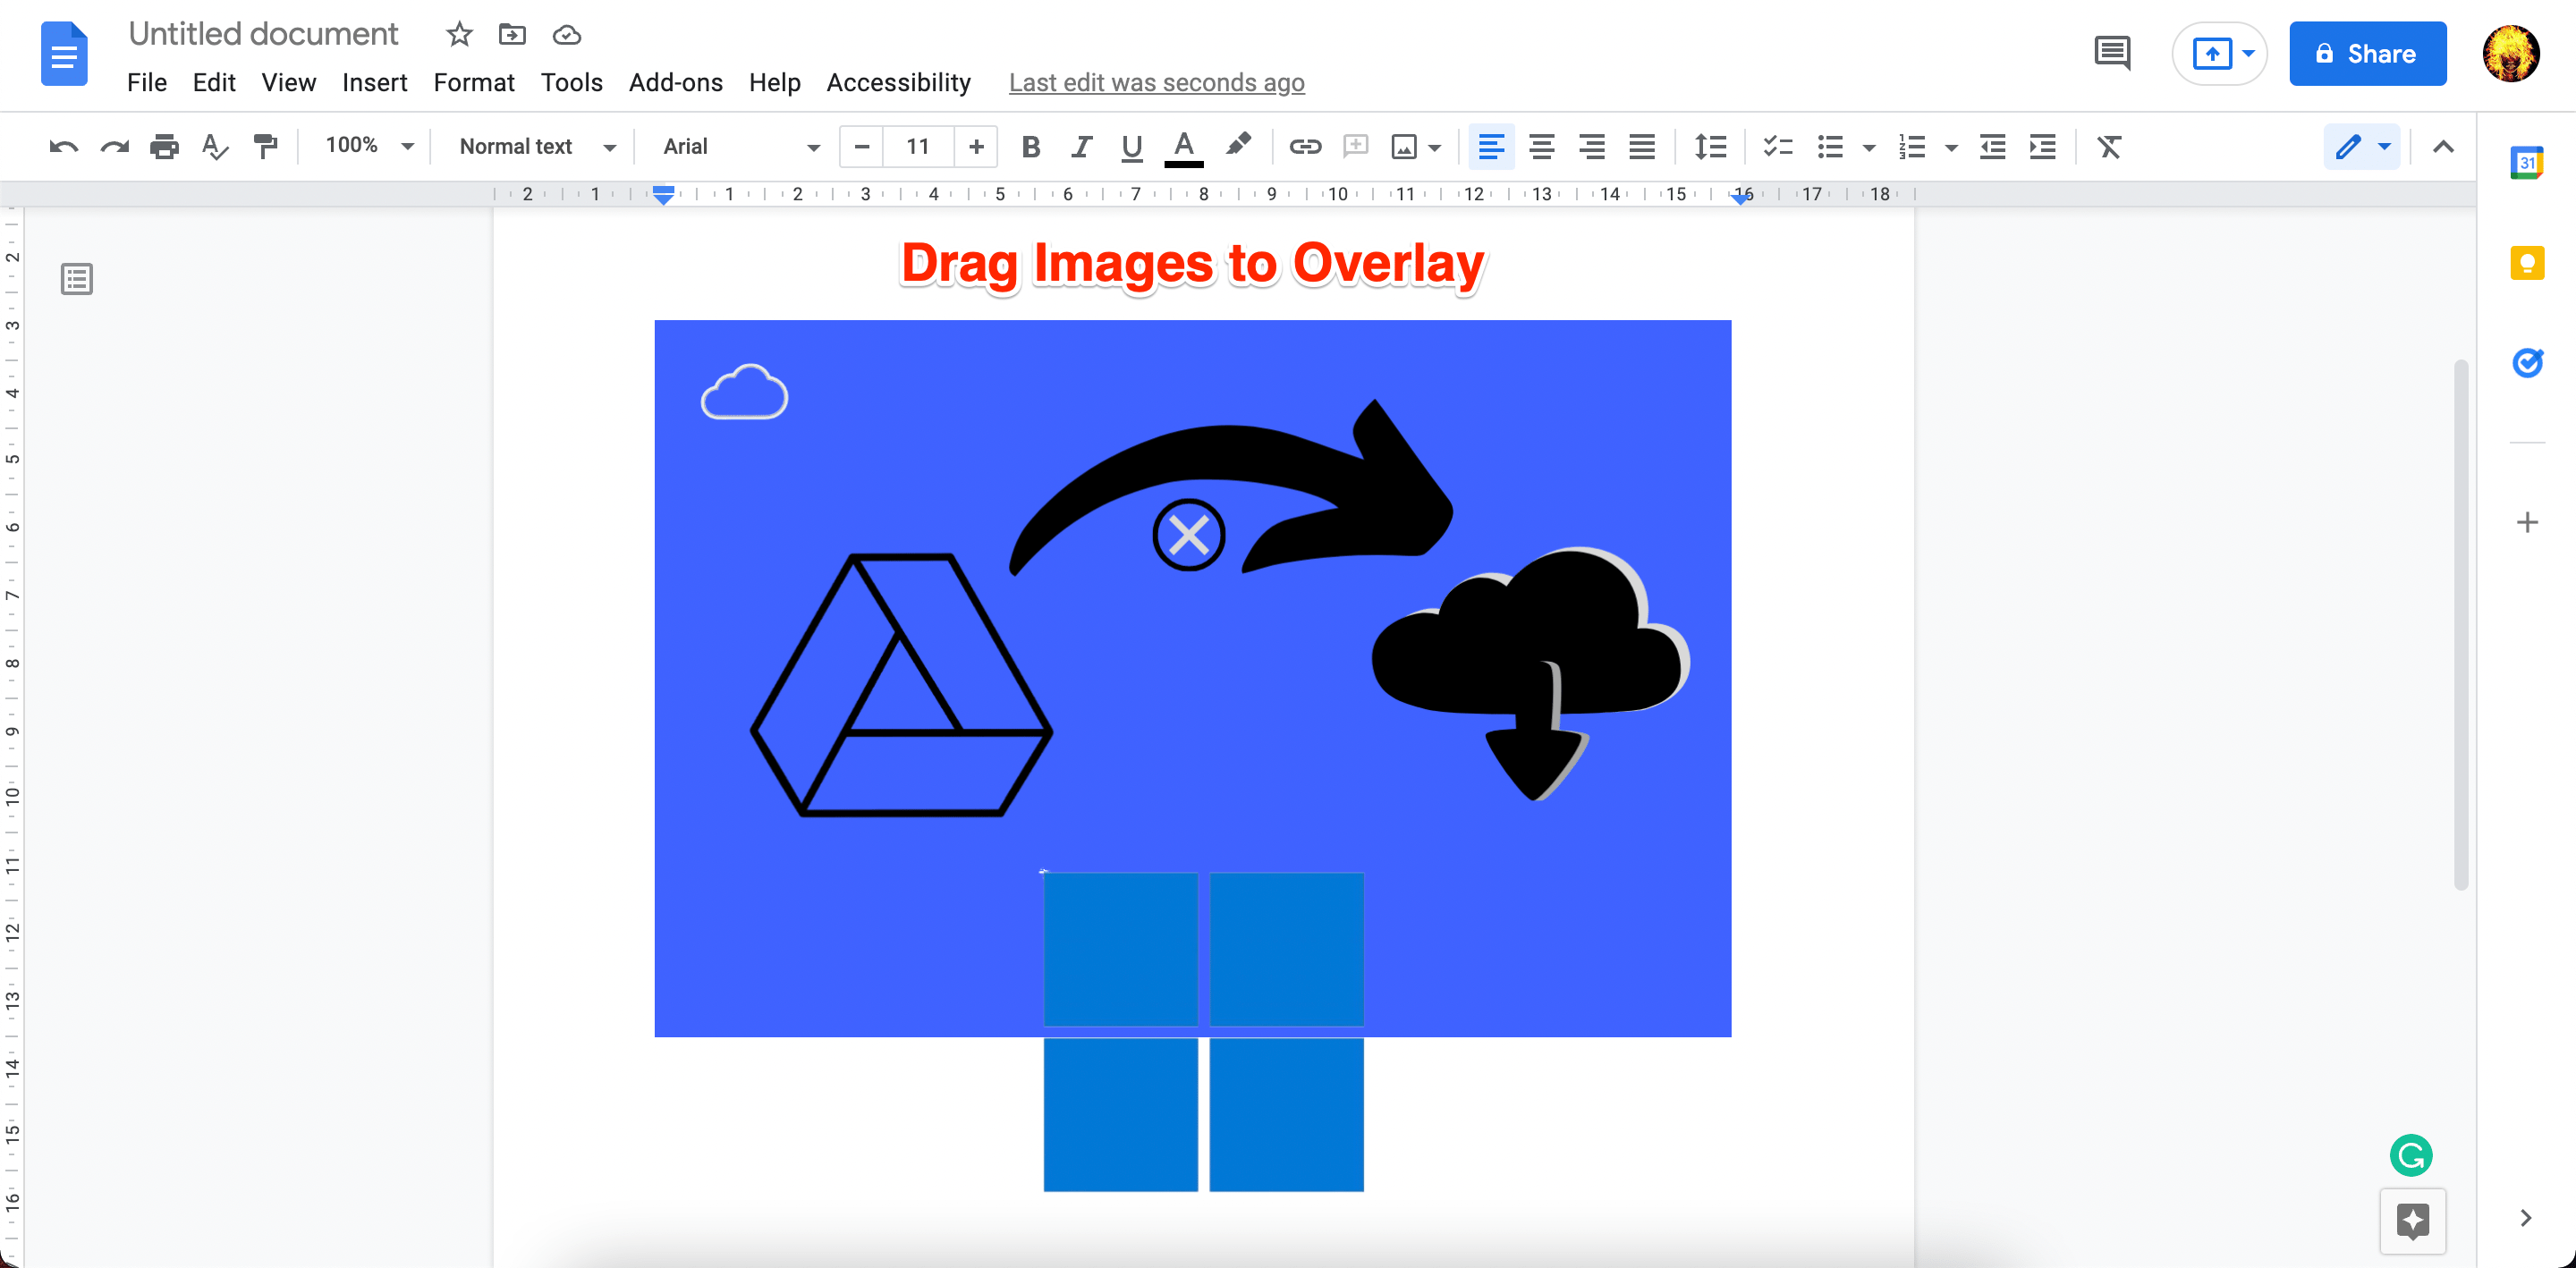
- Done! you have successfully overlapped two images in google docs using warp text.
Below is the Small Video Guide Explaining the Same;
Make Images Overlay in Docs Using Drawing Tool
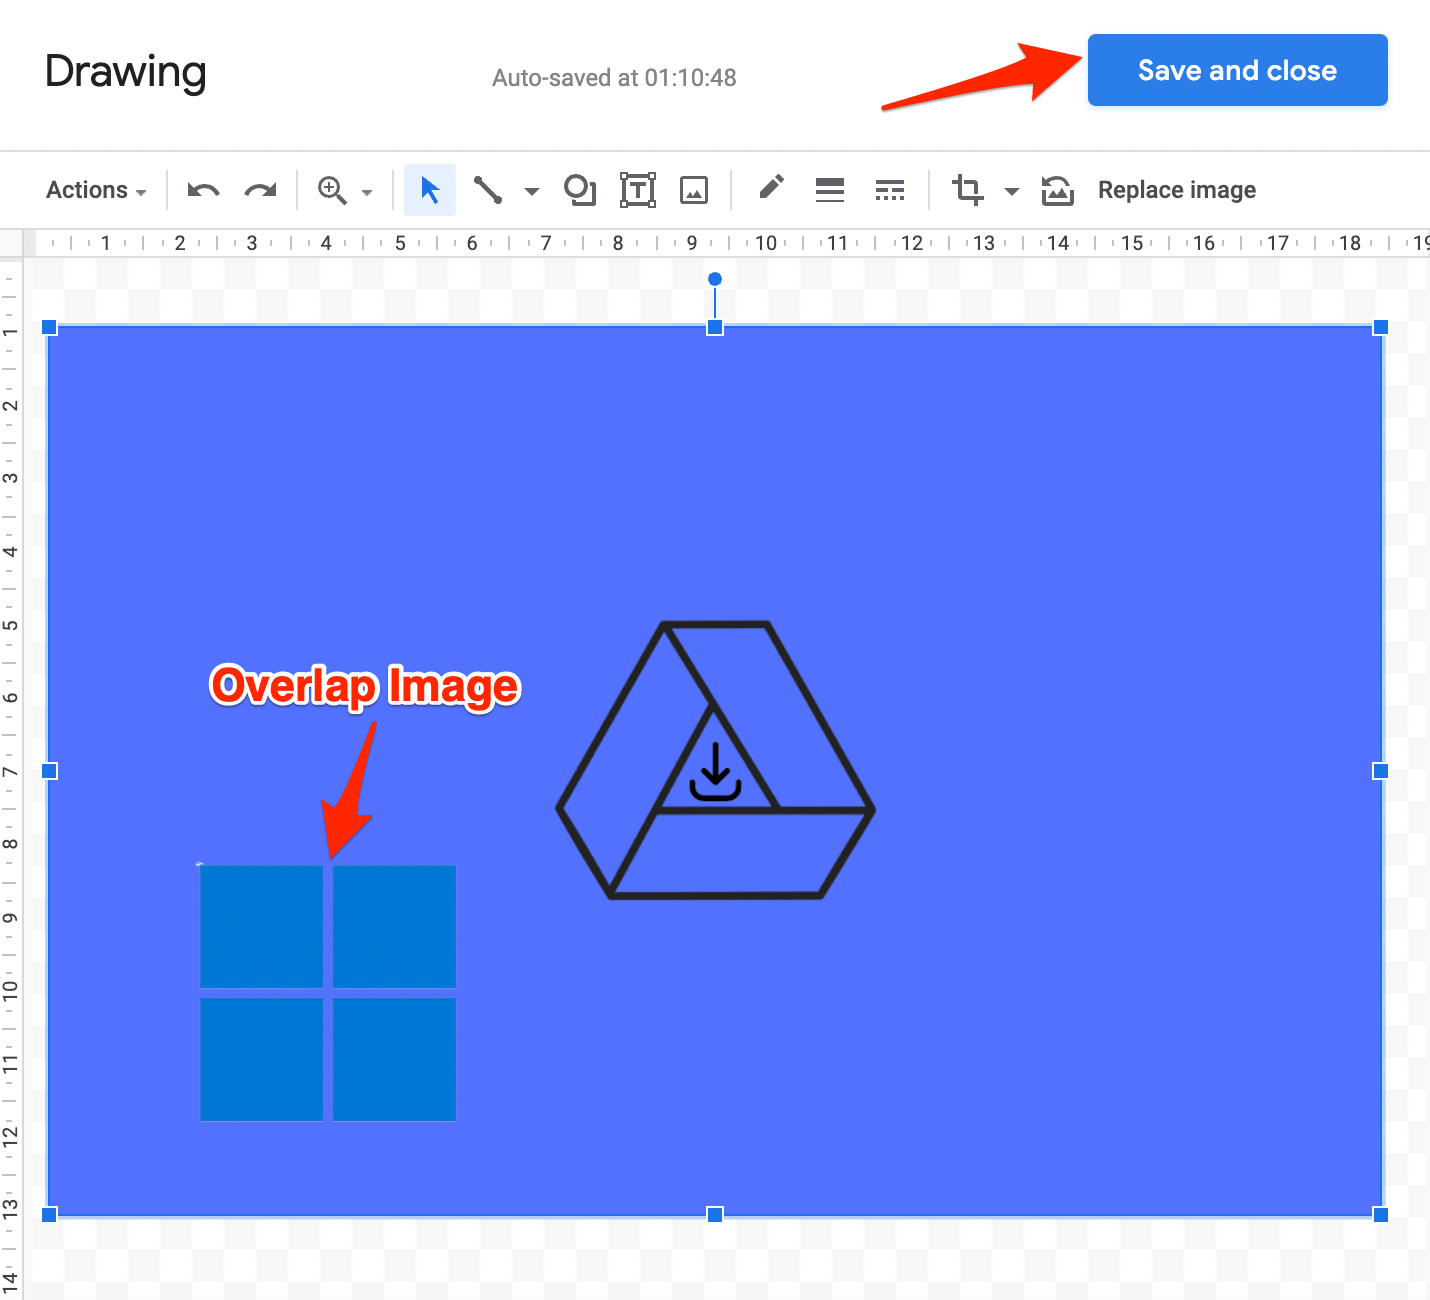
You can also use the Drawing tool to place an image on top of another image. In this method, you can only overlap the second image over the background image.
- Open Google Docs.
- Tap on the Insert Option and select Drawing.
- Click on the Drawing → New.
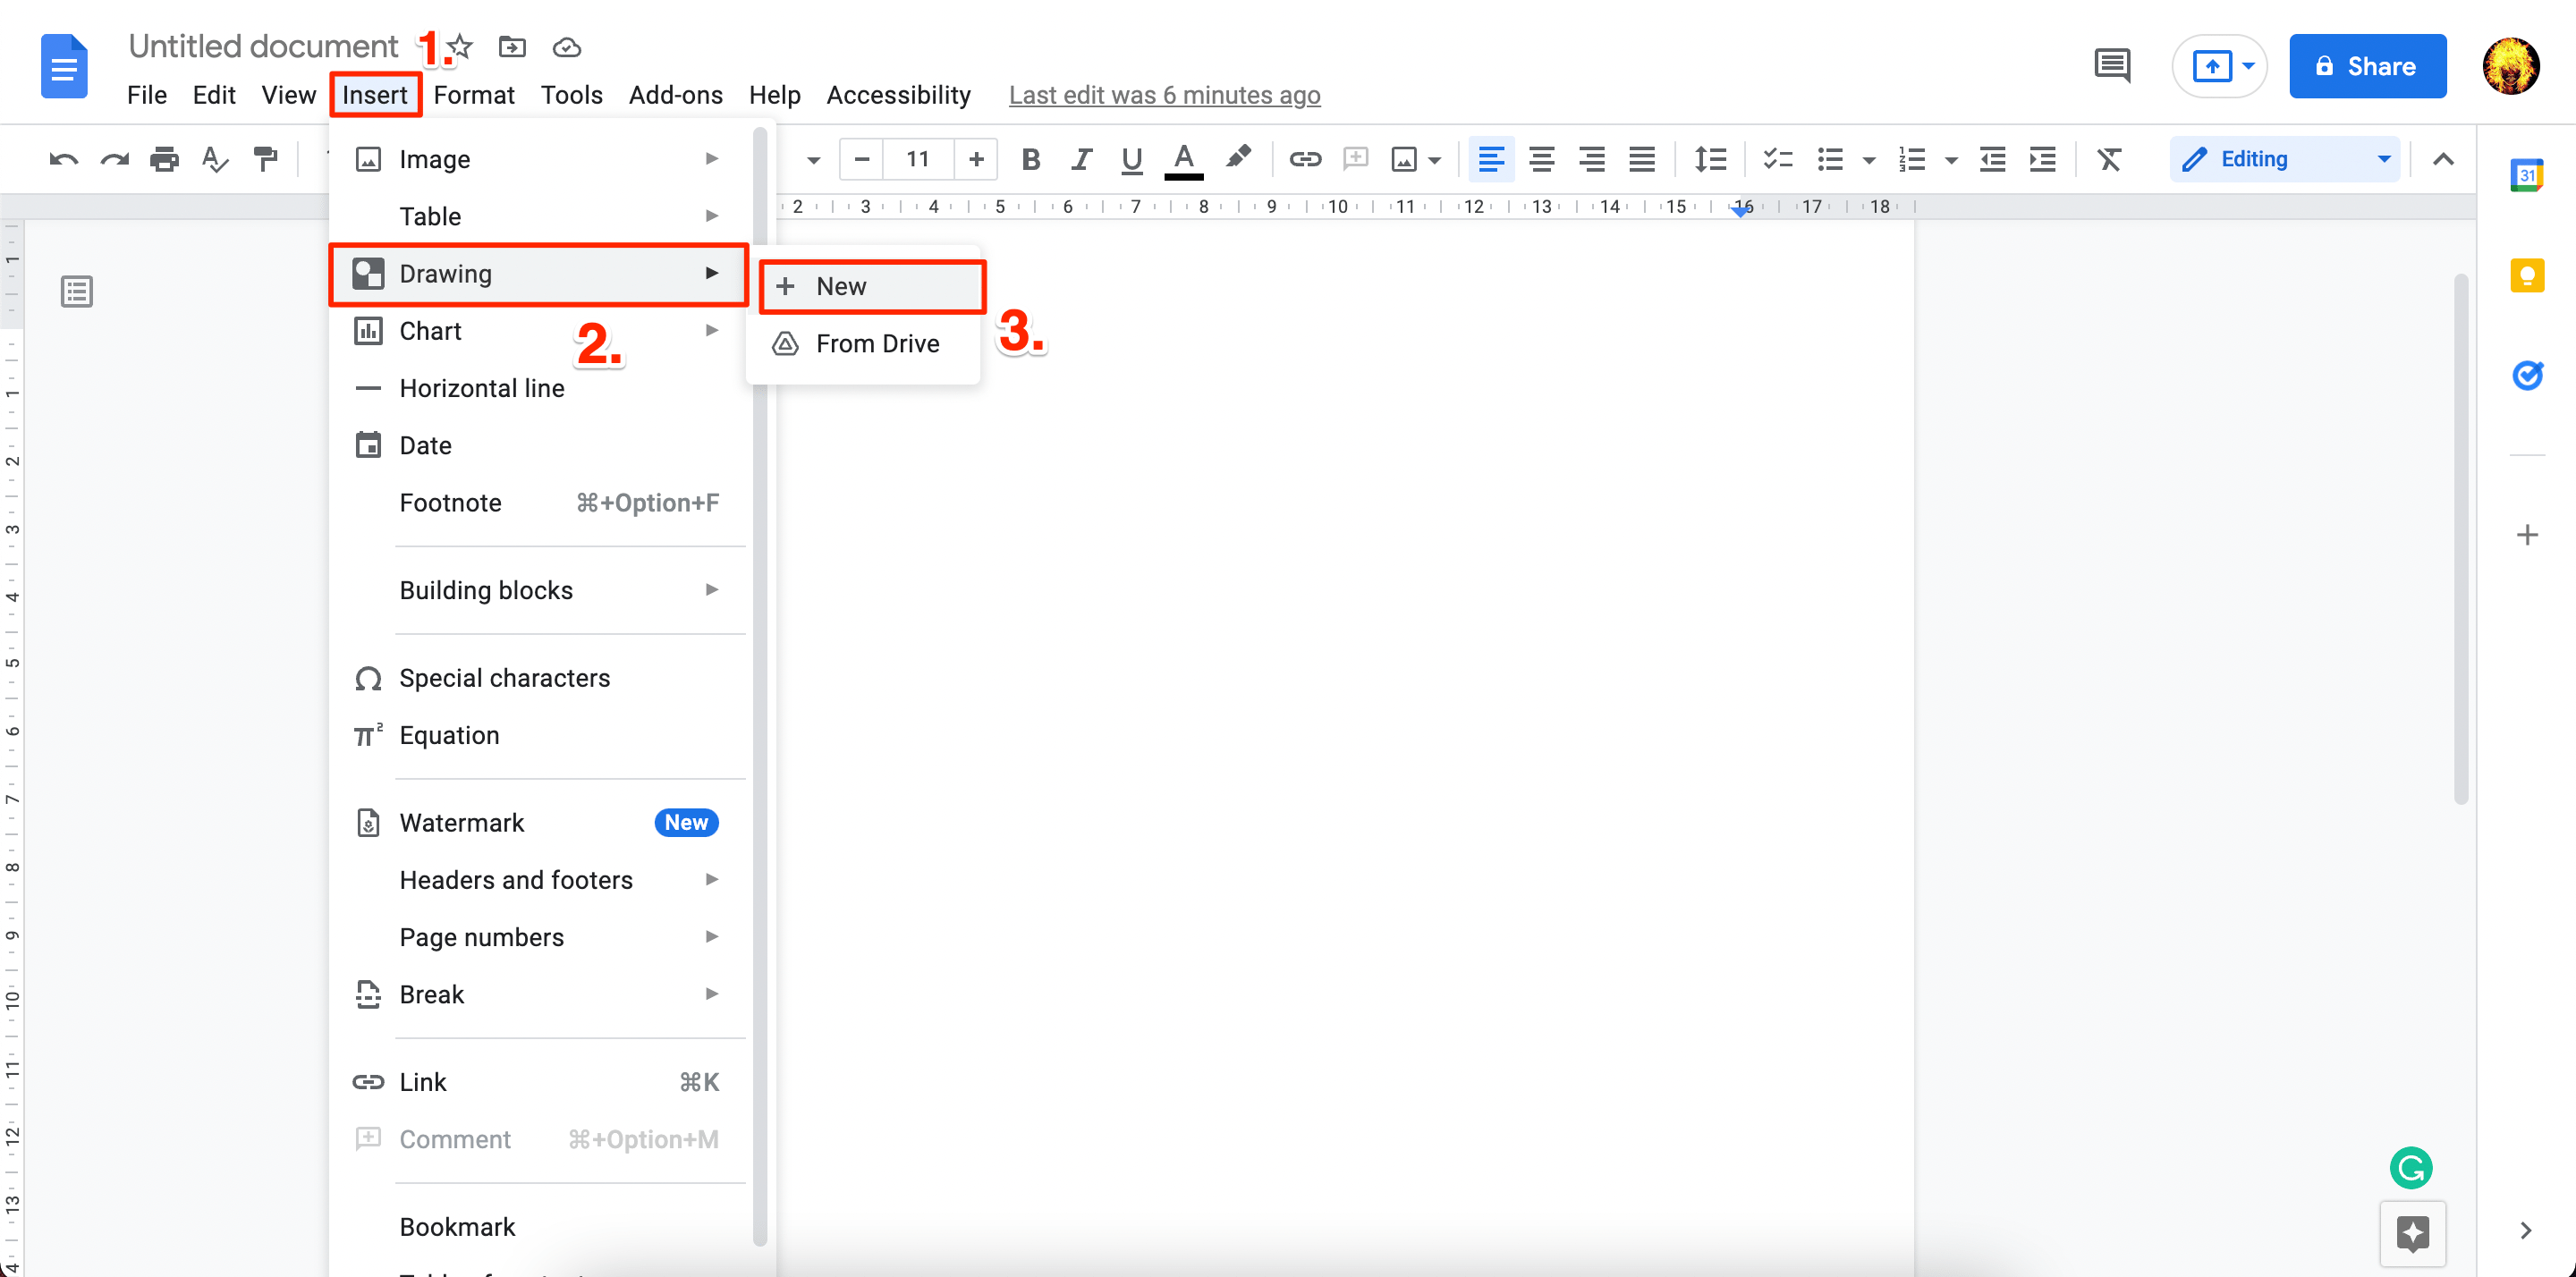
- Tap on the image icon.
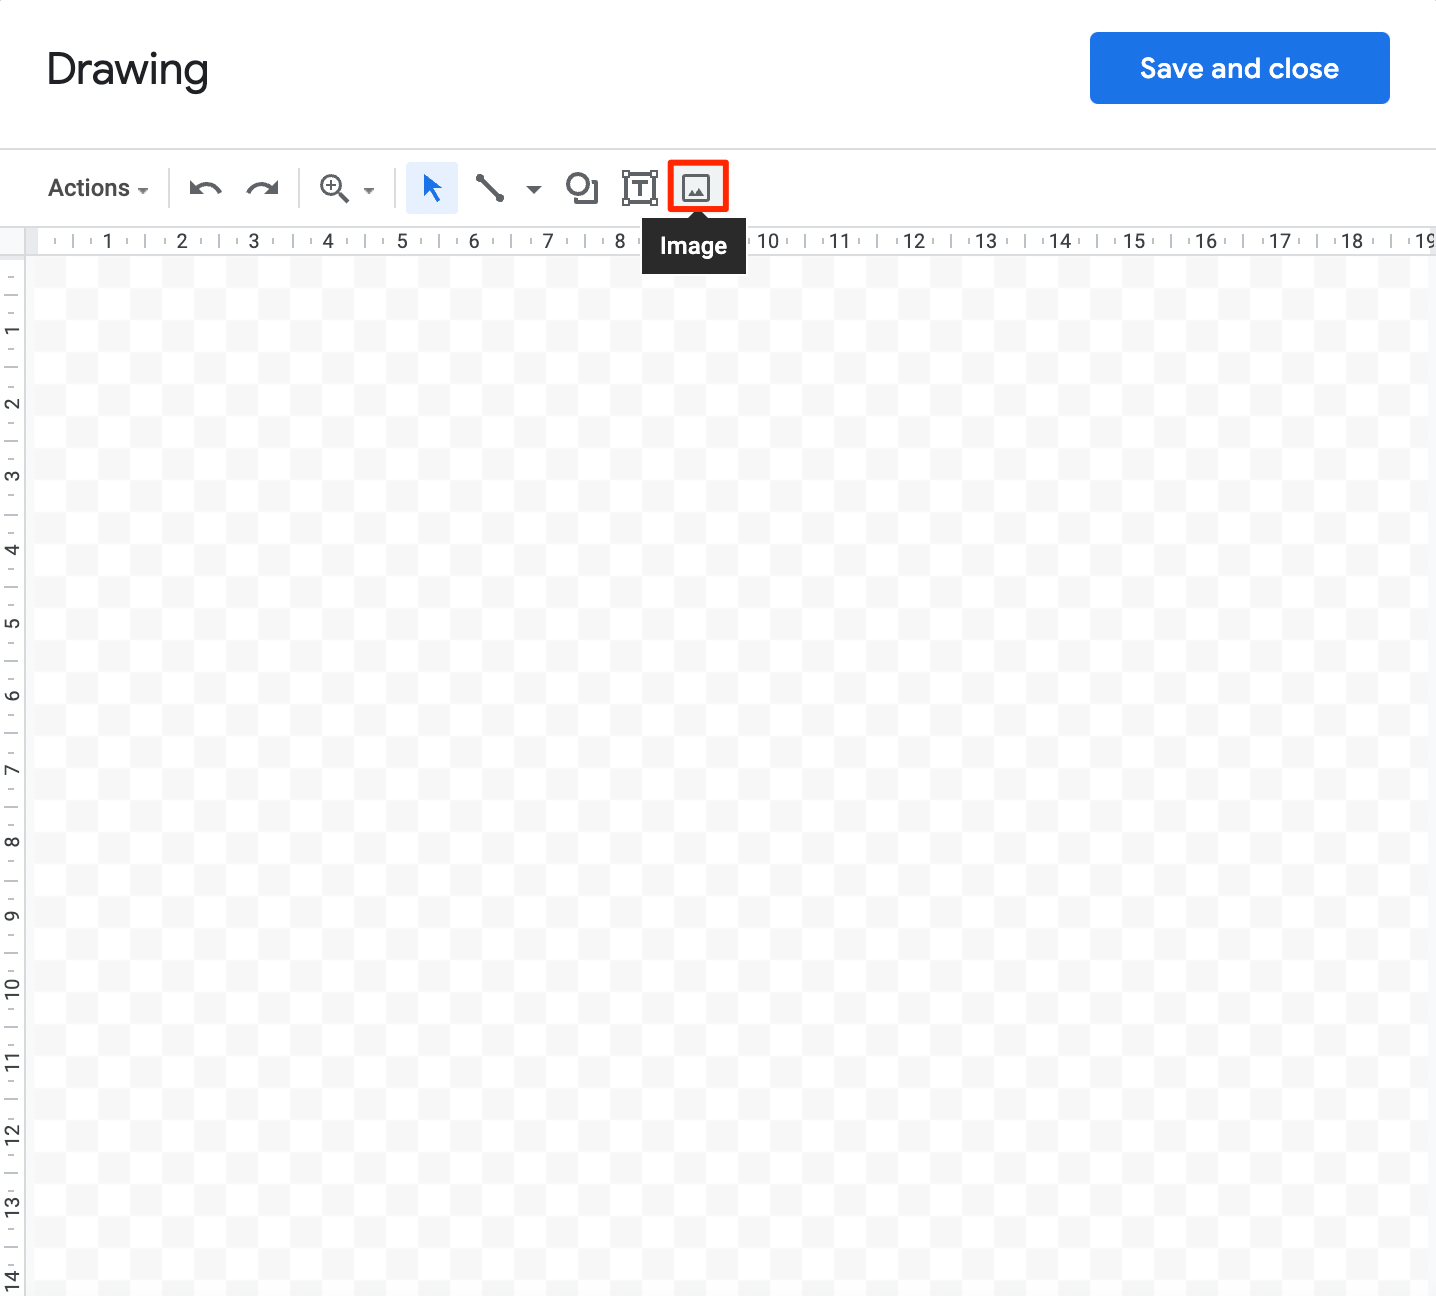
- Upload the photo from the available options as a background image.

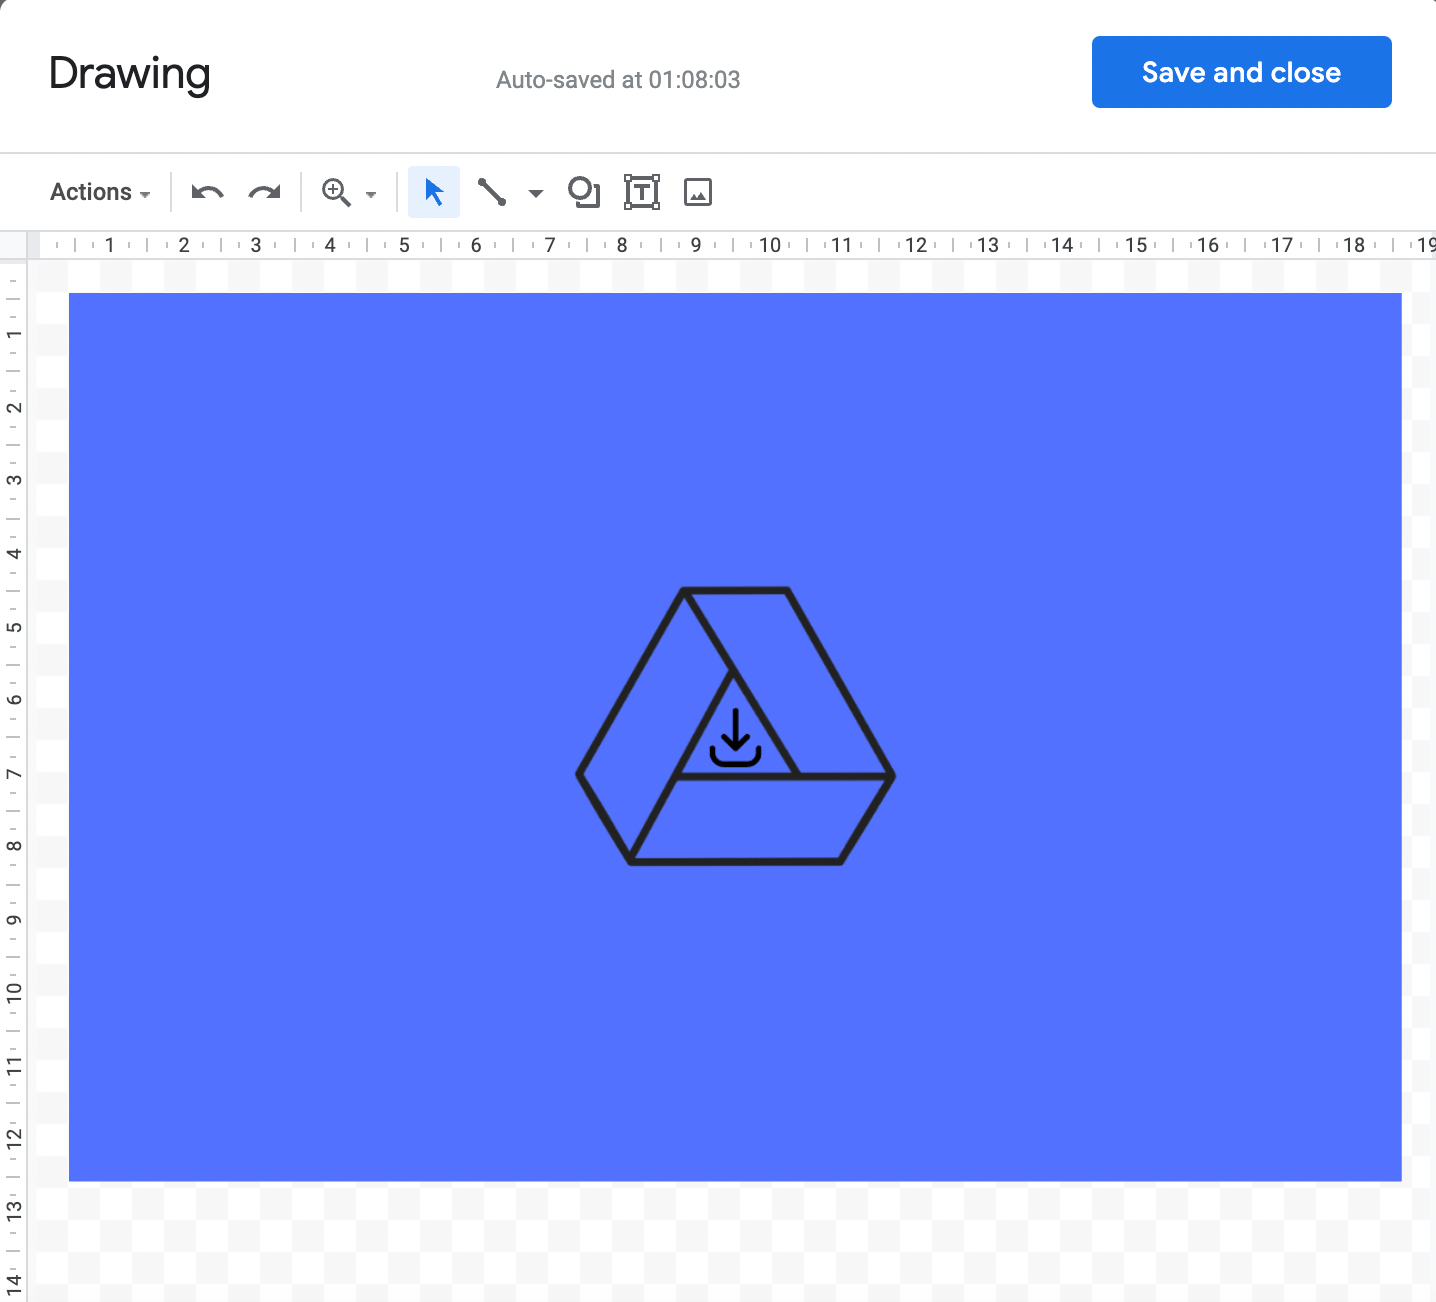
- To add an image as an overlay image, again tap on the image icon and select the image that you want to overlap.
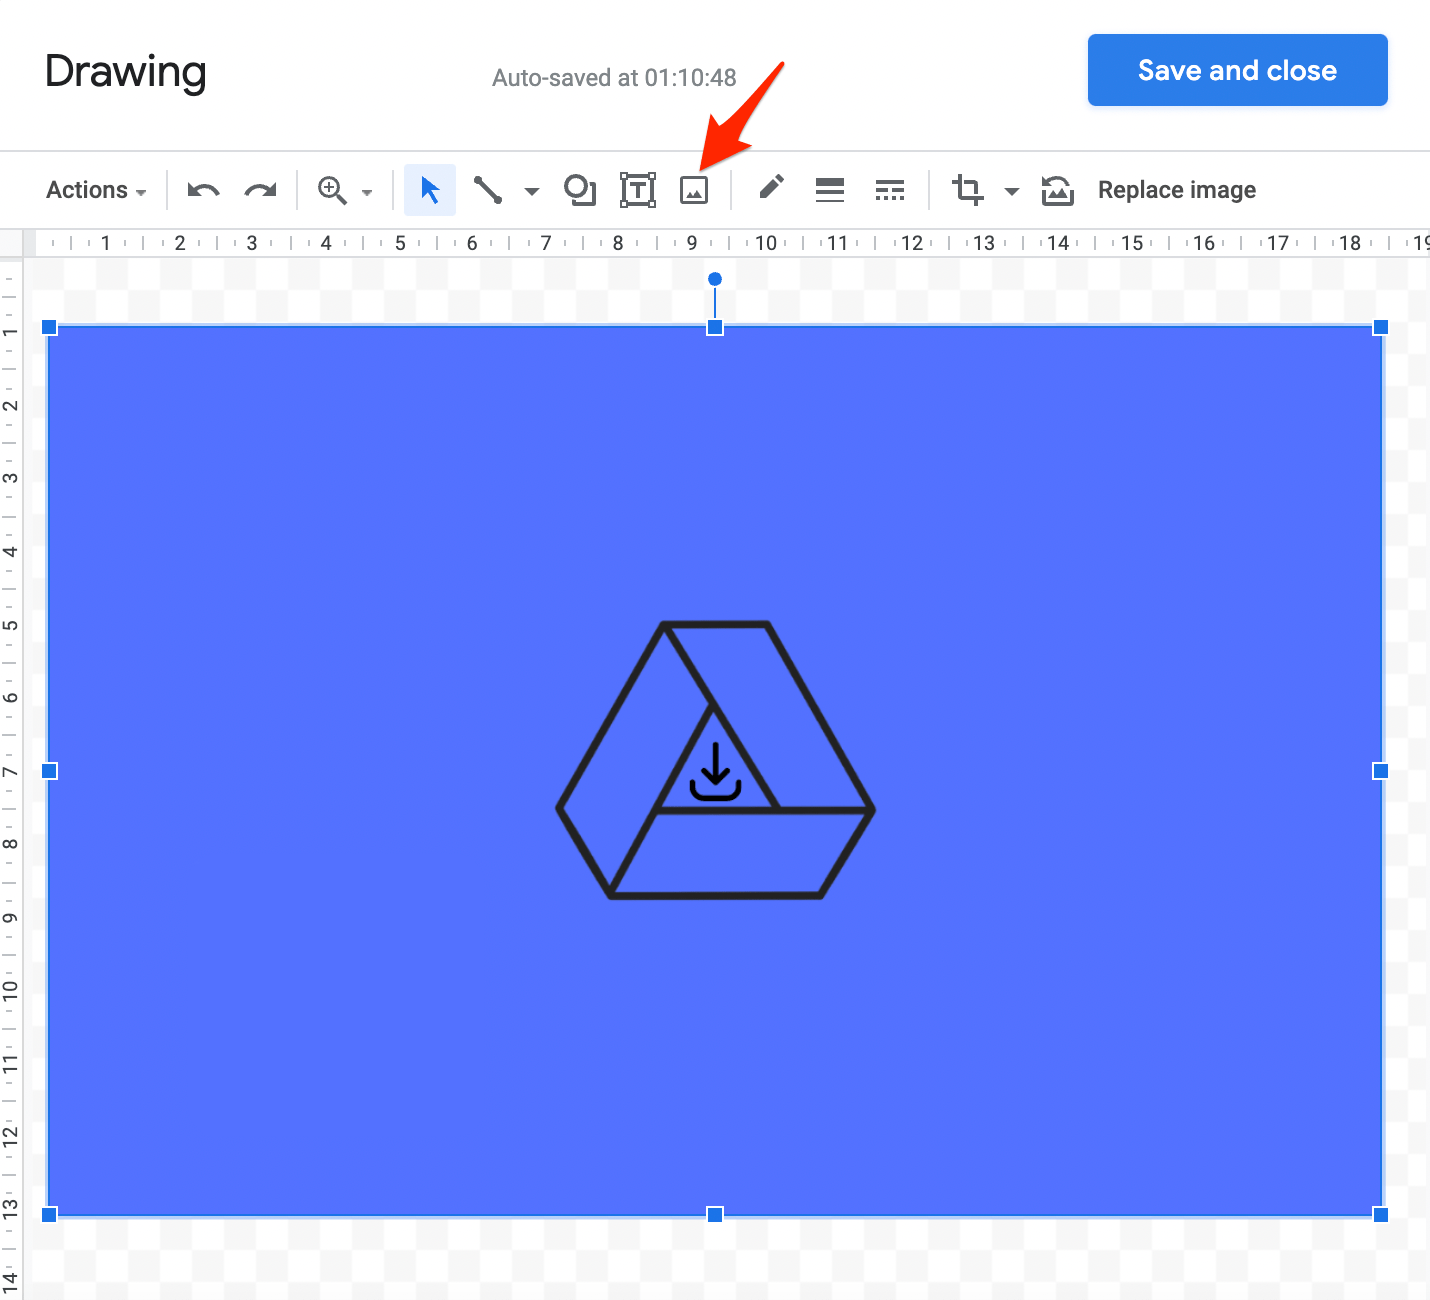
- You can adjust the image according to your need.
- Click on the Save and Close option. Done!
Conclusion
You can put an image on the top of another image using Text Wrap or Drawing tool. In this guide, we learned how one can overlap two or three photos in Google Docs.
