Dropbox is a cloud storage service widely used by people around the world. It is a safe and secure cloud service trusted by thousands of users. It is available for all the major platforms like Mac, Android, iOS as well as windows.
I have been using Dropbox for many years and the free service is just top-notch not to mention their paid plans priced very efficiently. Also, the fact that you can seamlessly integrate all your folders and files between multiple devices is just the cherry on top. If you too wish to use this cloud service then you can follow this article to get started.
In this article, we are going to provide you with a guide on creating and using the Dropbox account on your Windows PC. This including making a brand new account on Dropbox, downloading Windows client, and setting it up.
How to Create a DropBox Account on Windows?
To create the dropbox account on your windows device, first of all, go to www.dropbox.com using any browser of your preference.
After that on the home page of the dropbox website, you will see an option to sign up. Here you need to fill in all the necessary details like your full name, your email address, and phone number in some countries. At last, set a password of your choice and check the checkbox that says I agree to Dropbox Terms.
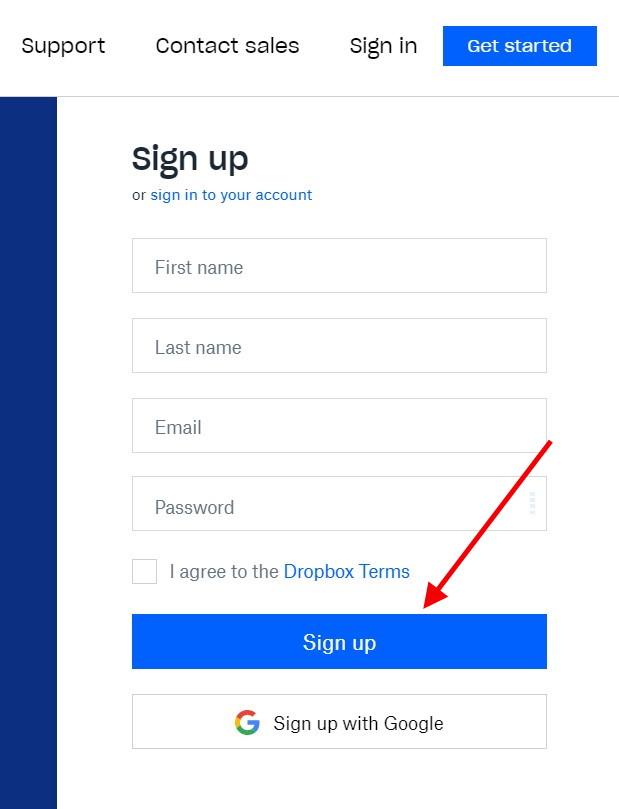
Now click on the signup button to proceed. Follow the instructions on your screen to complete the process and you are good to go.
Once you complete the signup process you can download the Dropbox software on your pc and use it from there.
How to Download and Use Dropbox on your Windows PC
To download the Dropbox software, first of all, go to www.dropbox.com. on the homepage, you will see the download Dropbox option. Tap on that and your download will start.
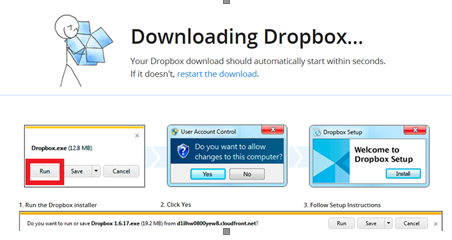
After a successful download click on install.exe and follow the instructions on your screen as shown in the upper mentioned image.
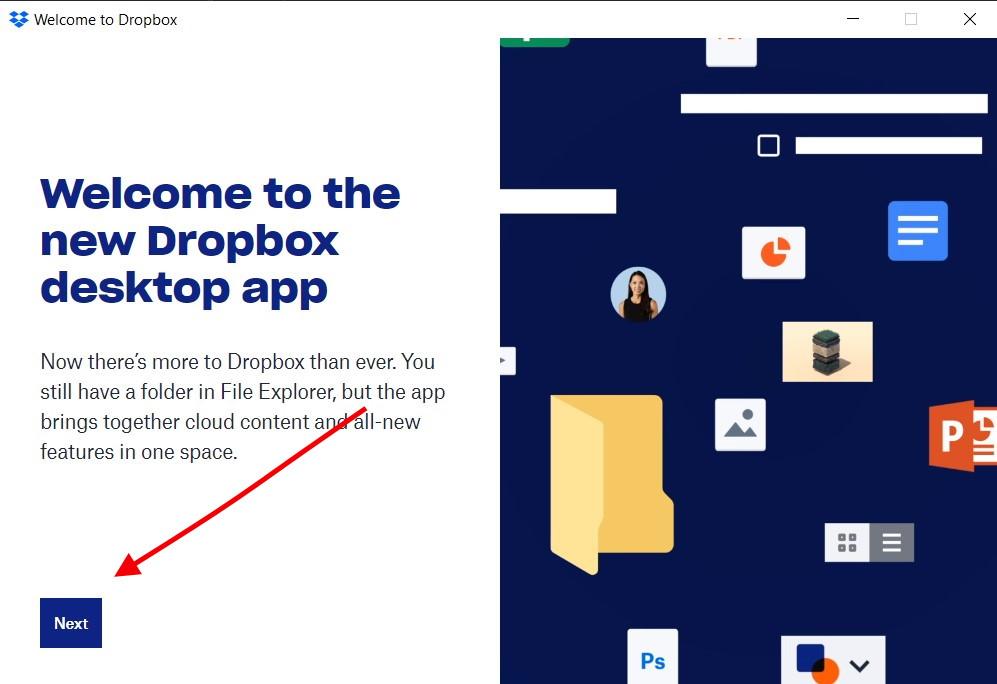
When you open the software for the first time it will ask you if you are a new user or you already have an account. Click on I already have an account option to proceed.
Up next, the software will show you the storage options as shown in the image below. Click on the 2GB option to use the free 2GB cloud storage.
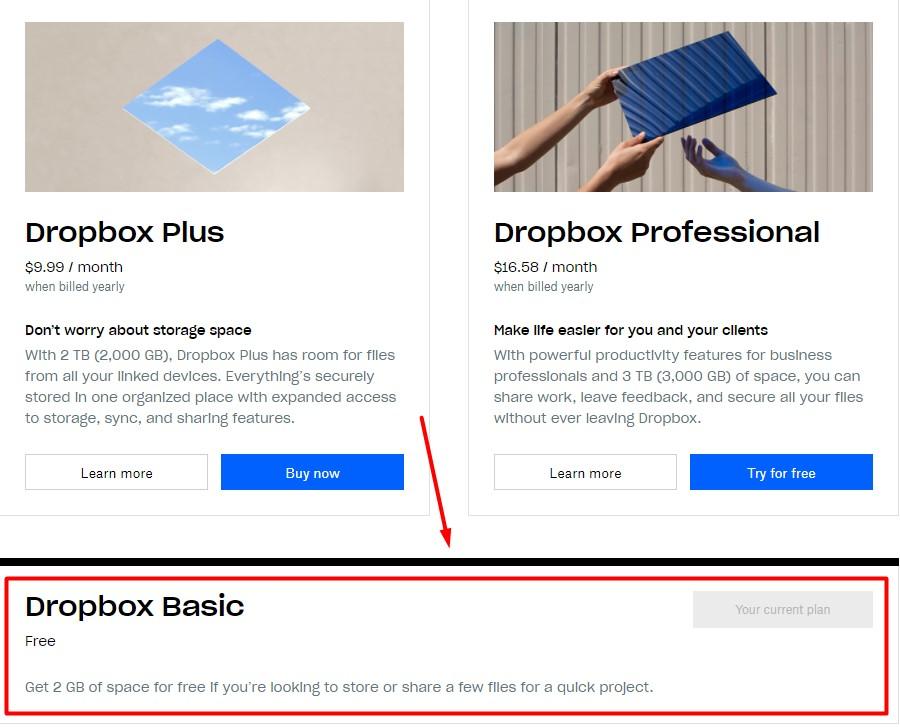
Lastly, you need to choose the setup type. If you are a normal user use the typical option.
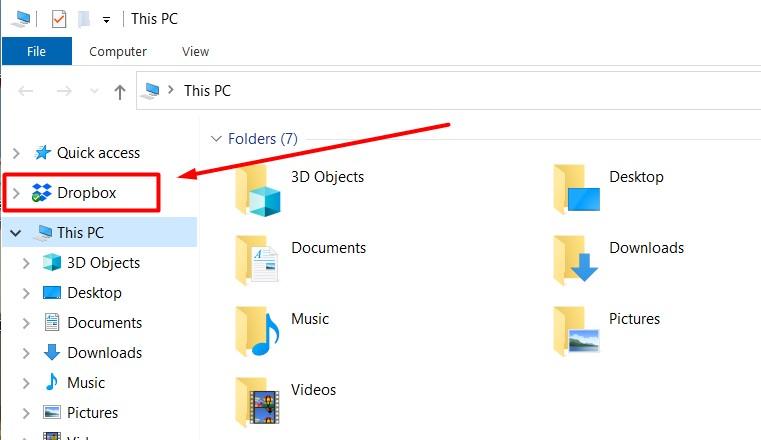
After all the onscreen configuration, you will see the Dropbox folder in the “My computer” section. Here you can create folders and files and all of them will sync automatically with the Dropbox server.
Conclusion
To sum up, you can easily use Dropbox on windows but you will only get 2 GB of storage for free but you can buy more with premium plans. That’s all for this article I hope this helps you in clearing all your doubts regarding creating a Dropbox account in windows.
