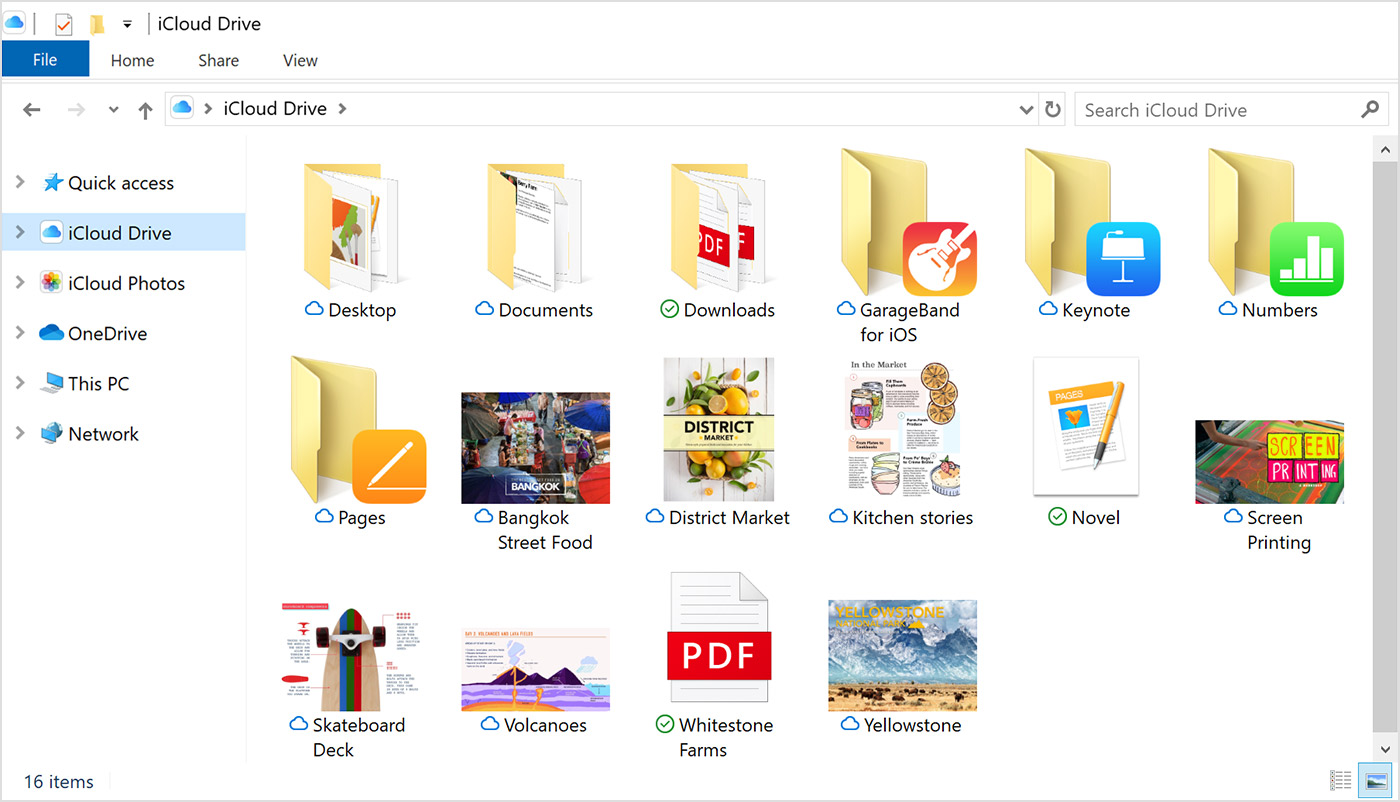
We all use different cloud storage services to backup and save our data at the present time. In recent years users started using different cloud storage services instead of local storage devices because online cloud services are better as they are always accessible with just an internet connection. Also, a user doesn’t need to carry the physical drives with him all the time if he uses cloud storage. A lot of companies offer cloud storage services.
If you are an Apple user, then you might know about iCloud, which is a cloud storage service by Apple. Now it is so easy to use on Apple devices, but it is a little tricky when it comes to other devices like a windows PC. If you are a windows user, but you want to use Cloud, then it became a little complicated. Don’t worry. We got you covered as we are going to provide a full guide on creating an iCloud account on your Windows PC.
How to Create an iCloud Account on Windows?
When it comes to Apple, you always need an apple id to use any service of Apple. It is the same for iCloud that means if you own an Apple device or not, you will always need an Apple ID to use iCloud. It applies to windows as well.
To be more specific, you need to create an apple id to use iCloud as you can’t create a separate iCloud account. So first, follow the below-mentioned steps to create an apple id. If you already have an Apple ID skip the first part. Go to the next part to know how to use an iCloud account on windows.
Steps to Create an apple id to use it as an iCloud Account on Windows:
To make an apple ID on your Windows PC, go to the official site of Apple ID from your browser by clicking here.
Firstly, click on the option ‘Create your Apple ID” at the top right corner of the screen.

As soon as you like, you will see a new window with the title ” Create Your Apple ID.” Here you need to enter all the personal details like your name, birth date, county, email, phone number, etc.
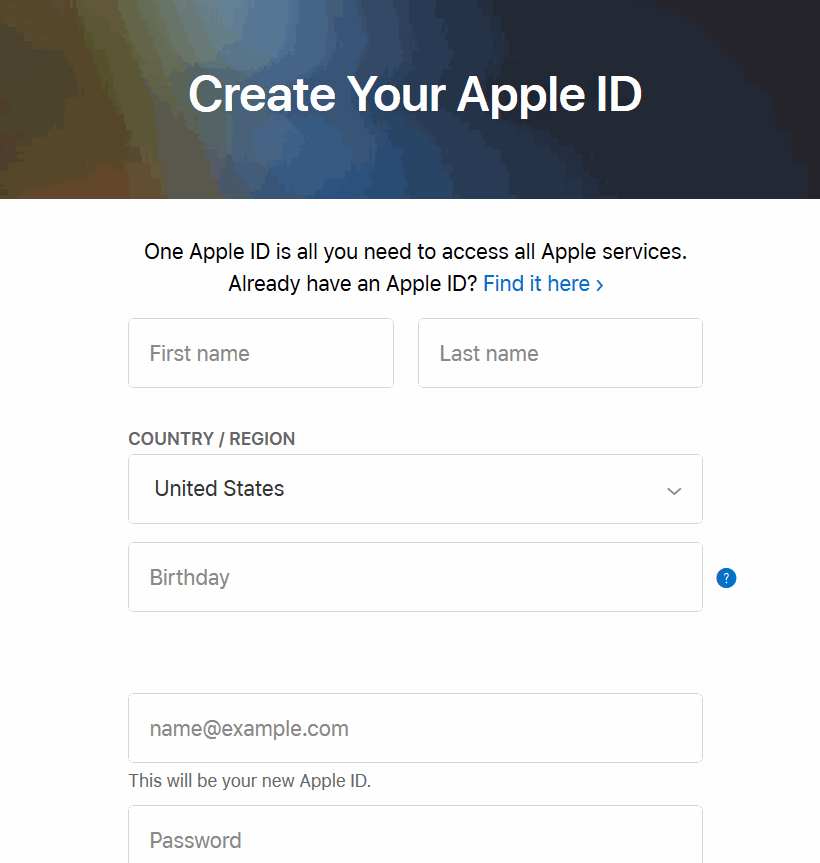
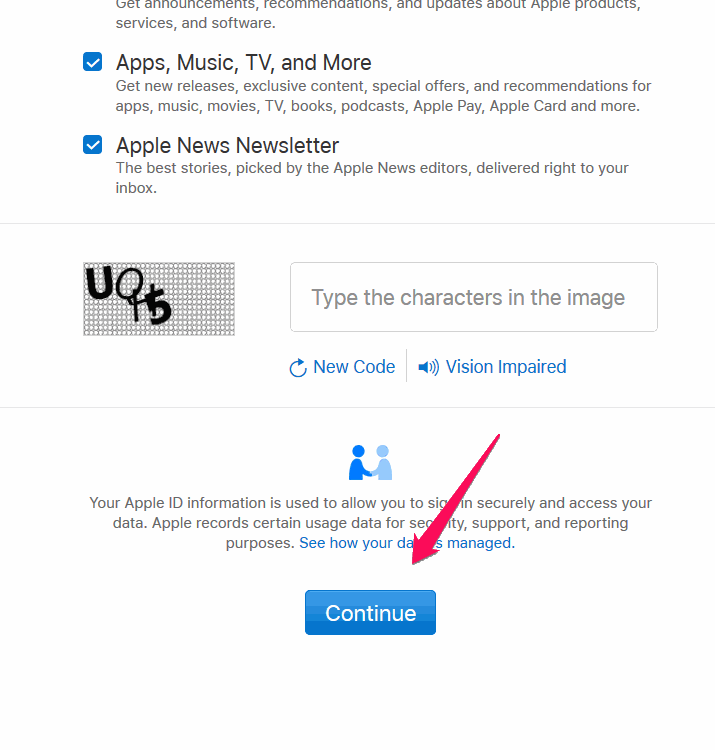
After entering all the details, scroll down and complete the captcha verification and click on the continue.
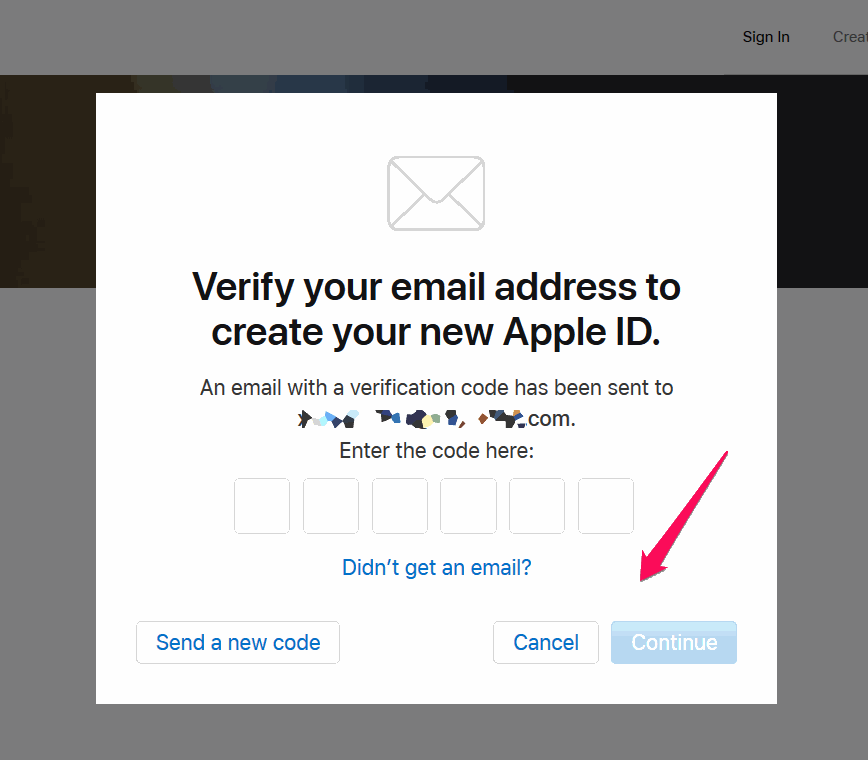
Secondly, you will receive a verification code in your email. Enter that code on the next page and click on continue.
After that, you will receive a verification code in your registered phone number just like before entering that code and click on continue.
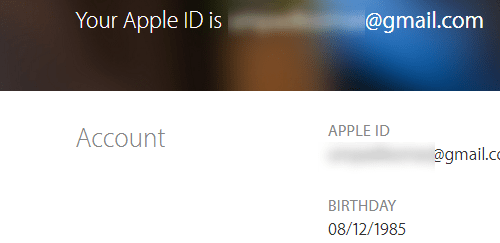
Lastly, wait for a few minutes till the completion of the registration process. That’s all. As soon as your account is created, you will see your apple id details on the next screen.
Steps to register and use an iCloud Account on Windows:
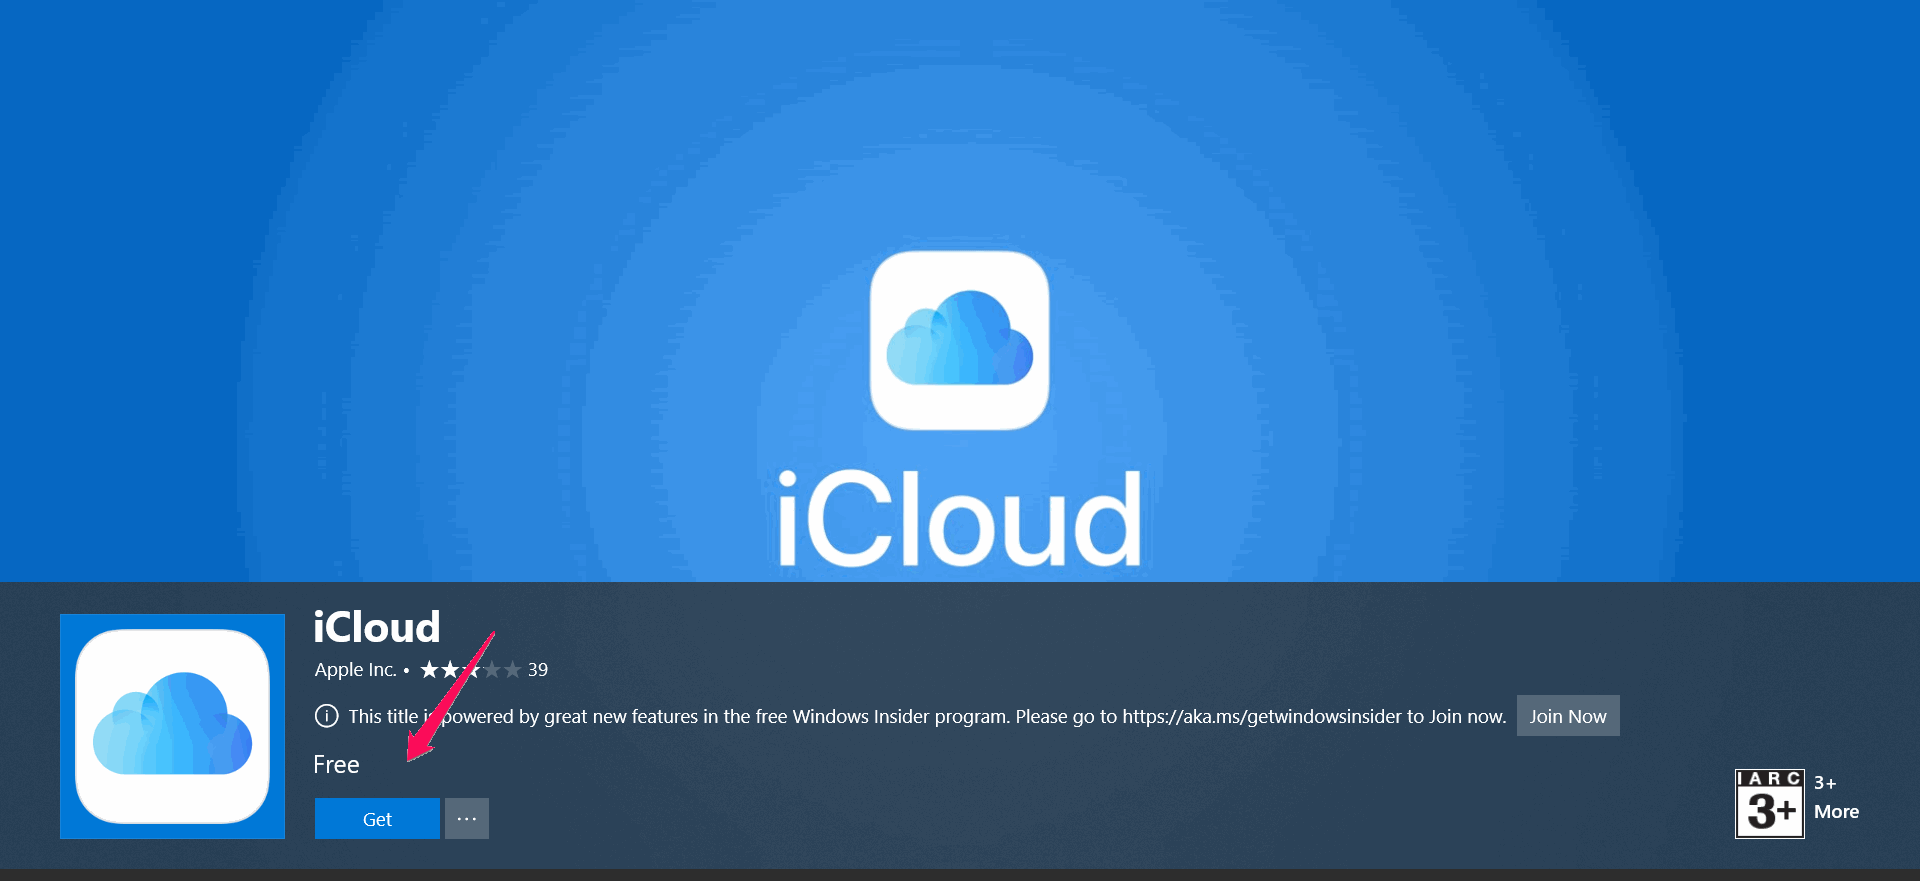
This is quite easy after getting an Apple ID. Firstly, open your windows store and search for iCloud. Click on the first result to enter the download page of iCloud. After that, click on the get option to start a download of the app.
Secondly, after the successful installation of the iCloud app, open it. When you open the app, you will see an option to enter your apple id and password. Simply enter your apple id and password to log in to the app.
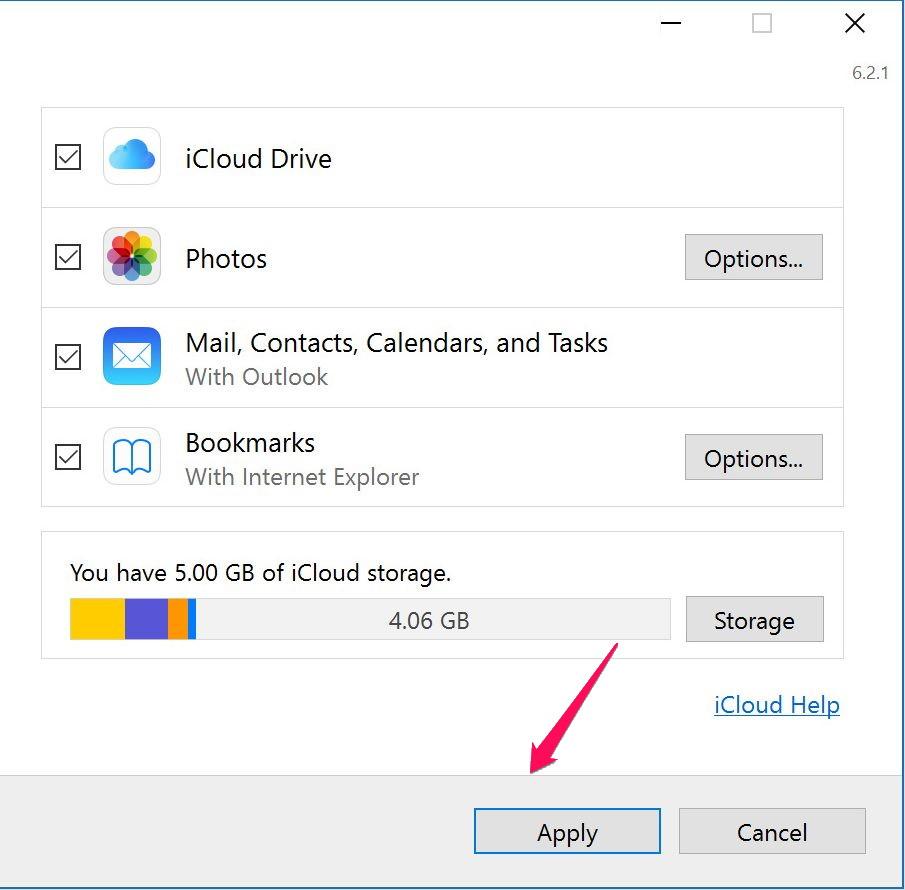
That’s all there is to it. After logging in, you will be able to select what to backup and other features like syncing and photos.
Conclusion
To sum up, first, you need to get an Apple ID to create and use an iCloud account on Windows. It is advisable to use a working email and phone number as it is required for verification. If you are on the older versions of windows, you can get the iCloud app for older windows OS from the official site of apple. That’s pretty much all for this article. I hope this guide clears all your doubts regarding the creation of an iCloud account on your Windows PC.
