When it comes to online cloud storage services, Dropbox has established itself right at the pinnacle. To get the most of this offering, users generally prefer to download and install its desktop app, rather than using the client version.
This in itself translates to a plethora of benefits, including the fact that all your files stored on your PC could easily be synced and organized in an efficient manner. However, installing it seems to be quite a challenging task.
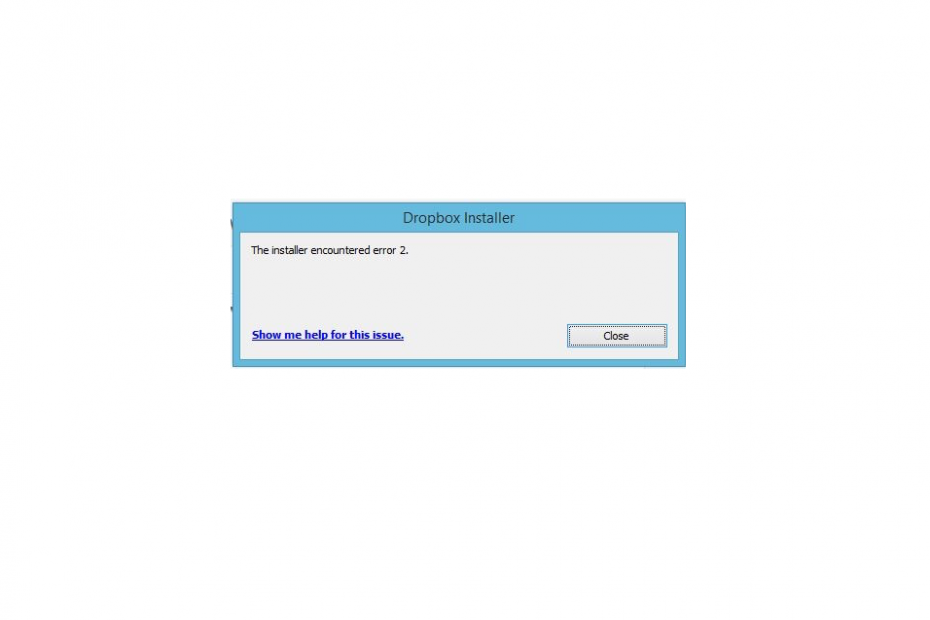
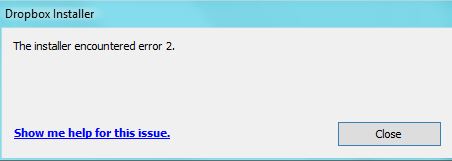
The Installer Encountered Error 2
Many users have complained that they are getting the Installer Error 2 while trying to install Dropbox on their Windows PC. If you are also getting bugged with this issue, then this guide is here to help you out. Follow along for the various fixes.
5 Ways to Fix Installation Error Code 2 on Windows PC
Here are the Best Solutions to Fix Dropbox Installation Error 2 on your Windows 10/8.1/8/7 PC
Try out the Latest Version
Using an old or outdated version could lead to quite a few issues, including the one that we are currently dealing with. Therefore, it is recommended to use Dropbox’s latest offline Installer. For that, grab hold of the newest version from its official site and then try installing it onto your PC. See if it works out for you or not.
Rename Client Folder
Many users have achieved success after changing the names of the old and updated Clients folder. This has to be performed in combination with toggling of the Auto Start feature. Here are all the required instructions for the same.
- To begin with, launch Dropbox, click on the hamburger menu situated at the top right, and select File > Preferences.
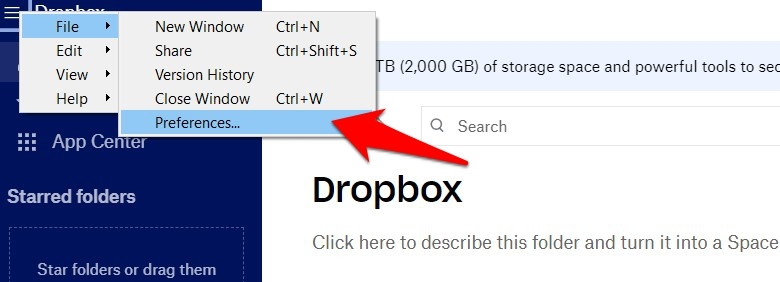
- Within that, head over to its General section and uncheck the Start Dropbox on System Startup option.
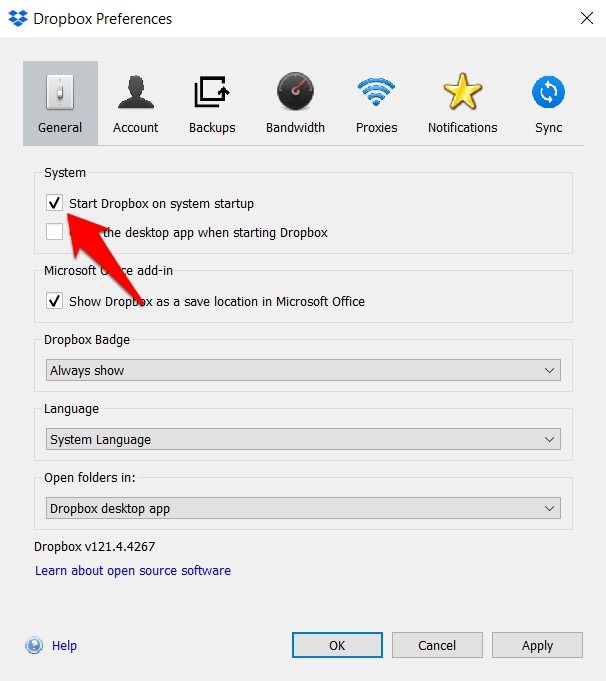
- Now close the app and reboot your PC. Once it restarts, go to the Dropbox installation directory.
- After that, rename the old Client folder to Client_version (make sure to replace the version keyword with the actual version number of Dropbox).
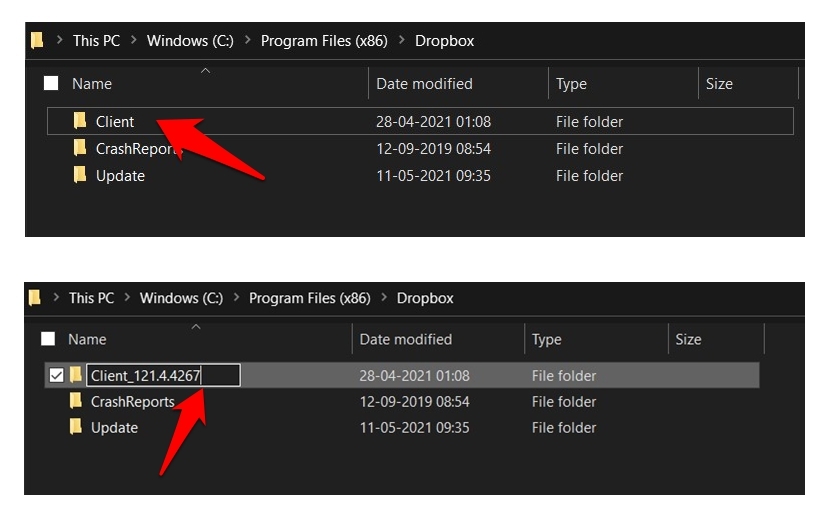
- Furthermore, if there is a newly updated Dropbox Client folder, then rename it from Client_version to just Client (that is, remove the version number from the end).
- Once that is done, again go to the Dropbox Preferences section and this time, re-enable the Auto Start option.
- Check if this tweak is able to fix the Installer Error 2 on your Windows PC.
Check Dropbox Client’s Size
If the installation path is incorrect or incomplete, then the installation wouldn’t be able to proceed ahead. To verify the same, it is important to check the size of Dropbox’s Client folder under Program Files. Here’s how:
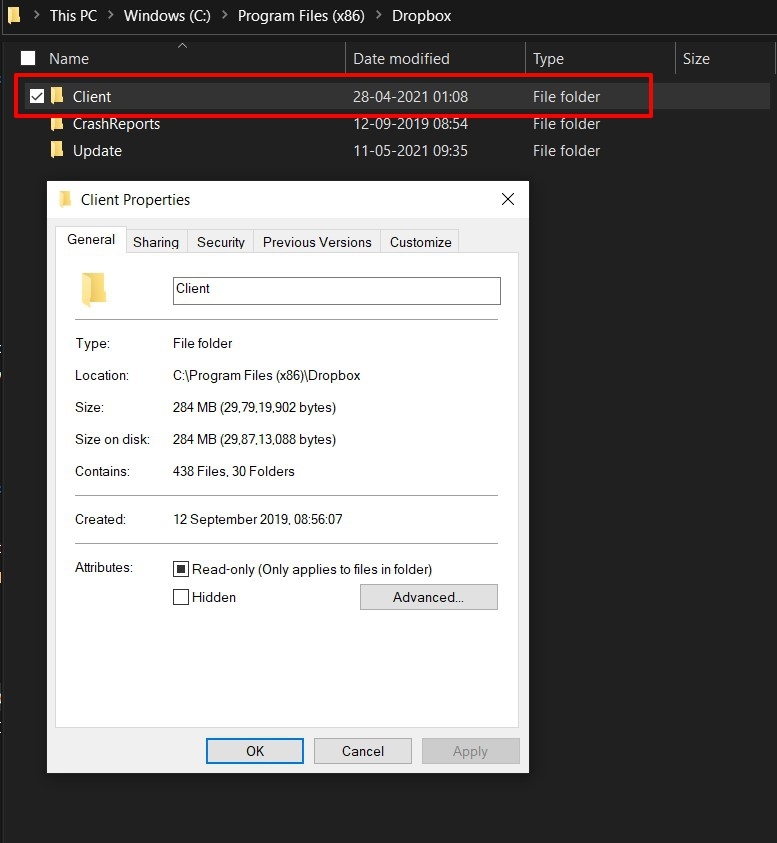
- Launch File Explorer and go to C:\Program Files (x86)\Dropbox or C:\Program Files\Dropbox, whichever location you are able to find the Dropbox folder.
- Within that directory, you should see the Client folder. Check out its size, if it is 0KB, then the installation was interrupted in between.
- So restart your PC and then retry the installation process using the latest version. See if it gives out any favorable results.
Delete Dropbox Cache Files
If there are a few files remaining from an earlier installation or from an older version of Dropbox, then it could conflict with the installation of the latest build. Therefore, it is recommended to delete all these files, from the following directories:
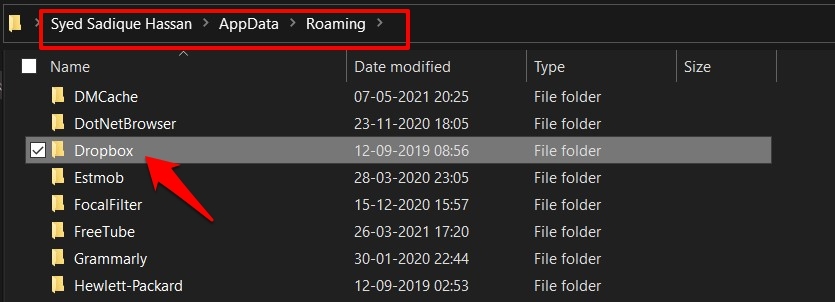
%APPDATA%
%LOCALAPPDATA%
%PROGRAMFILES%
%PROGRAMFILES(x86)%
You may copy-paste the above locations directly into the File Explorer’s address bar. And once all such files have been removed from the above-mentioned locations, restart your PC. Then try installing Dropbox again and see if it rectifies the underlying issue.
Check Environment Variables
If Dropbox’s environmental variables don’t contain the root directories values, then the app might not be able to be installed onto your PC. Even if it is installed, it might face an issue or two while functioning properly. Therefore, you should verify that all the PATH environment variables are added.
- To do so, head over to the Start Menu and search View Advanced System Settings.
- Within the Advanced tab, click on the Environmental Variables button.
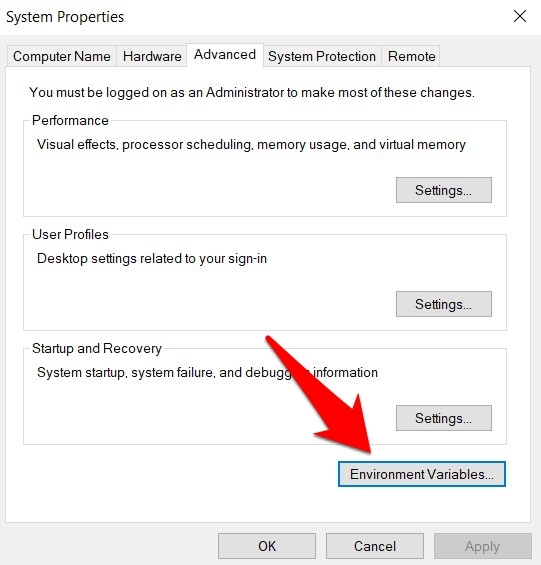
- Now under the User Variables section, make sure that the Dropbox variable has the following values:
%SystemRoot%\system32;%SystemRoot%
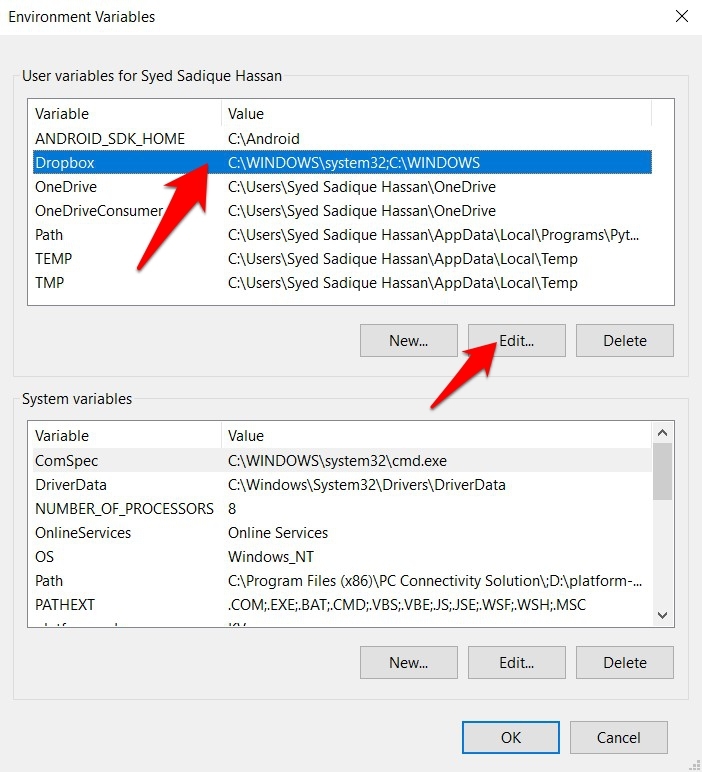
- If that is not the case, then select Dropbox and click on the Edit button.
- Then add those variable values and click OK.

- Finally, restart your PC and check if the issue has been fixed or not.
Contact Dropbox Support
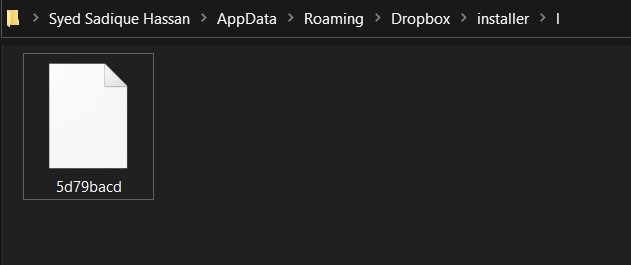
If none of the aforementioned methods managed to give out favorable results, then consider contacting the Dropbox team. But before that, head over to either %LOCALAPPDATA%\Dropbox\installer\l or %APPDATA%\Dropbox\installer\l directory and you should see a log file. Copy it and send it to the Dropbox Support site along with your complaint.
So this was all from this guide on how to fix the Dropbox Installer Error 2 on Windows. We have shared a total of six different methods, do let us know in the comments section which one worked out for you.
