Google Slides, Google’s web-based presentation tool, is one of the top presentation platforms. It competes with Microsoft PowerPoint and has become increasingly popular among students and professionals alike. Powerful presentations help users communicate their message effectively. Google Slides allows users to create such powerful presentations with the help of its useful features.
One of the basic features of Google Slides lets users add elements like images, videos, text, links, etc. Adding images to a presentation takes it to the next level. But the images need to be just right! Images flipped the wrong way can make a presentation look strange.
In this article, we will talk about flipping an image in Google Slides to solve this problem.
Difference between Flipping and Rotating a Photo
There has always been confusion around the definition of flipping and rotating an image. To put it simply, flipping an image is not the same as rotating it. Flipping an image turns it over, horizontally or vertically, and hence it is mirrored. On the other hand, rotating an image moves it around the axis, but the face of the image does not change.
Flipping or Rotating an Image in Google Slides
Users can flip an image horizontally, vertically, and rotate it clockwise or anti-clockwise. This leaves the users with many choices to flip or rotate the images to their liking.
Step 1: Open Google Slides and go to the presentation you are working on. Go to the slide, which has the image you want to flip.
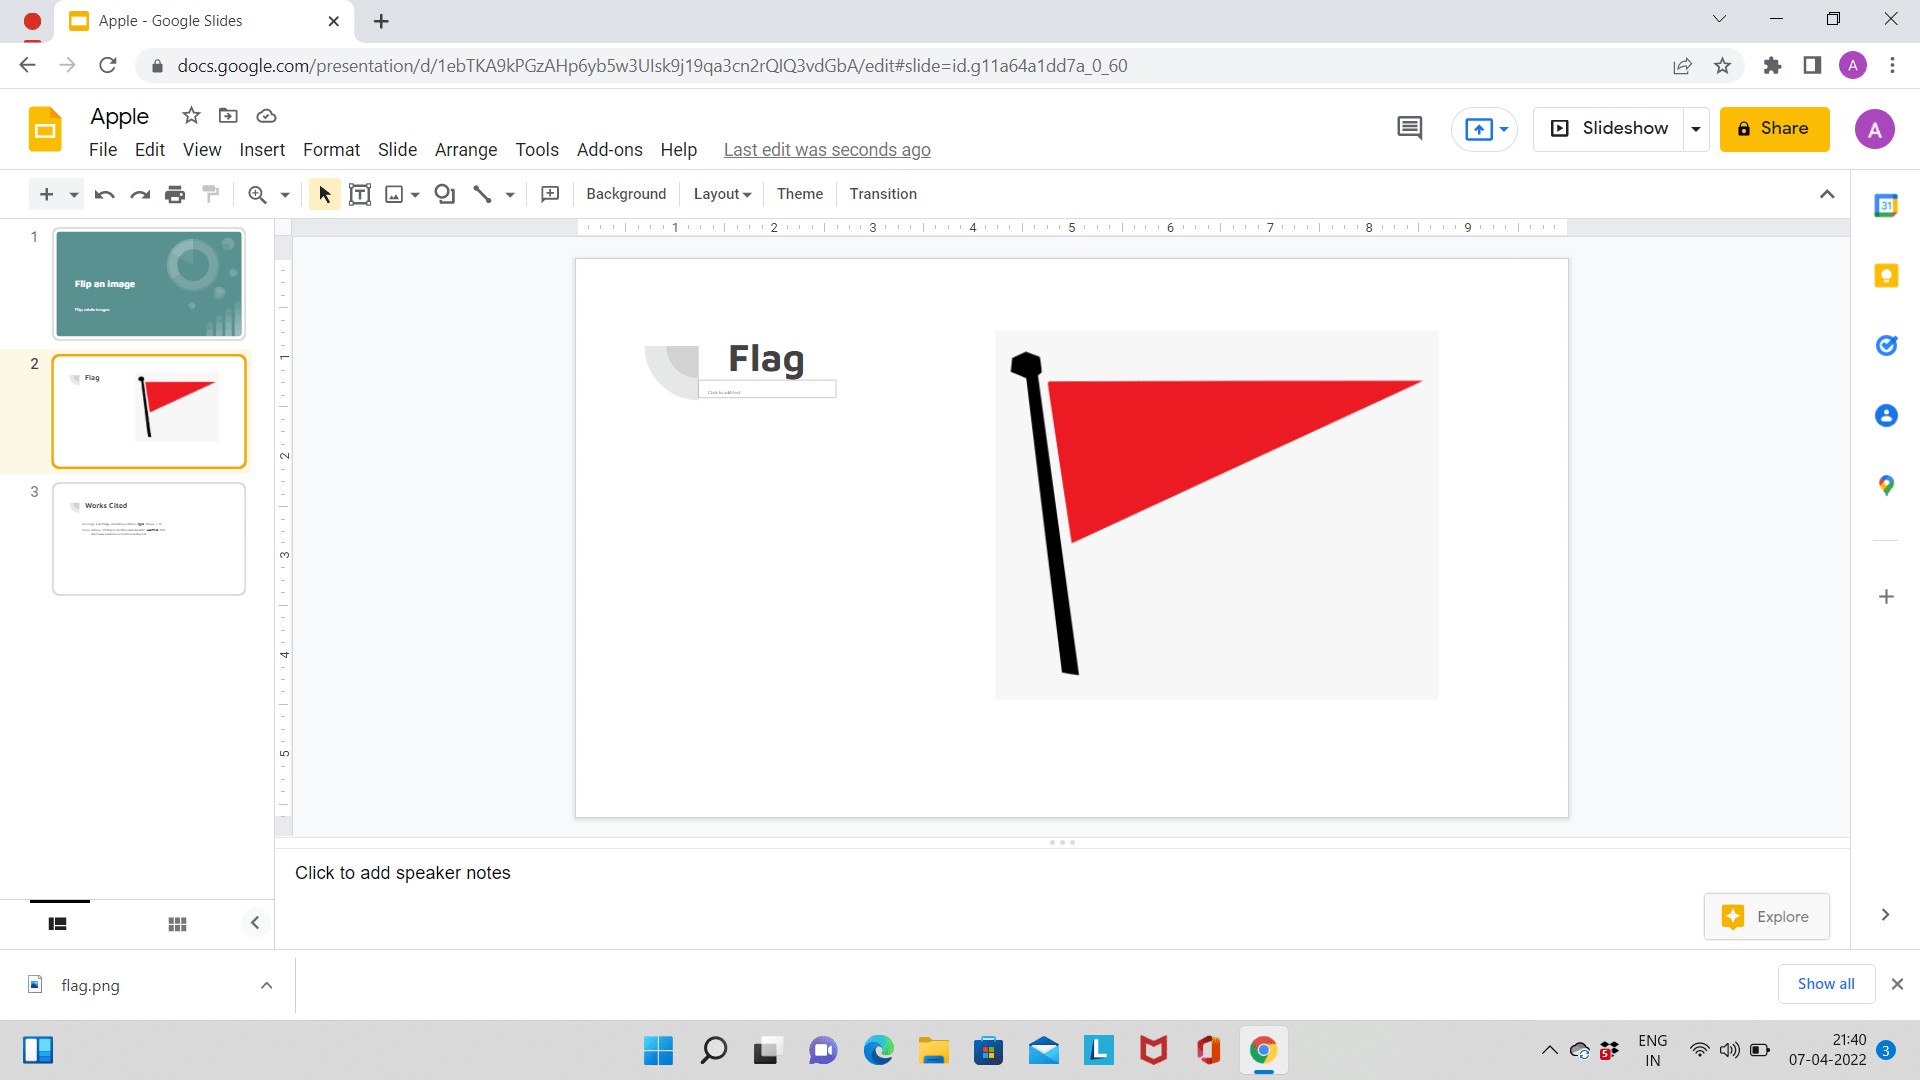
Step 2: Select the picture you wish to flip.
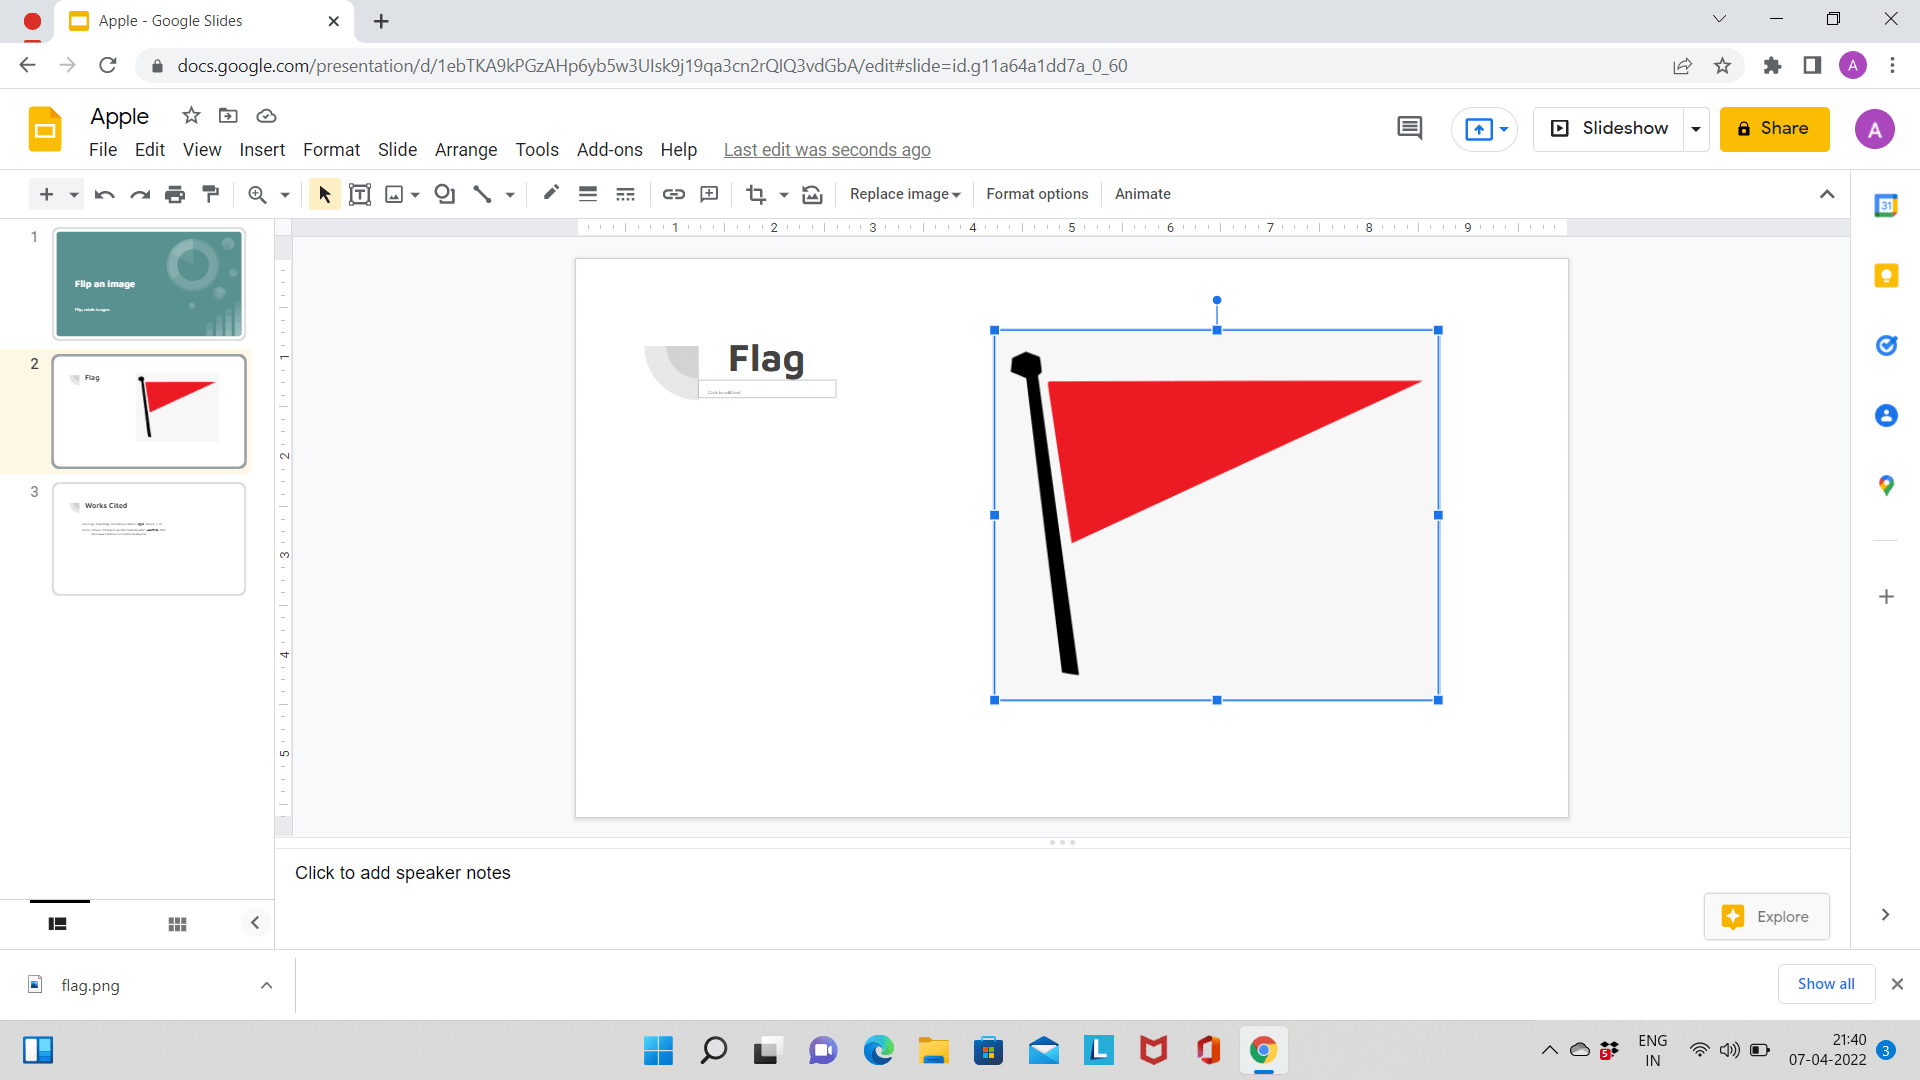
Step 3: Click on the ‘Arrange‘ tab located at the top. From the menu that appears click on ‘Rotate’. From the four options, ‘Rotate Clockwise 90°, Rotate counter-clockwise 90°, Flip horizontally, and Flip vertically, choose one.
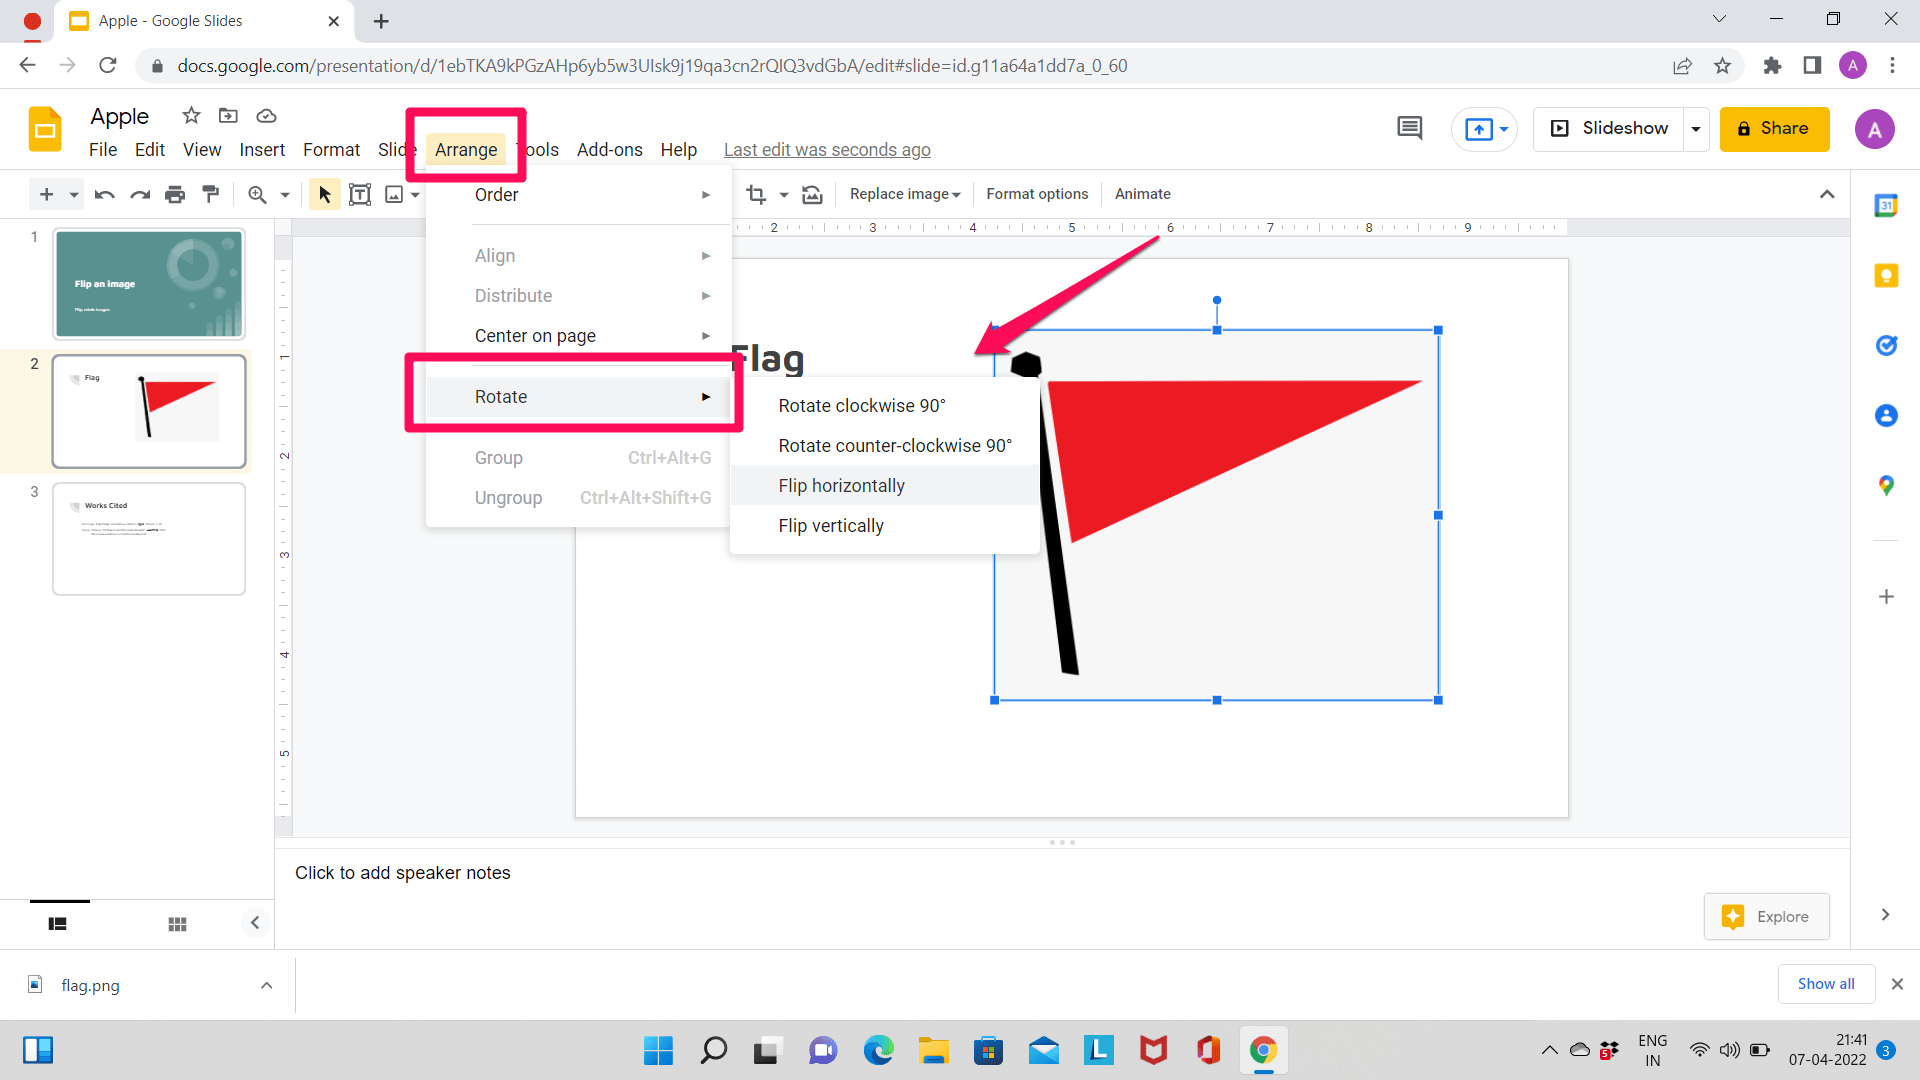
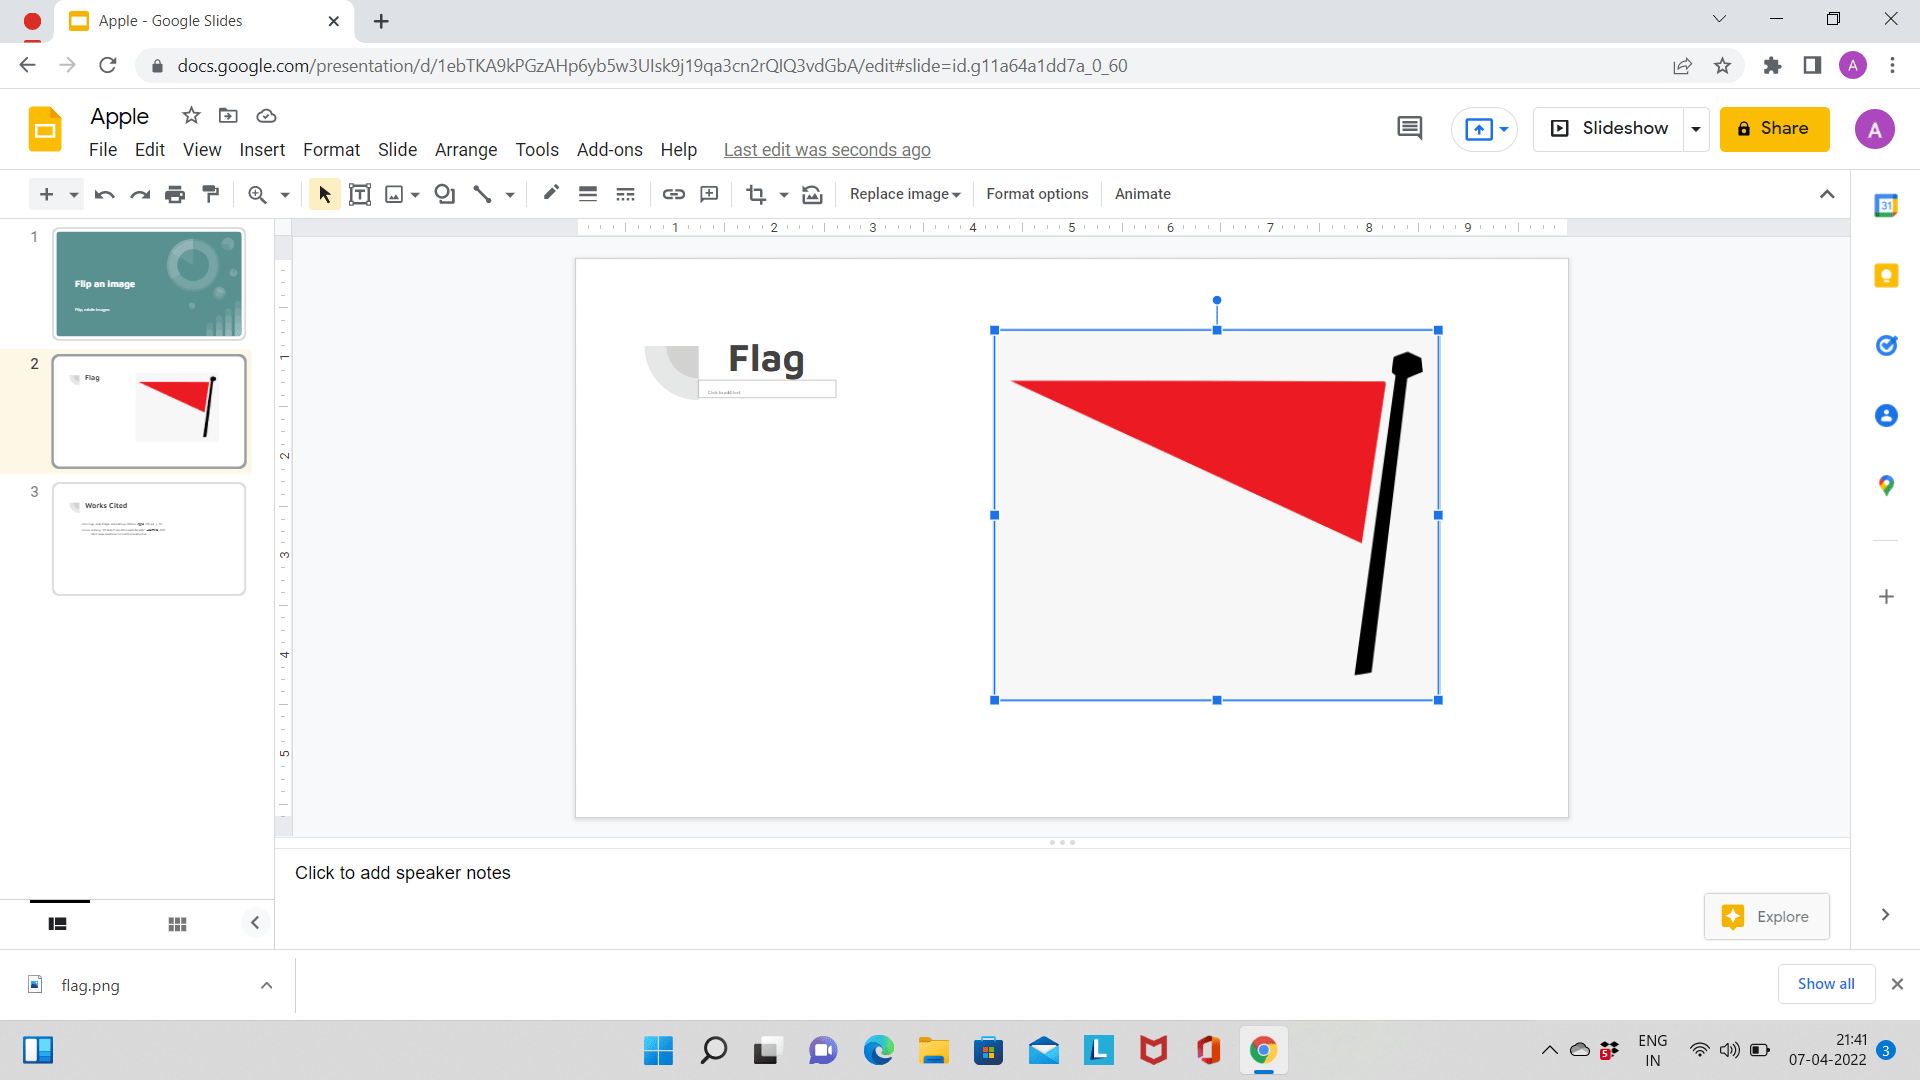
The image looks like this when flipped horizontally.
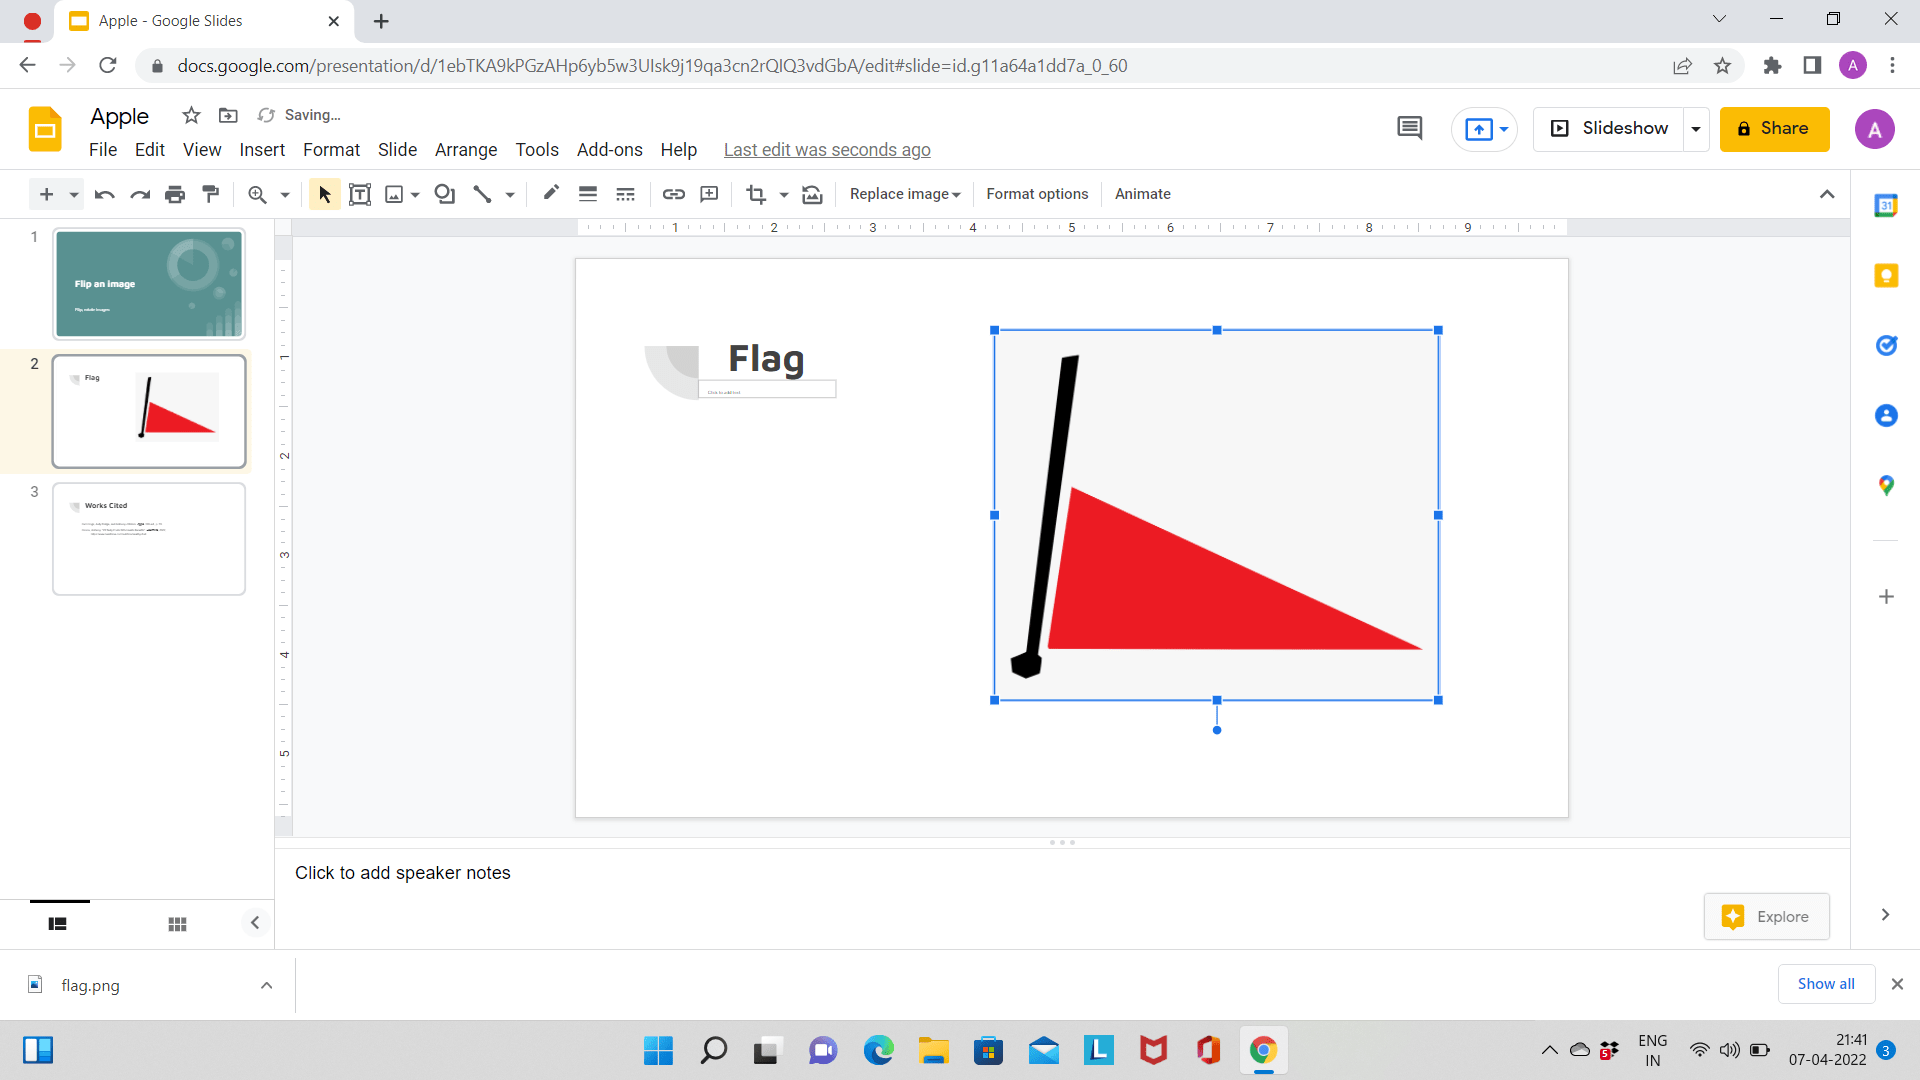
On the other hand, it looks like this when flipped vertically.
Note: If you have decided that you do not want to flip the image but want to rotate it you can adopt another method. You can rotate the image by clicking and holding the tiny blue dot/circle appearing above the selected image. You can get the job done by clicking and dragging the image to rotate it to your liking.
Conclusion
Images are an integral part of all presentations. They make boring presentations interesting and attractive. Sometimes, we need to change the orientation of images for a clean look. Thus, flipping images is a necessary step for a perfect presentation. We hope this article helped you figure out how to flip images in Google Slides.
