Who doesn’t use Google Docs? This productivity is one of the most widely used collaboration tools. It allows users to create documents. They can also edit, share and work with others on these documents. This free tool can be used to create a lot of things like Resumes, Brochures, Reports, etc. Users can make use of different fonts, font sizes and add exciting elements. Images, Drawings, and Tables can be added to a Google Doc easily.
Talking about tables, they are a great way to present complicated data in a simplified form. Adding a table in Google Docs can make a Google Doc quite attractive.
Moving a Table in Google Docs
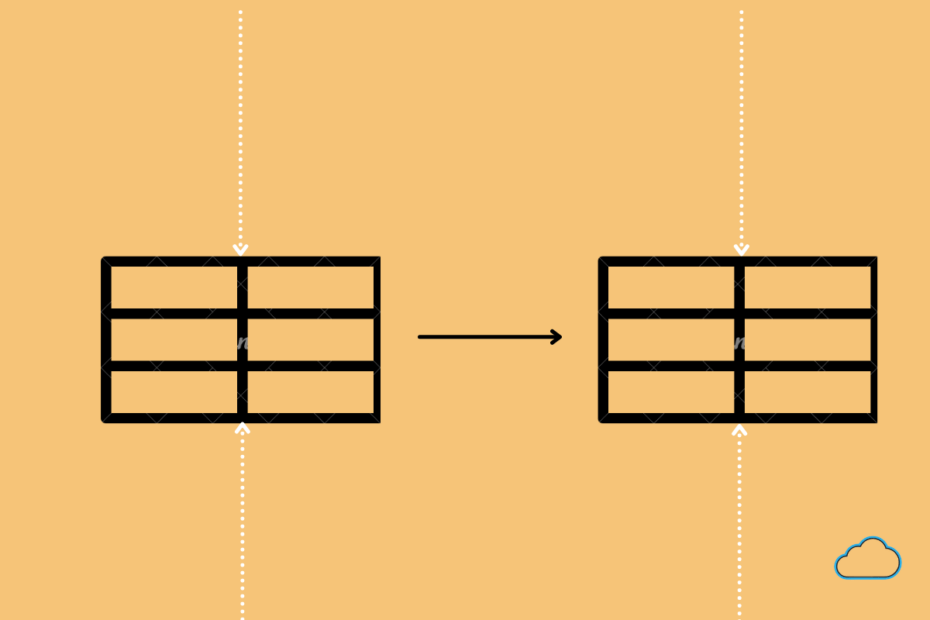
Once a table is inserted into Google Docs, there may be many reasons why a user may want to move it, maybe the table looks out of place, or the user just wants to change the location of the table. Either way, the process of moving a table is not complicated at all. Users can also move the rows and columns of a table, but today we will be talking about moving a complete table in Google Docs.
Select the Table
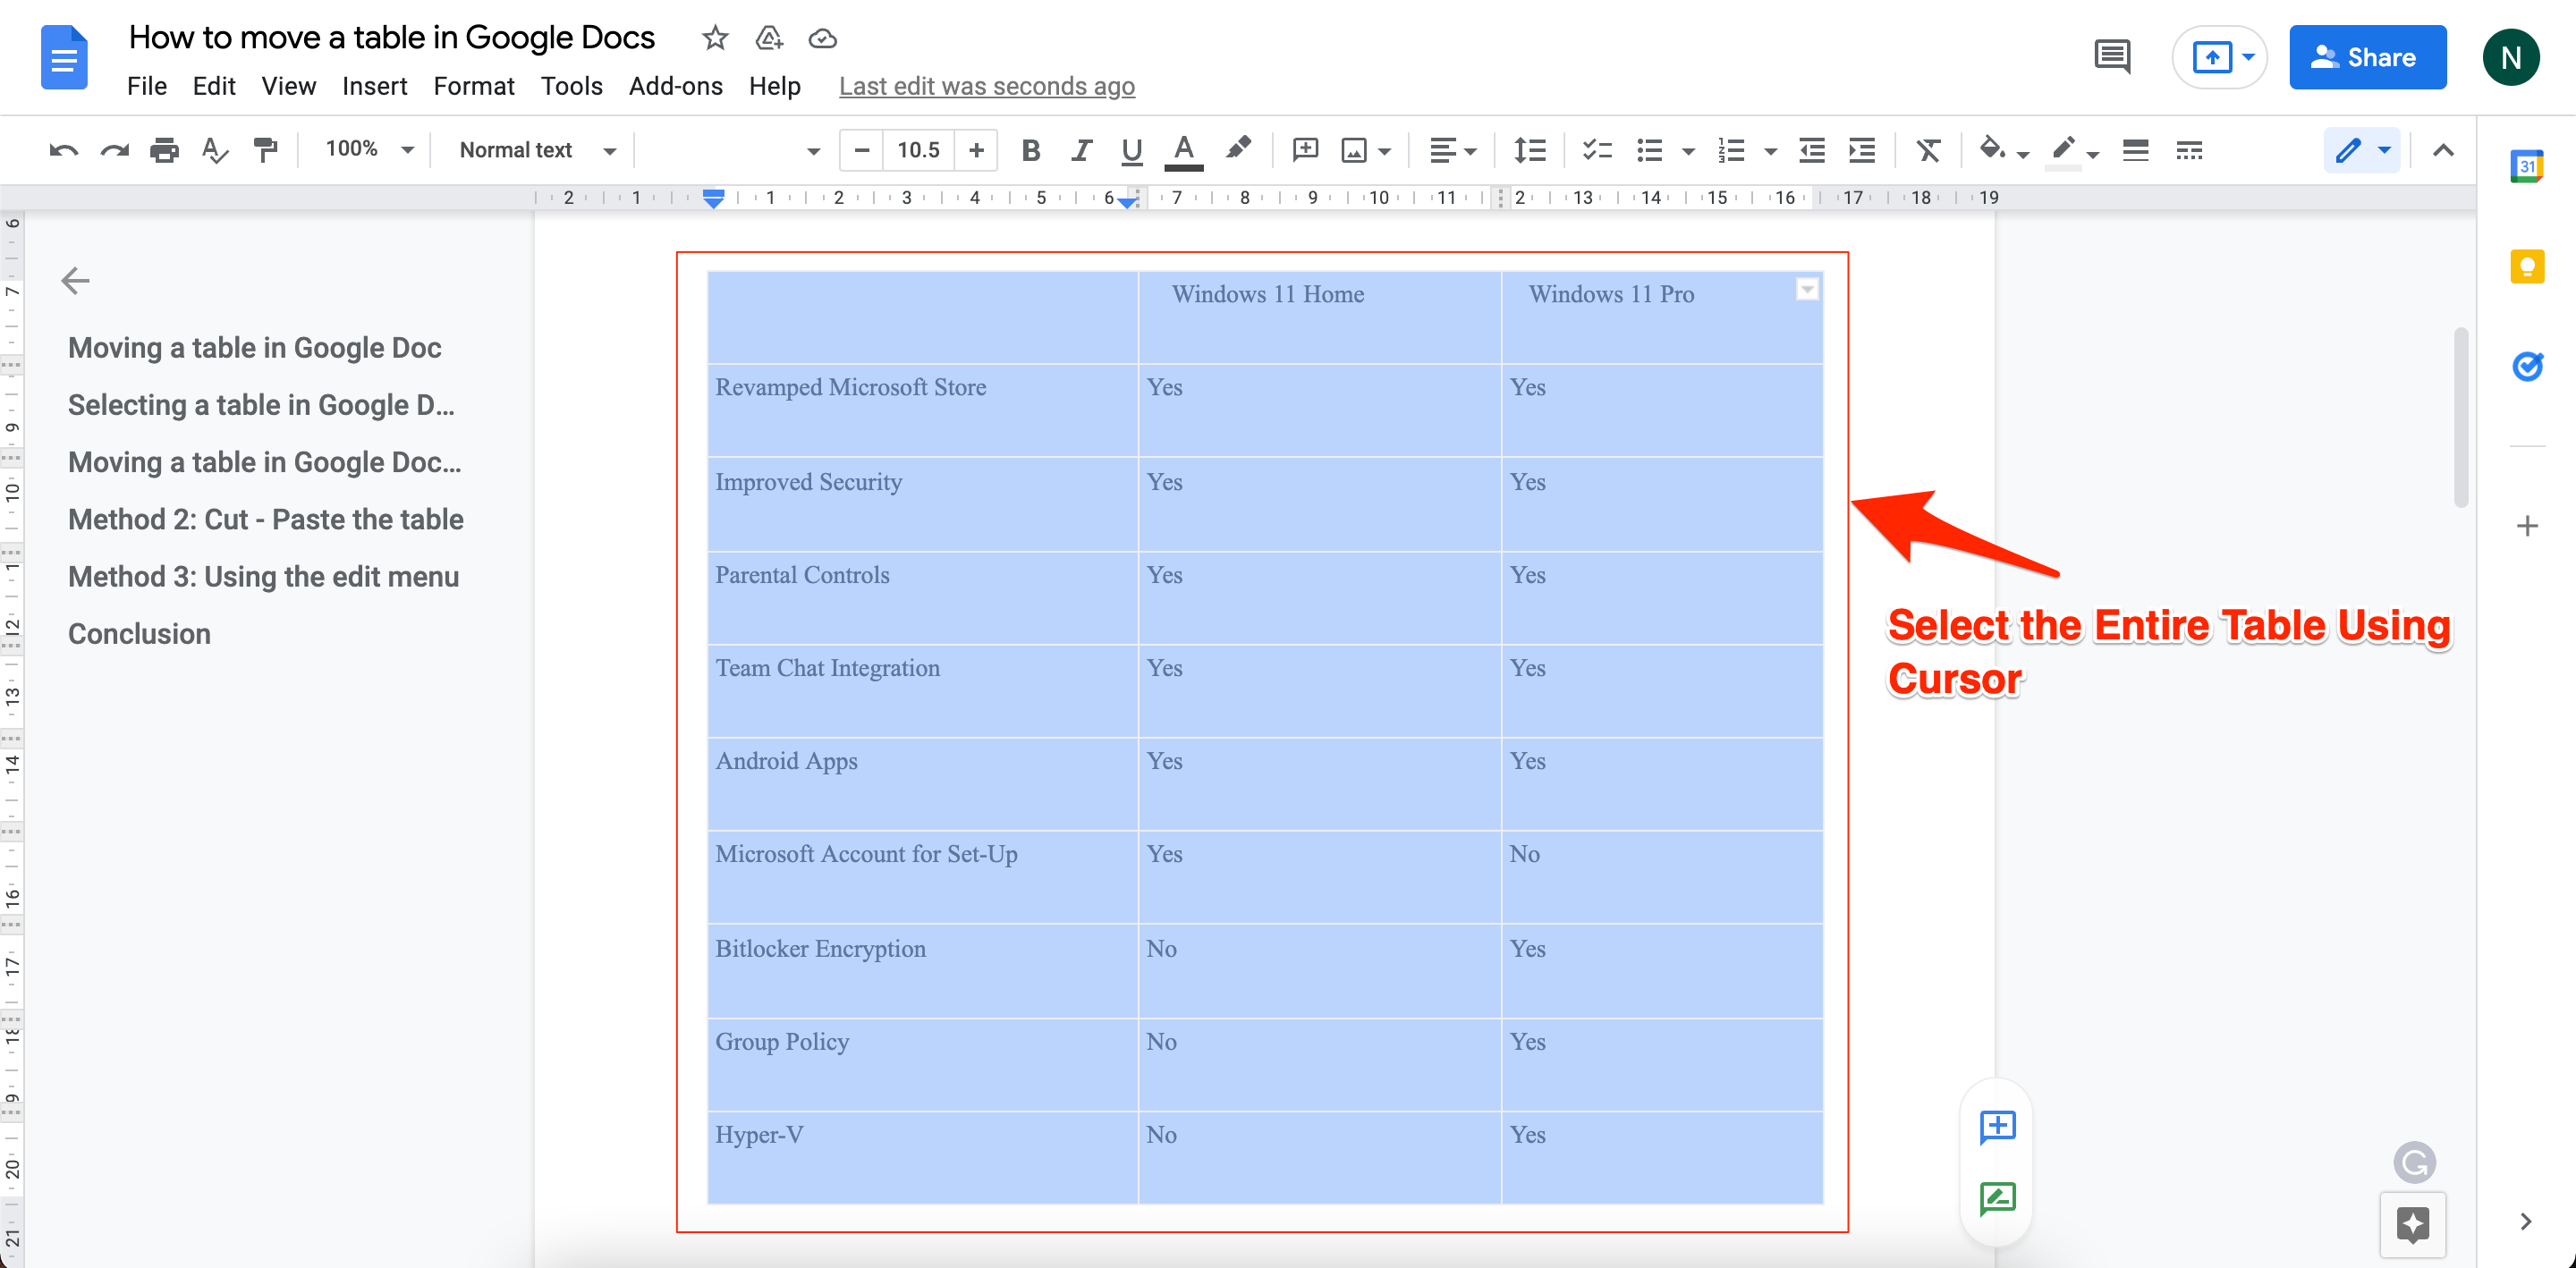
Selecting the table before moving it is required in all methods. To select a table, the user has to click and drag his cursor across the table making sure all parts of the table are covered. Once a table is selected, it will appear blue.
There are many methods to move a table in Google Docs. We have gathered the best methods for you to choose from. All of them are pretty easy to follow, so choose the one that suits you the best.
Steps to Move the Table in Google Docs
This method involves the Cut and Paste option where the user simply cuts the table from its original position and pastes it at the new location. The user can even use keyboard shortcuts to move the table easily.
Step 1: Go to the Google Doc that you are working on and locate the table.
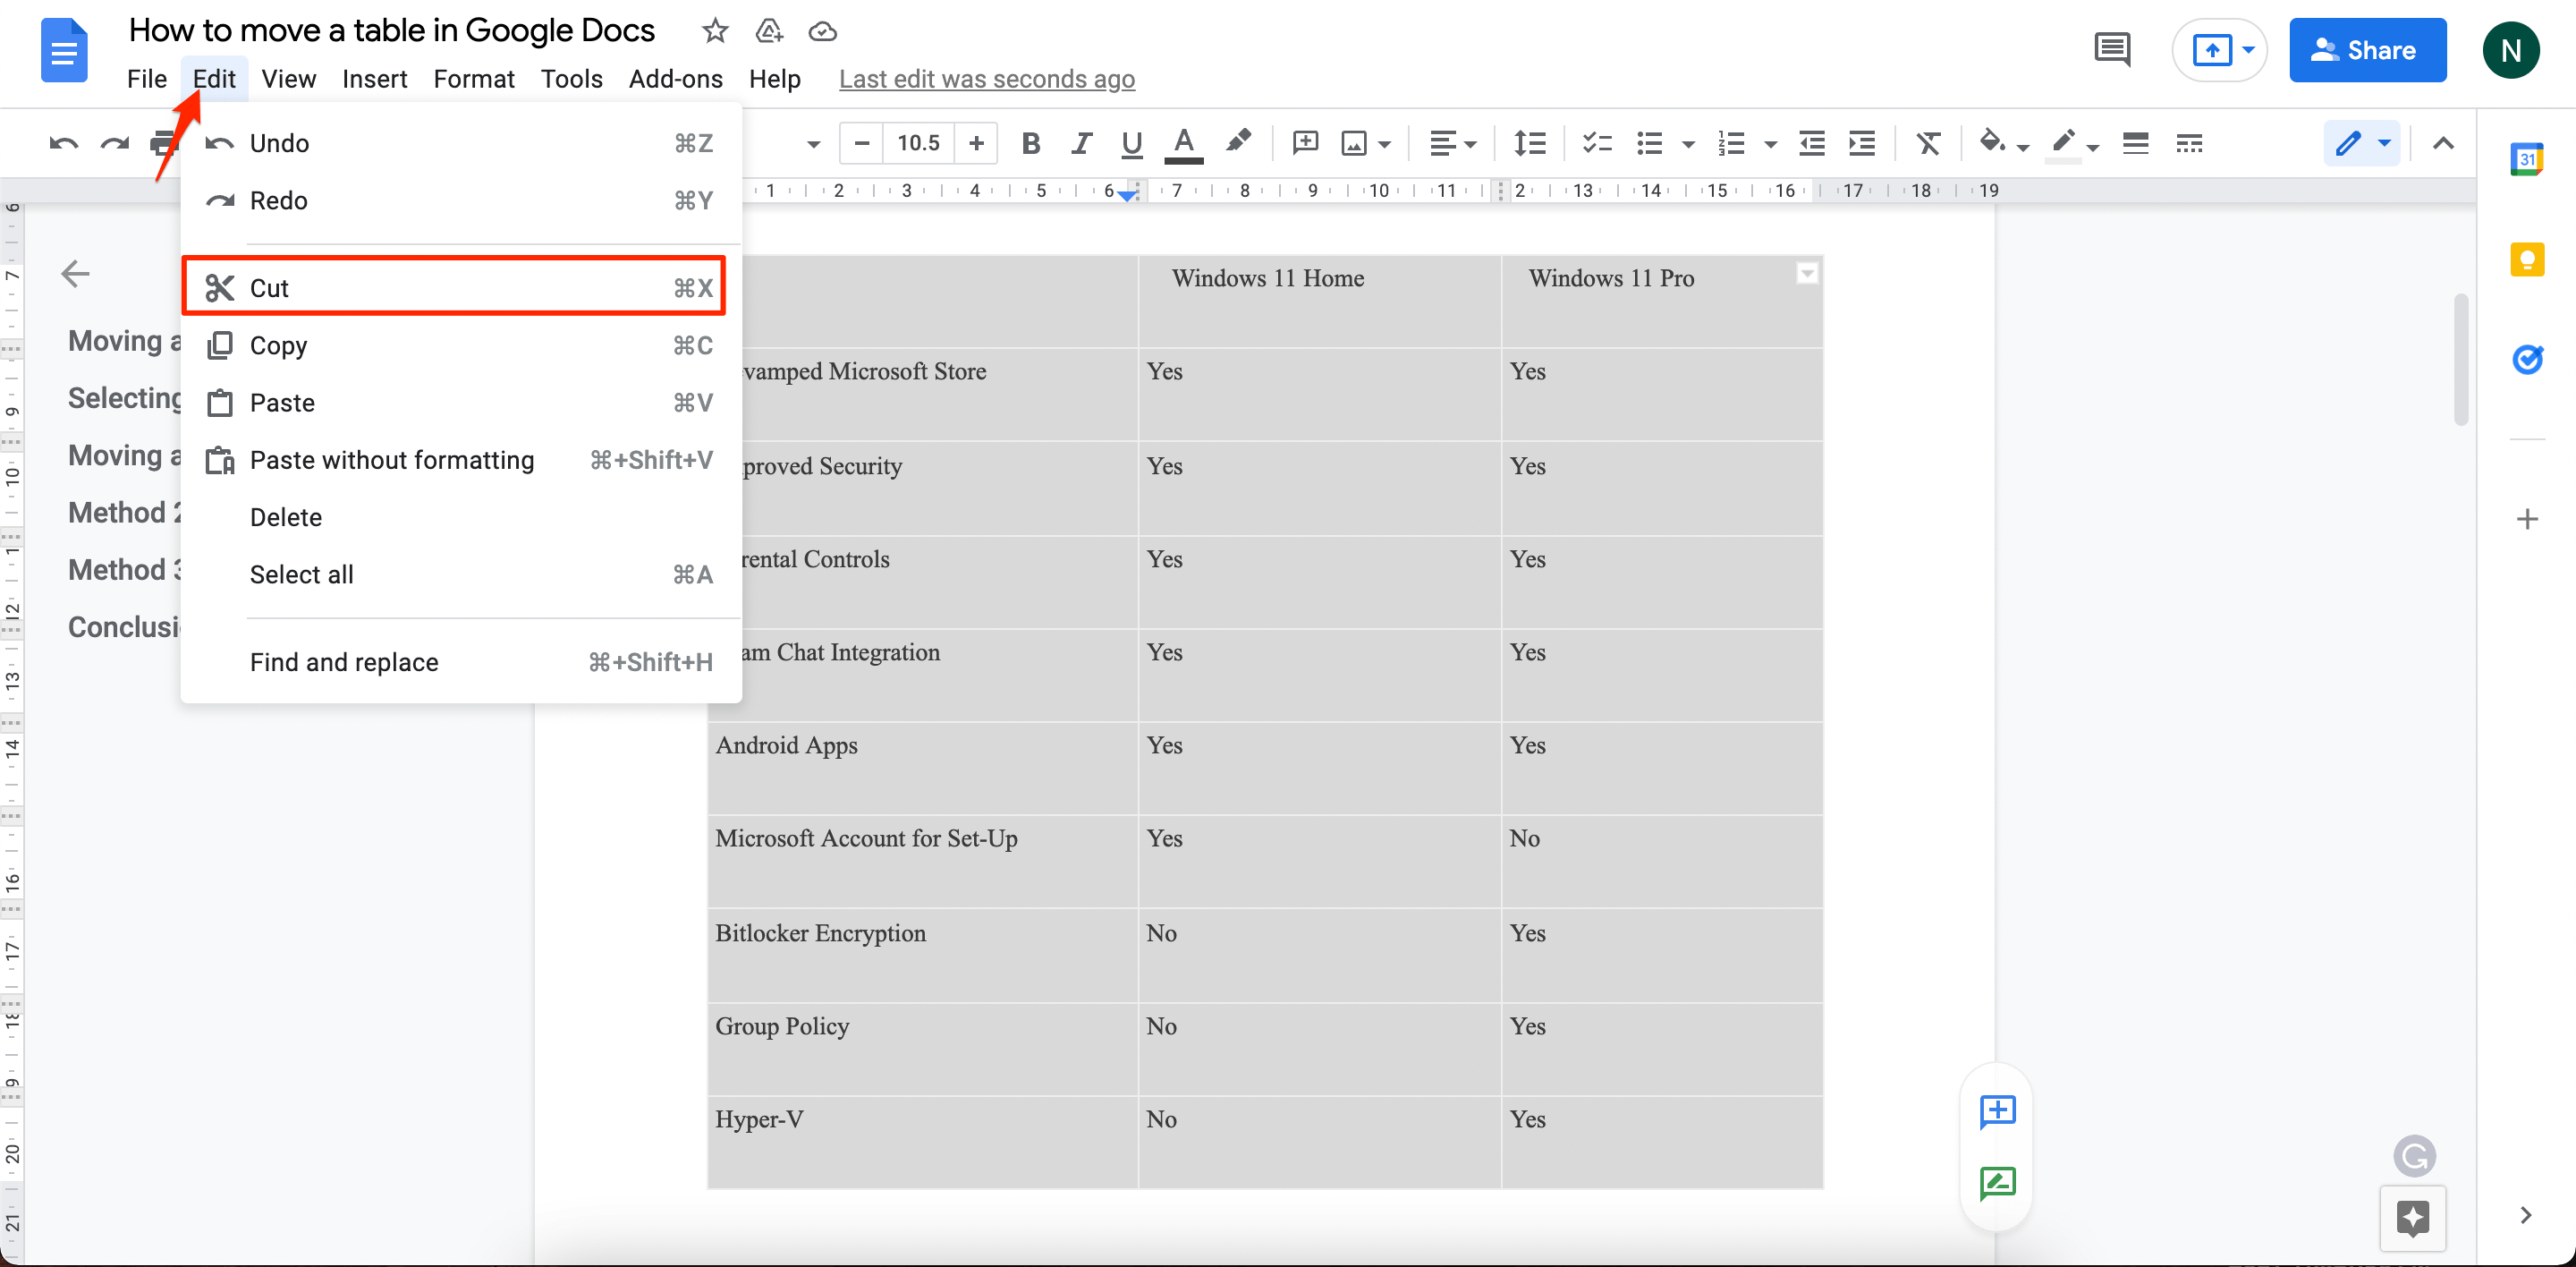
Step 2: Select the table, click on Edit from the toolbar and choose the ‘Cut‘ option from the menu that appears. (Users can also select the table and press Ctrl+X on the keyboard.)
Step 3: Next, place the cursor were you want to move the table, click on Edit on toolbar and click on ‘Paste‘.
(If a user has pressed Ctrl + X after selecting the table, then he has to bring the cursor to the new location and press Ctrl + V to paste the table)
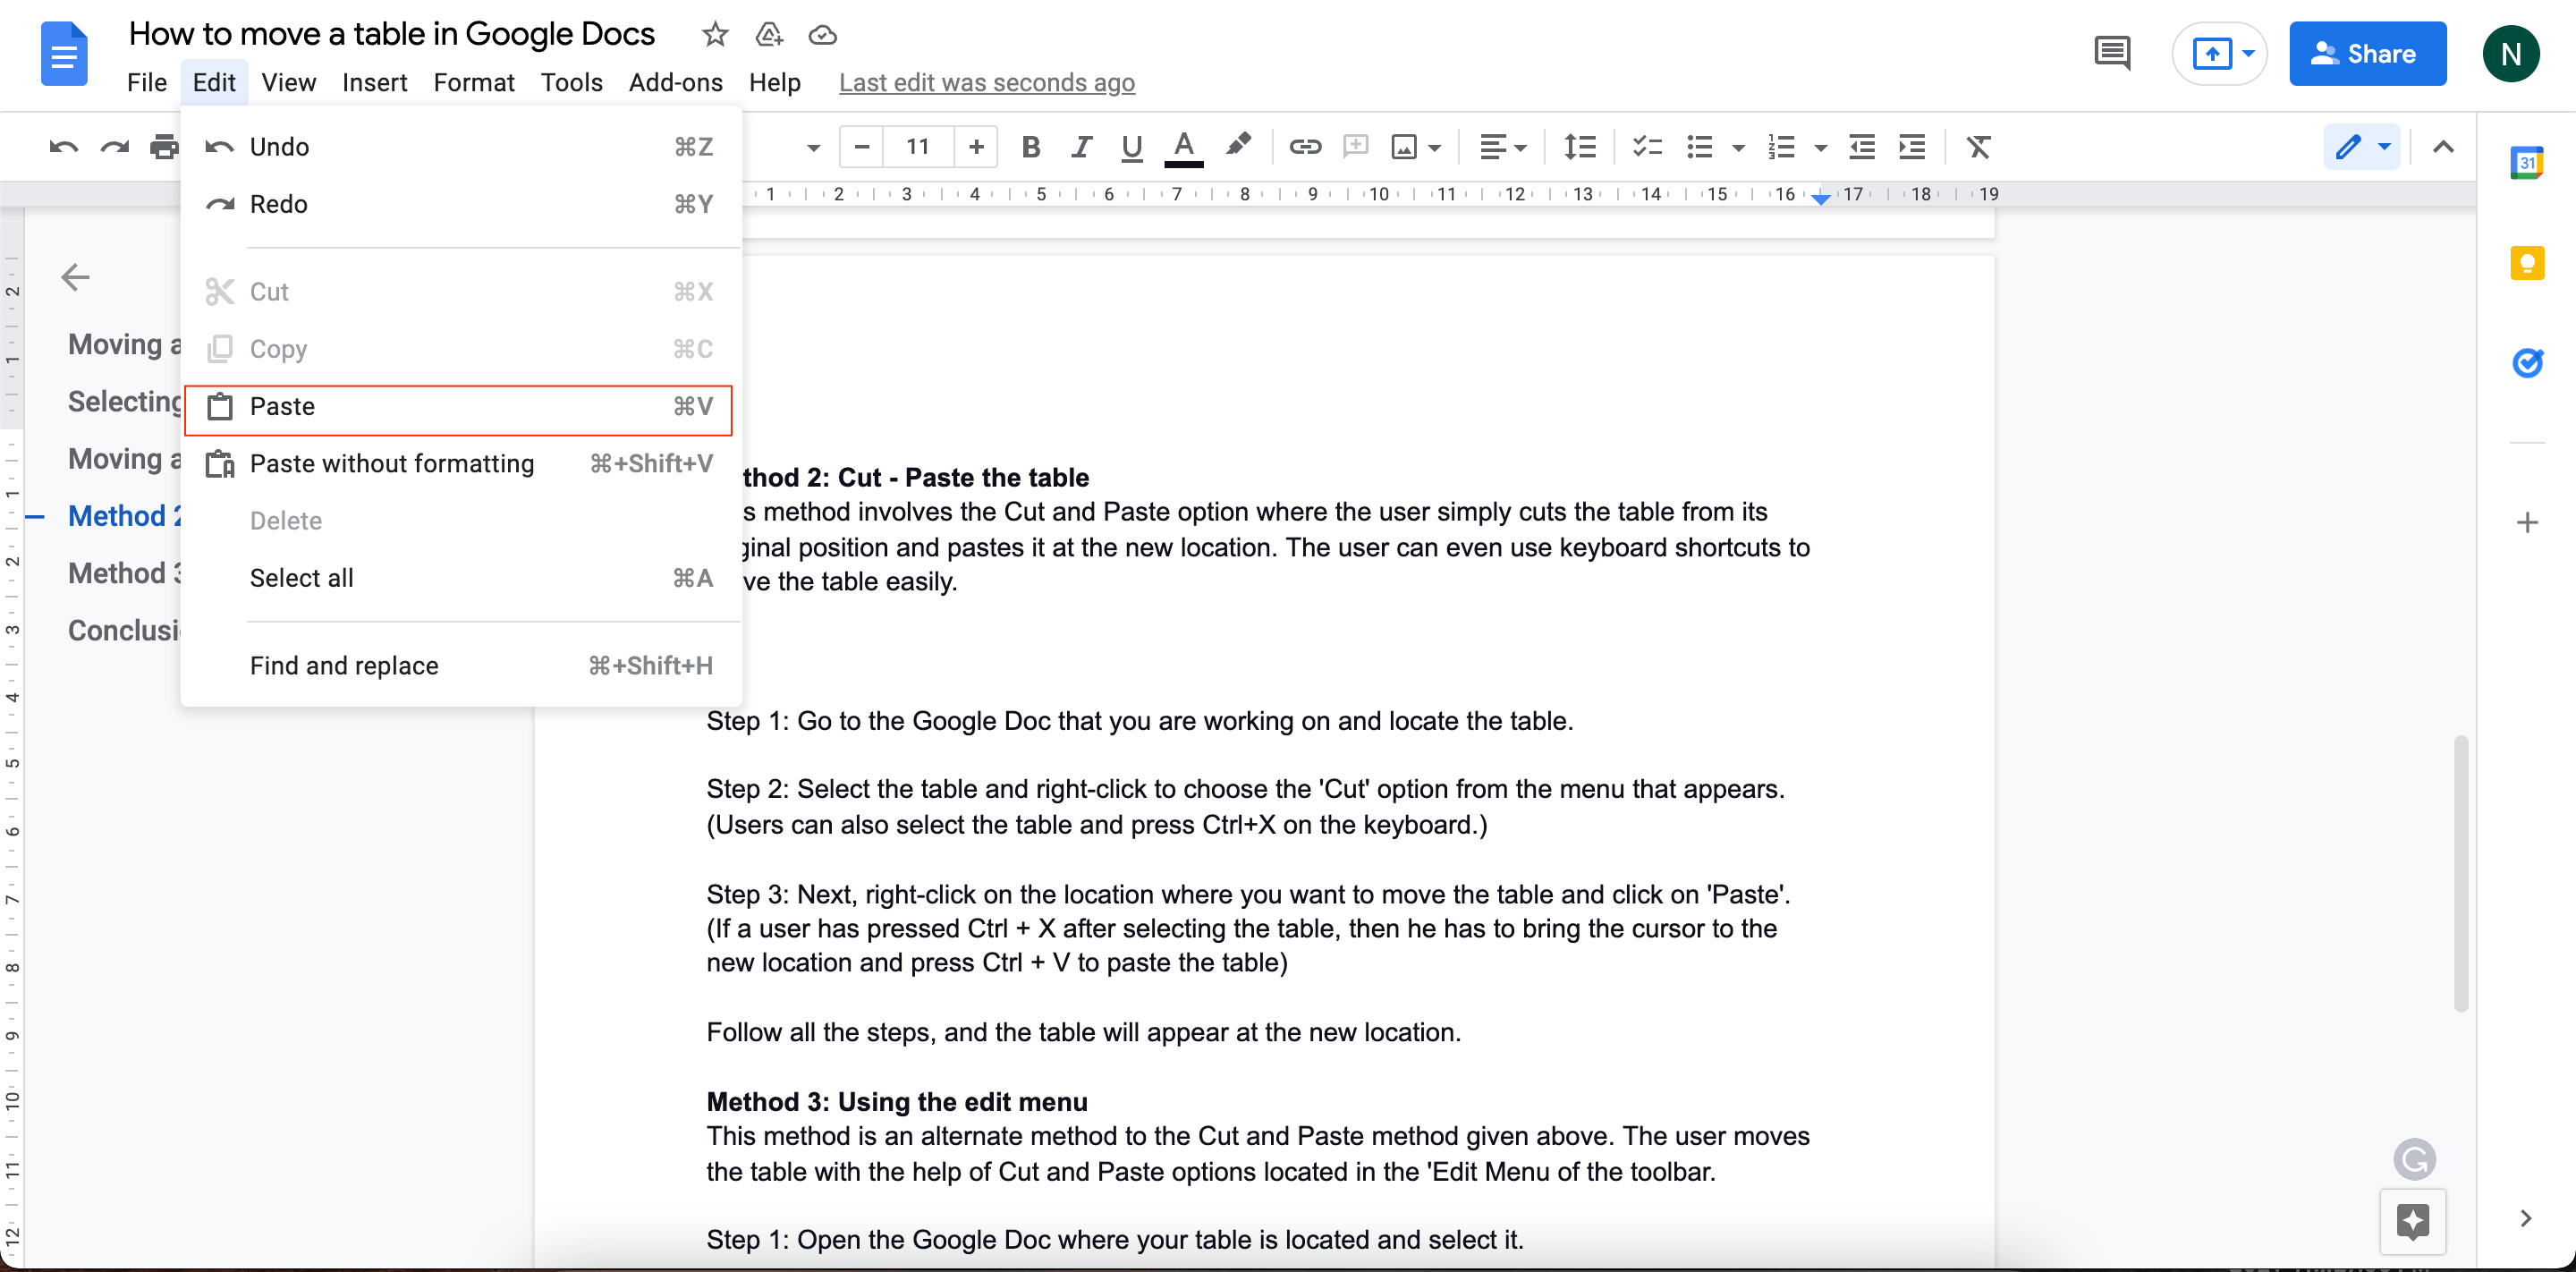
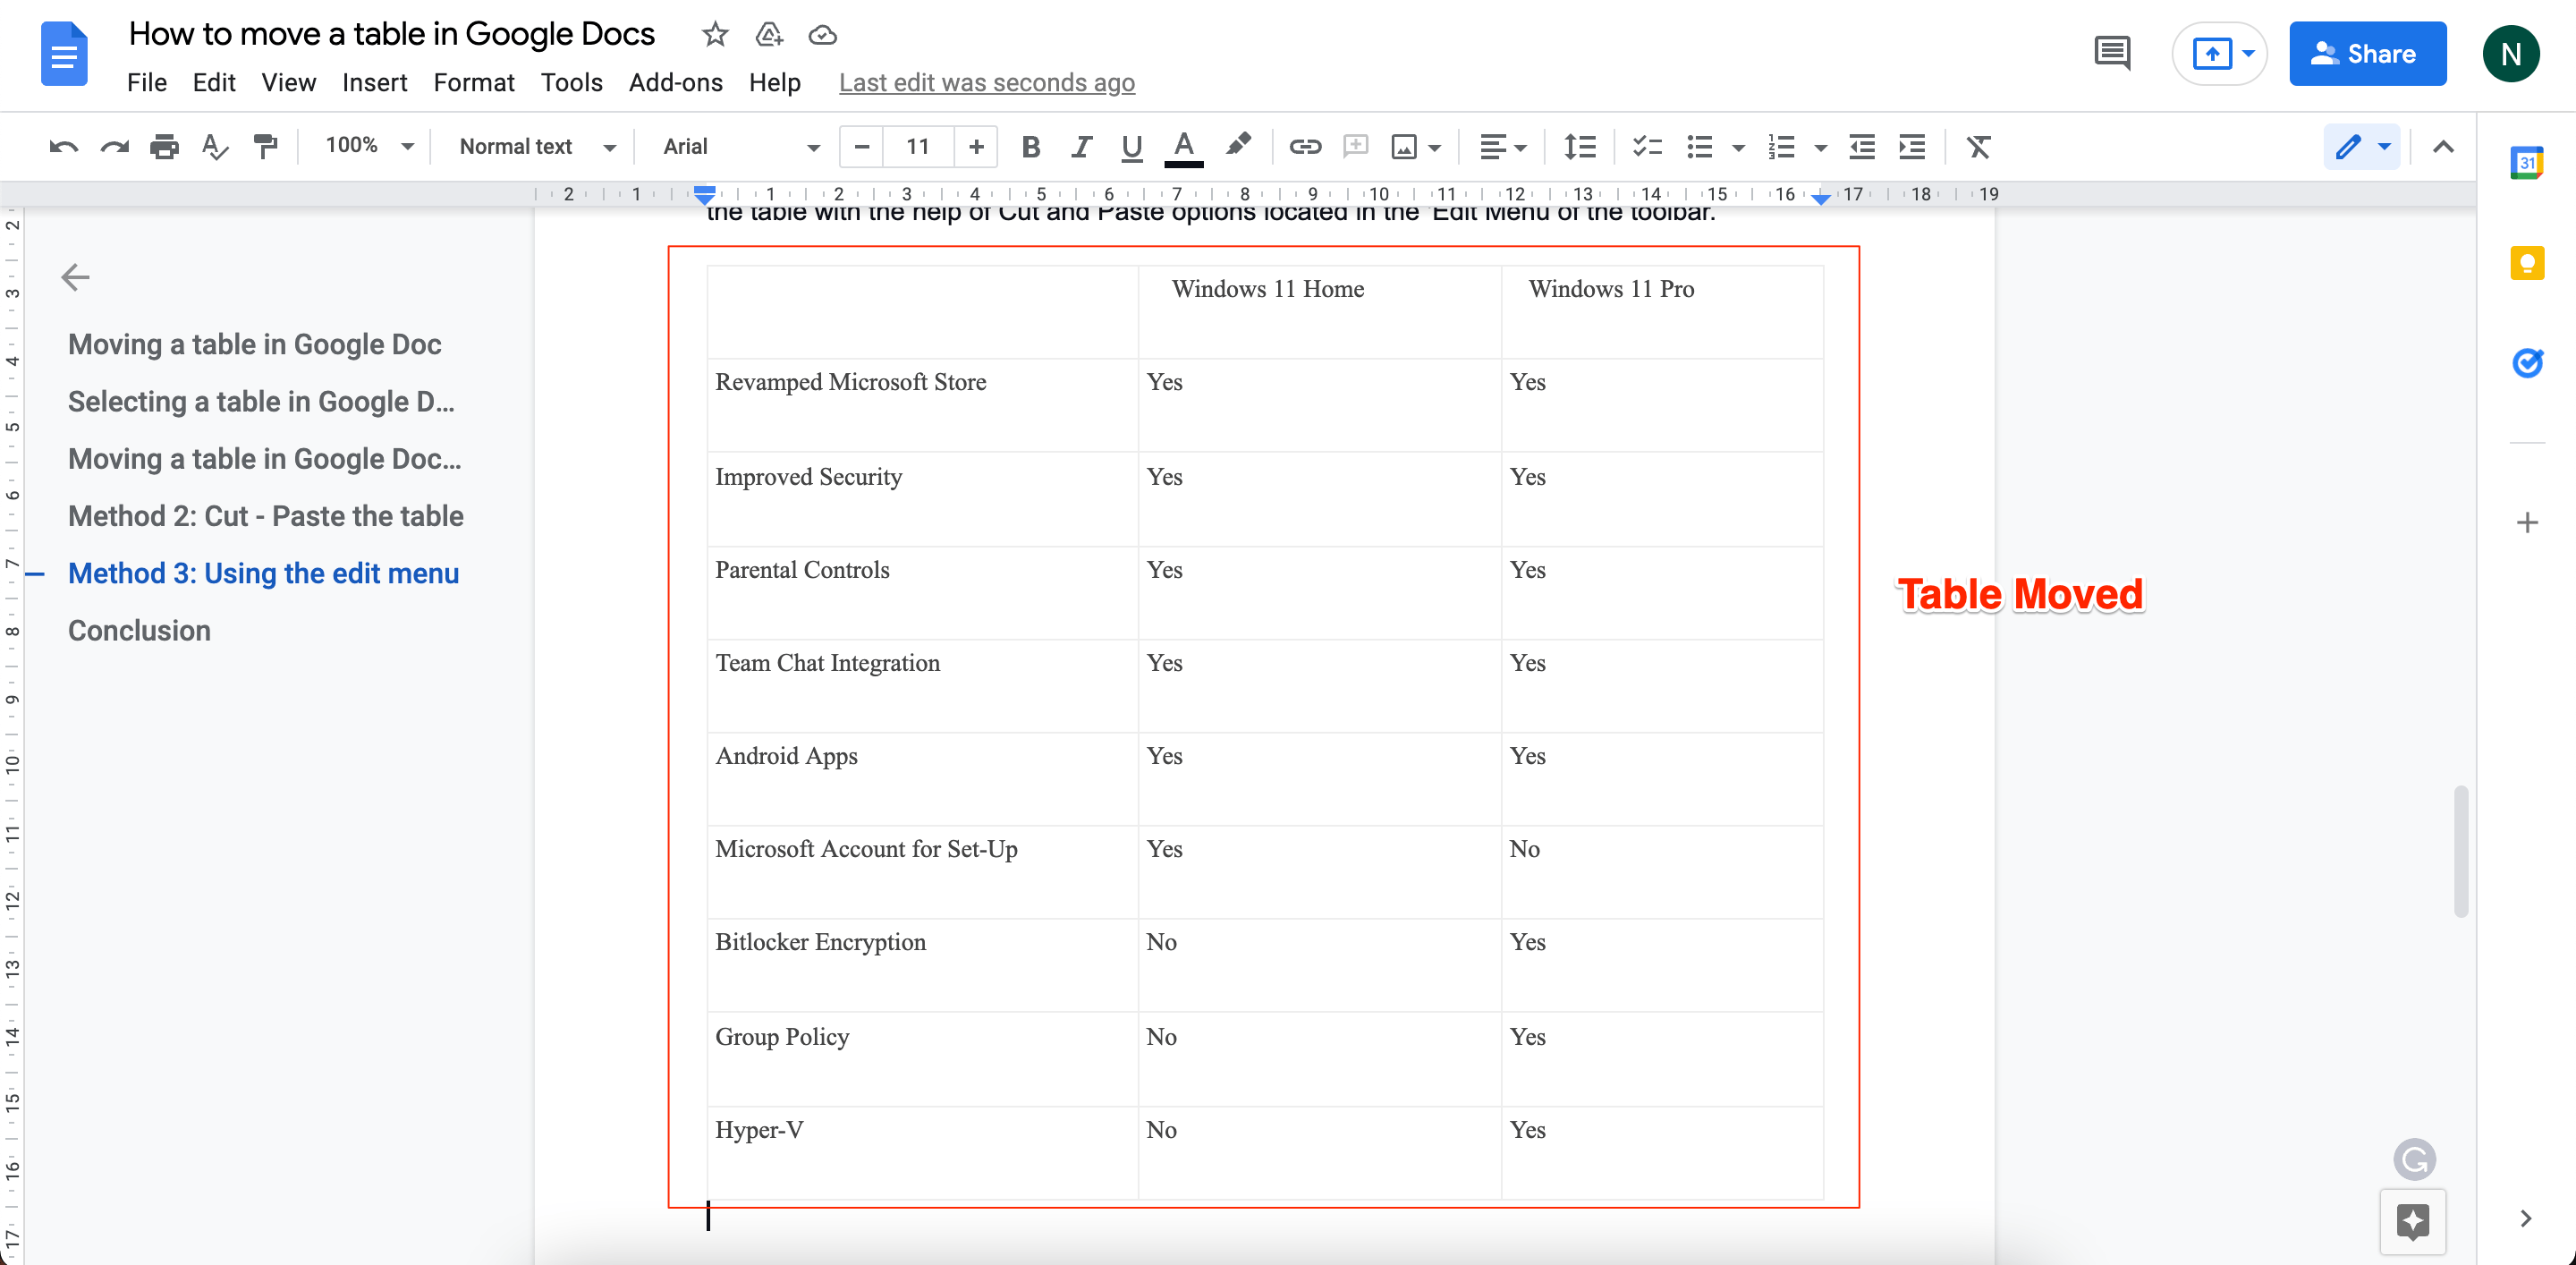
Follow all the steps, and the table will appear at the new location.
Conclusion
Wasn’t that easy? Hopefully, you liked this comprehensive guide. Select a method, follow the steps mentioned, and let us know if they worked for you.
