Google Sheets is a Spreadsheet word processor that offers users a tabular data collection online service free of cost. Like the popular Microsoft Excel, users can use web-based Google Sheets to create perfect Spreadsheets and keep the progress saved on Google Servers to continue the work from anywhere using their Google Account.
Google Sheets also offers collaboration to work with the team. There might be instances when you want to password encrypt Google Sheets, Google does not offer any such tool to password protect by default, but you can use some 3rd party tools to password lock the Google Sheets. Let us look at a couple of best methods in detail.
Protect Complete Google Sheets Document
You can restrict the file permission preventing others from performing editing functions on Google Sheets. This will help prevent modification of the data in the cells and the user can only view the Sheet data without manipulating the contents of the Spreadsheet.
- Click on the Share button on the Google Sheets.
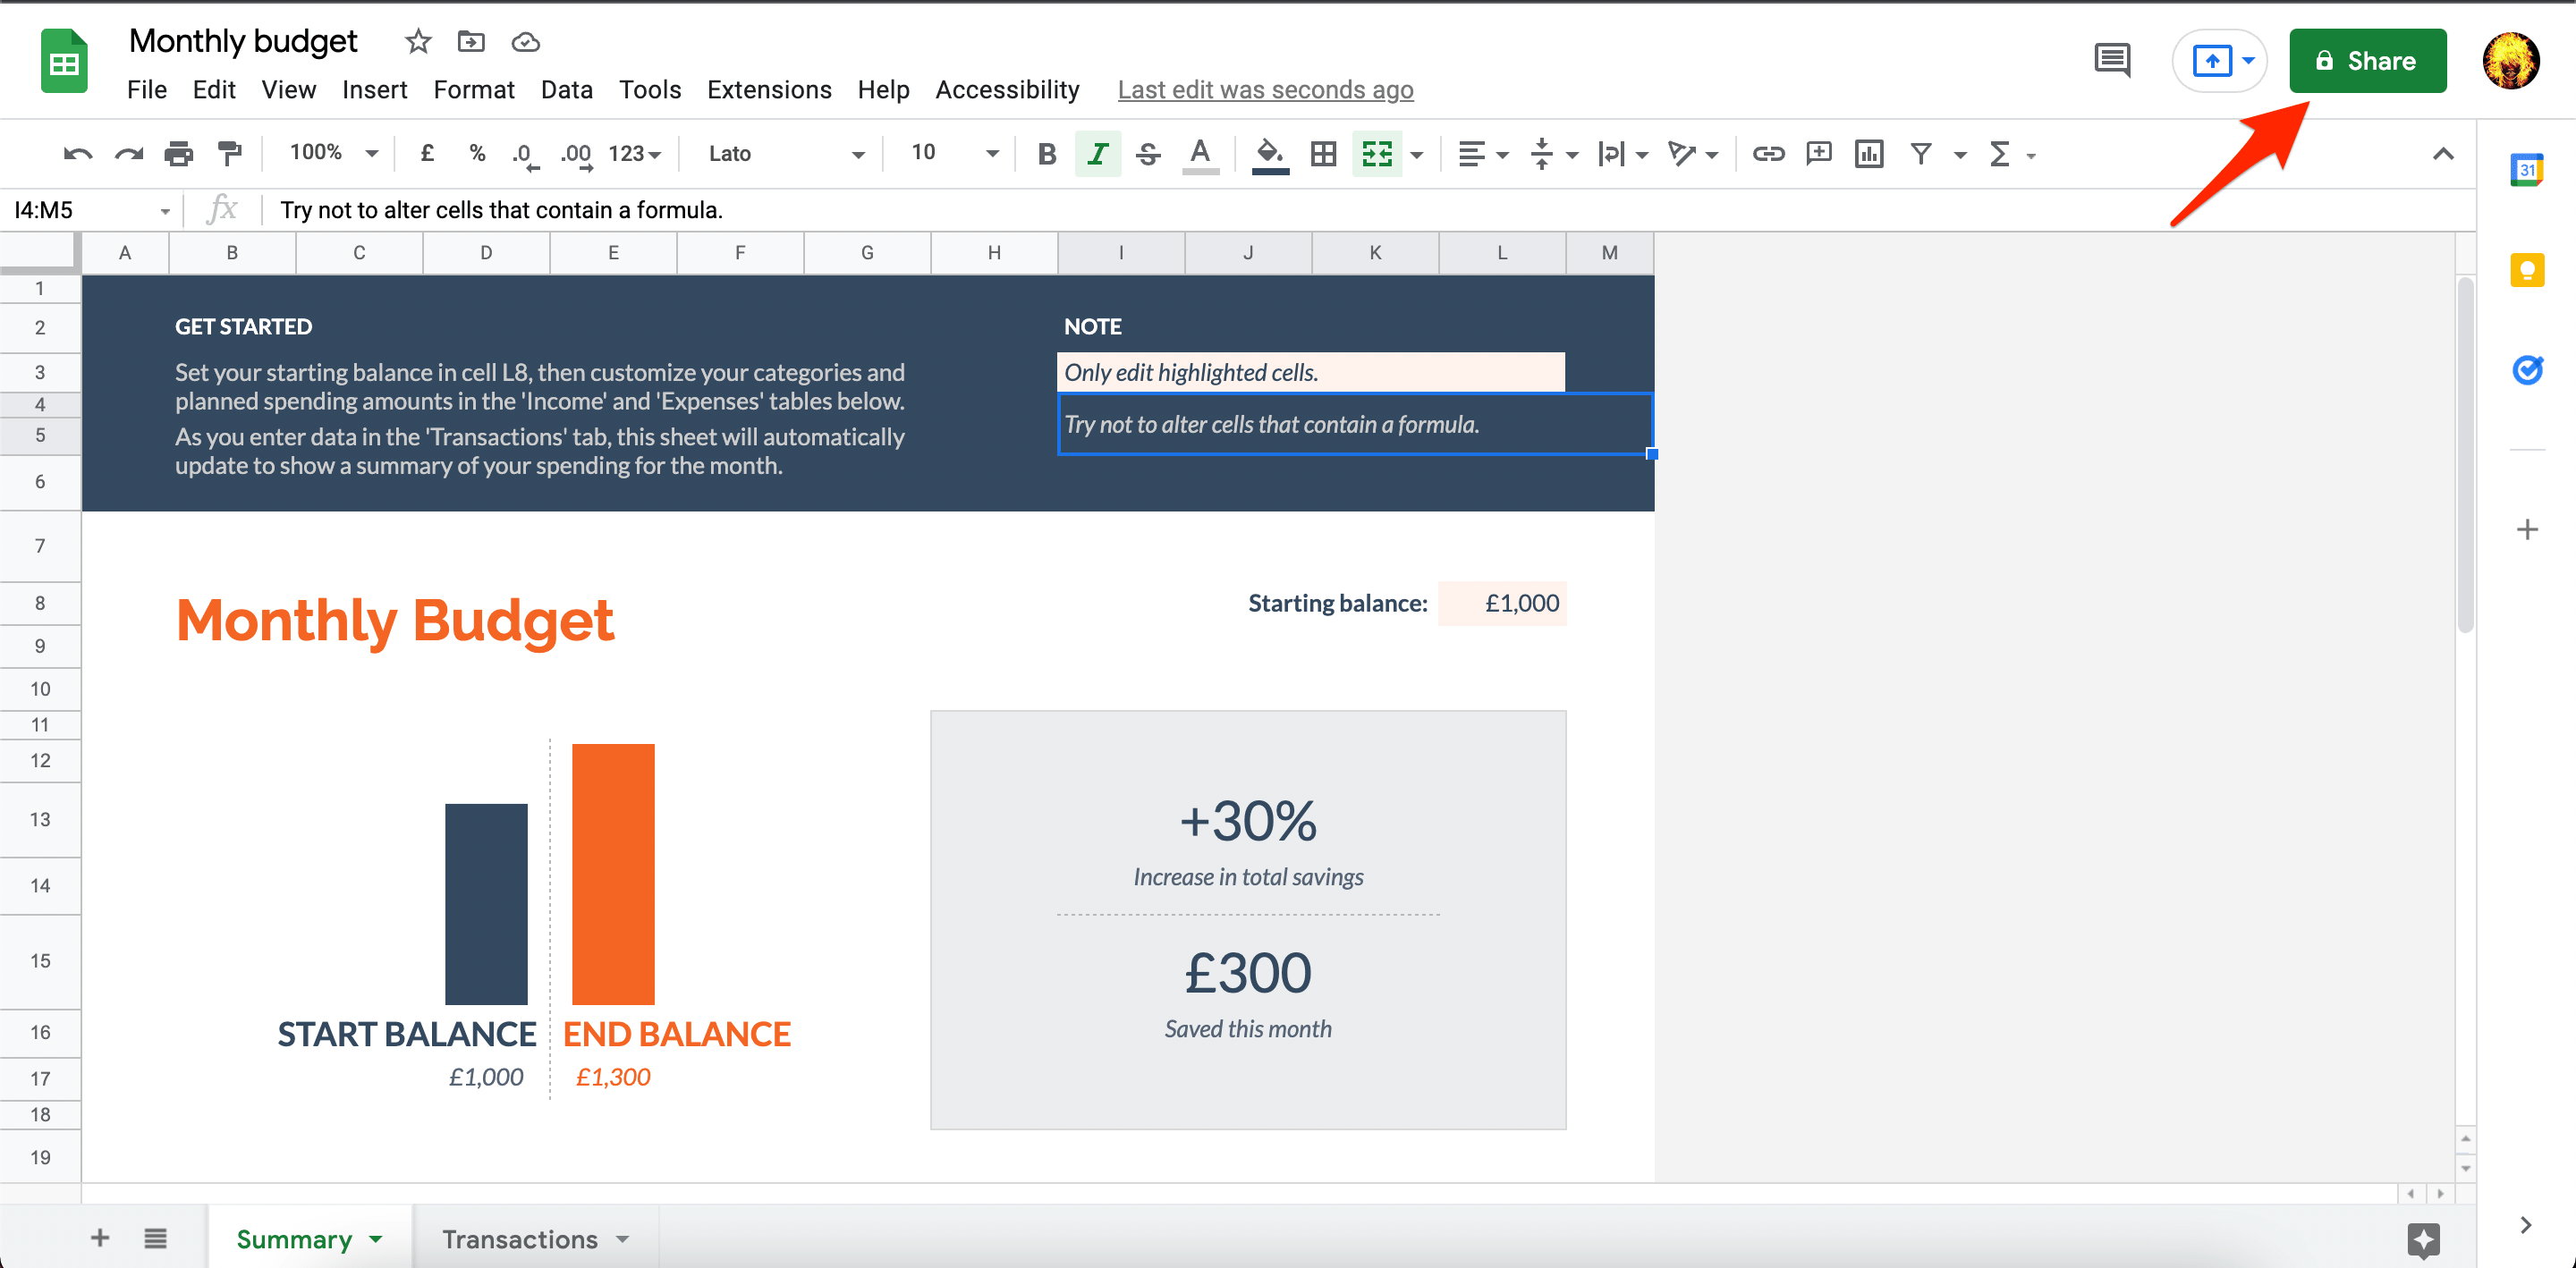
- A sharing box will open. Here click on the
 Gear icon to open Share with people settings.
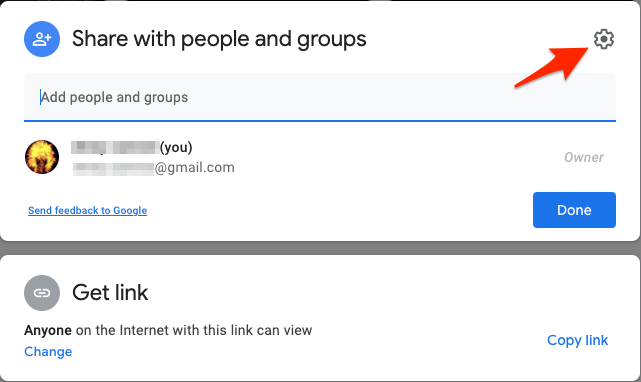
- Now disable the right tick for ‘Viewers and commenters can see the option to download, print, and copy.’
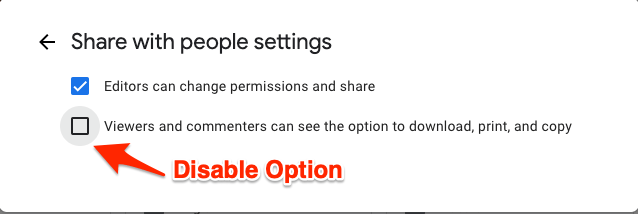
- That’s it, and now you can share the file with the Viewer or Commentator permissions.
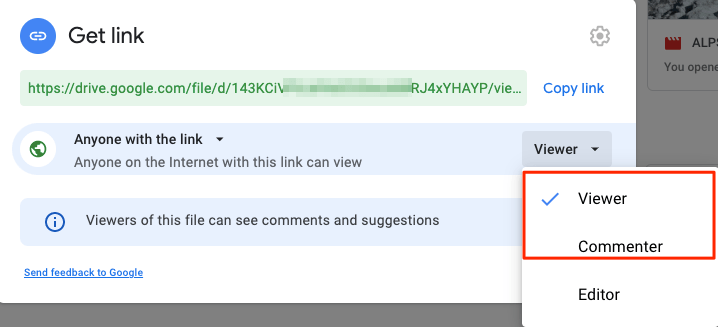
- Now if someone opens the document then they can only download or view the Google Sheets but cannot perform any editing actions on the file.
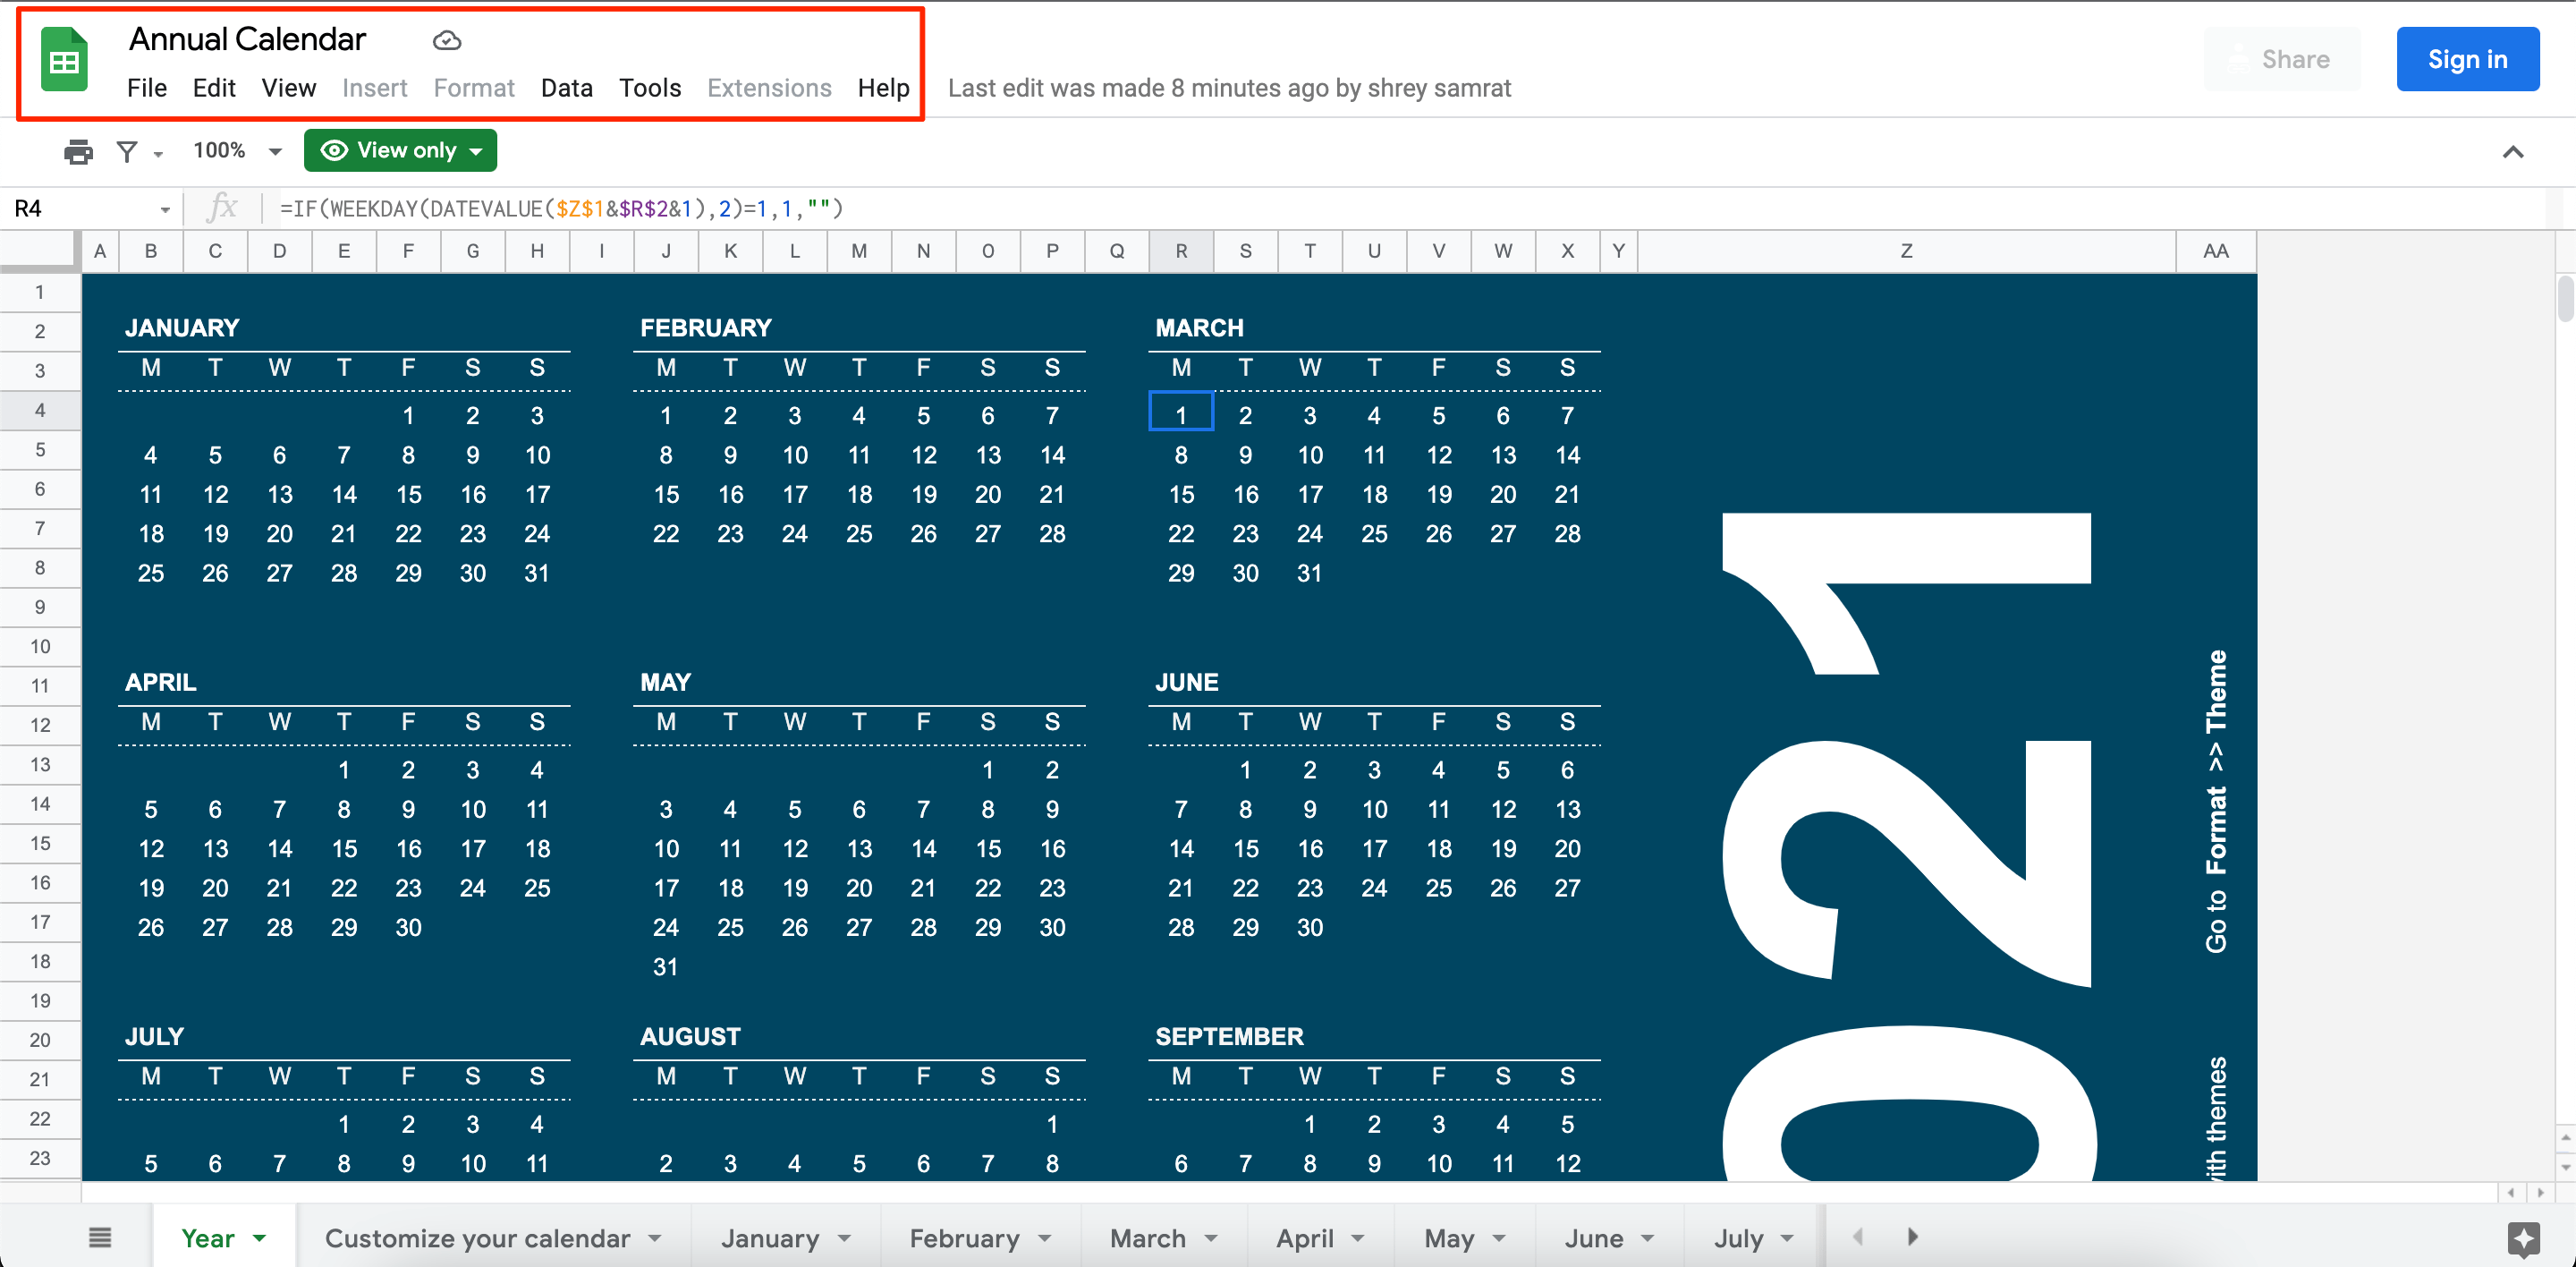
Protect only Required Sheet
If you wish to only protect a particular section on the Google Sheets document then you can use a simple trick to restrict editing on Sheets.
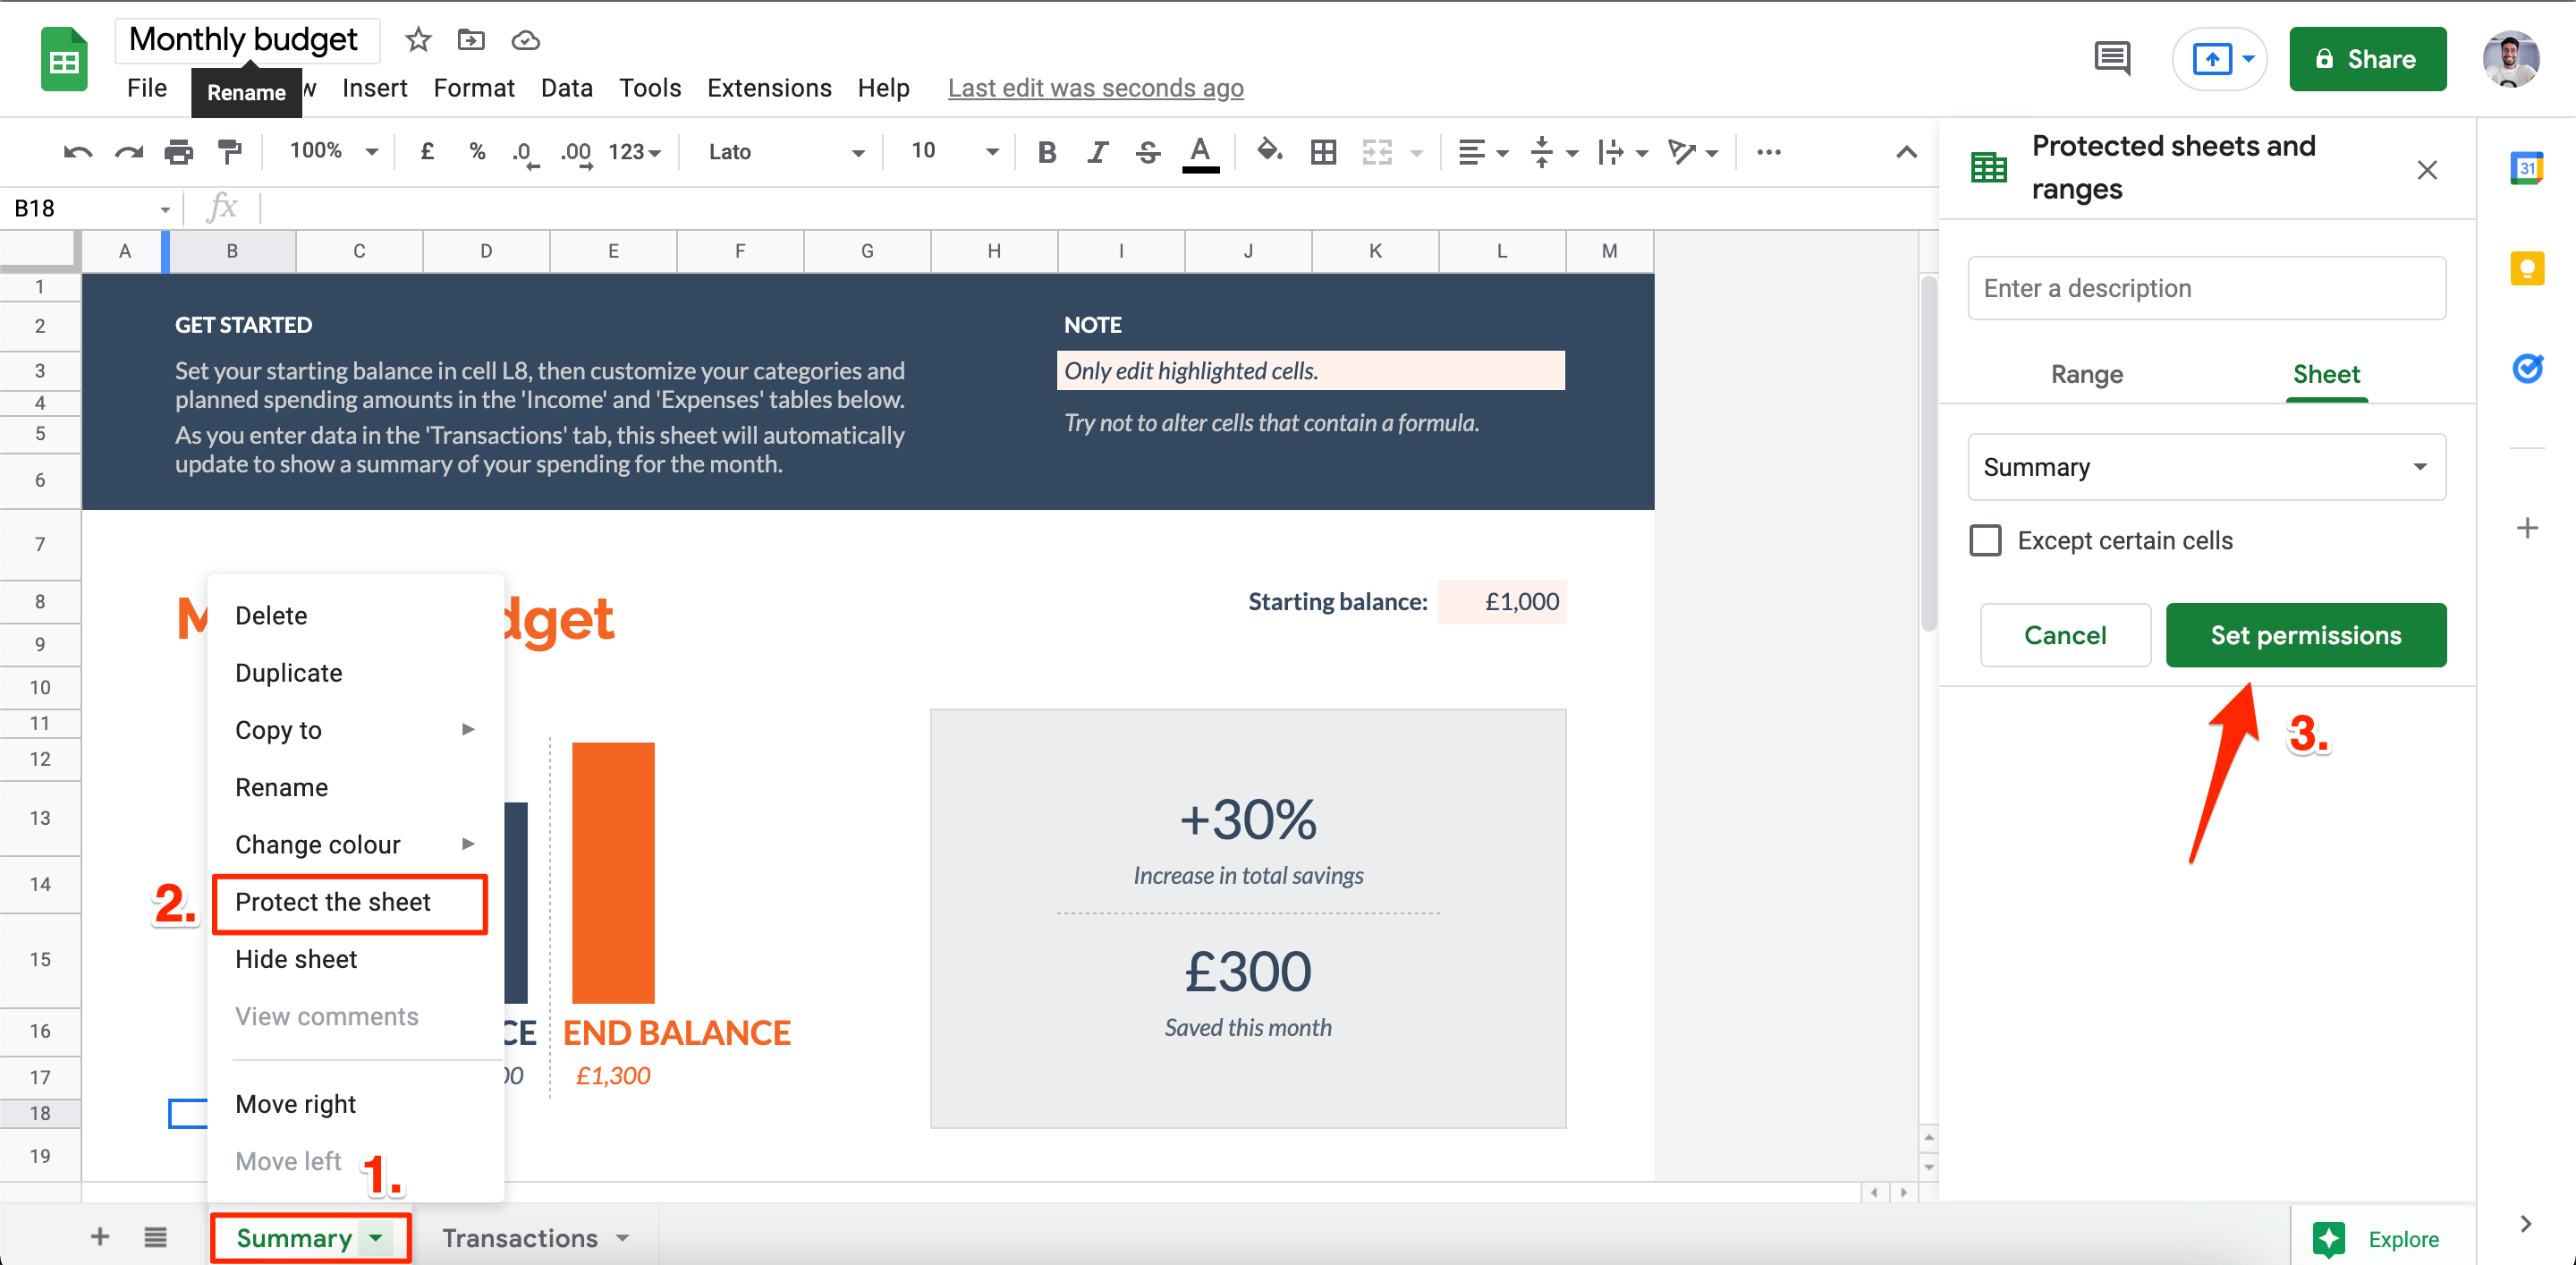
- Right-click on Sheet that you want to protect.
- Click on Protect the Sheet option on the menu.
- Then click on Set Permissions.
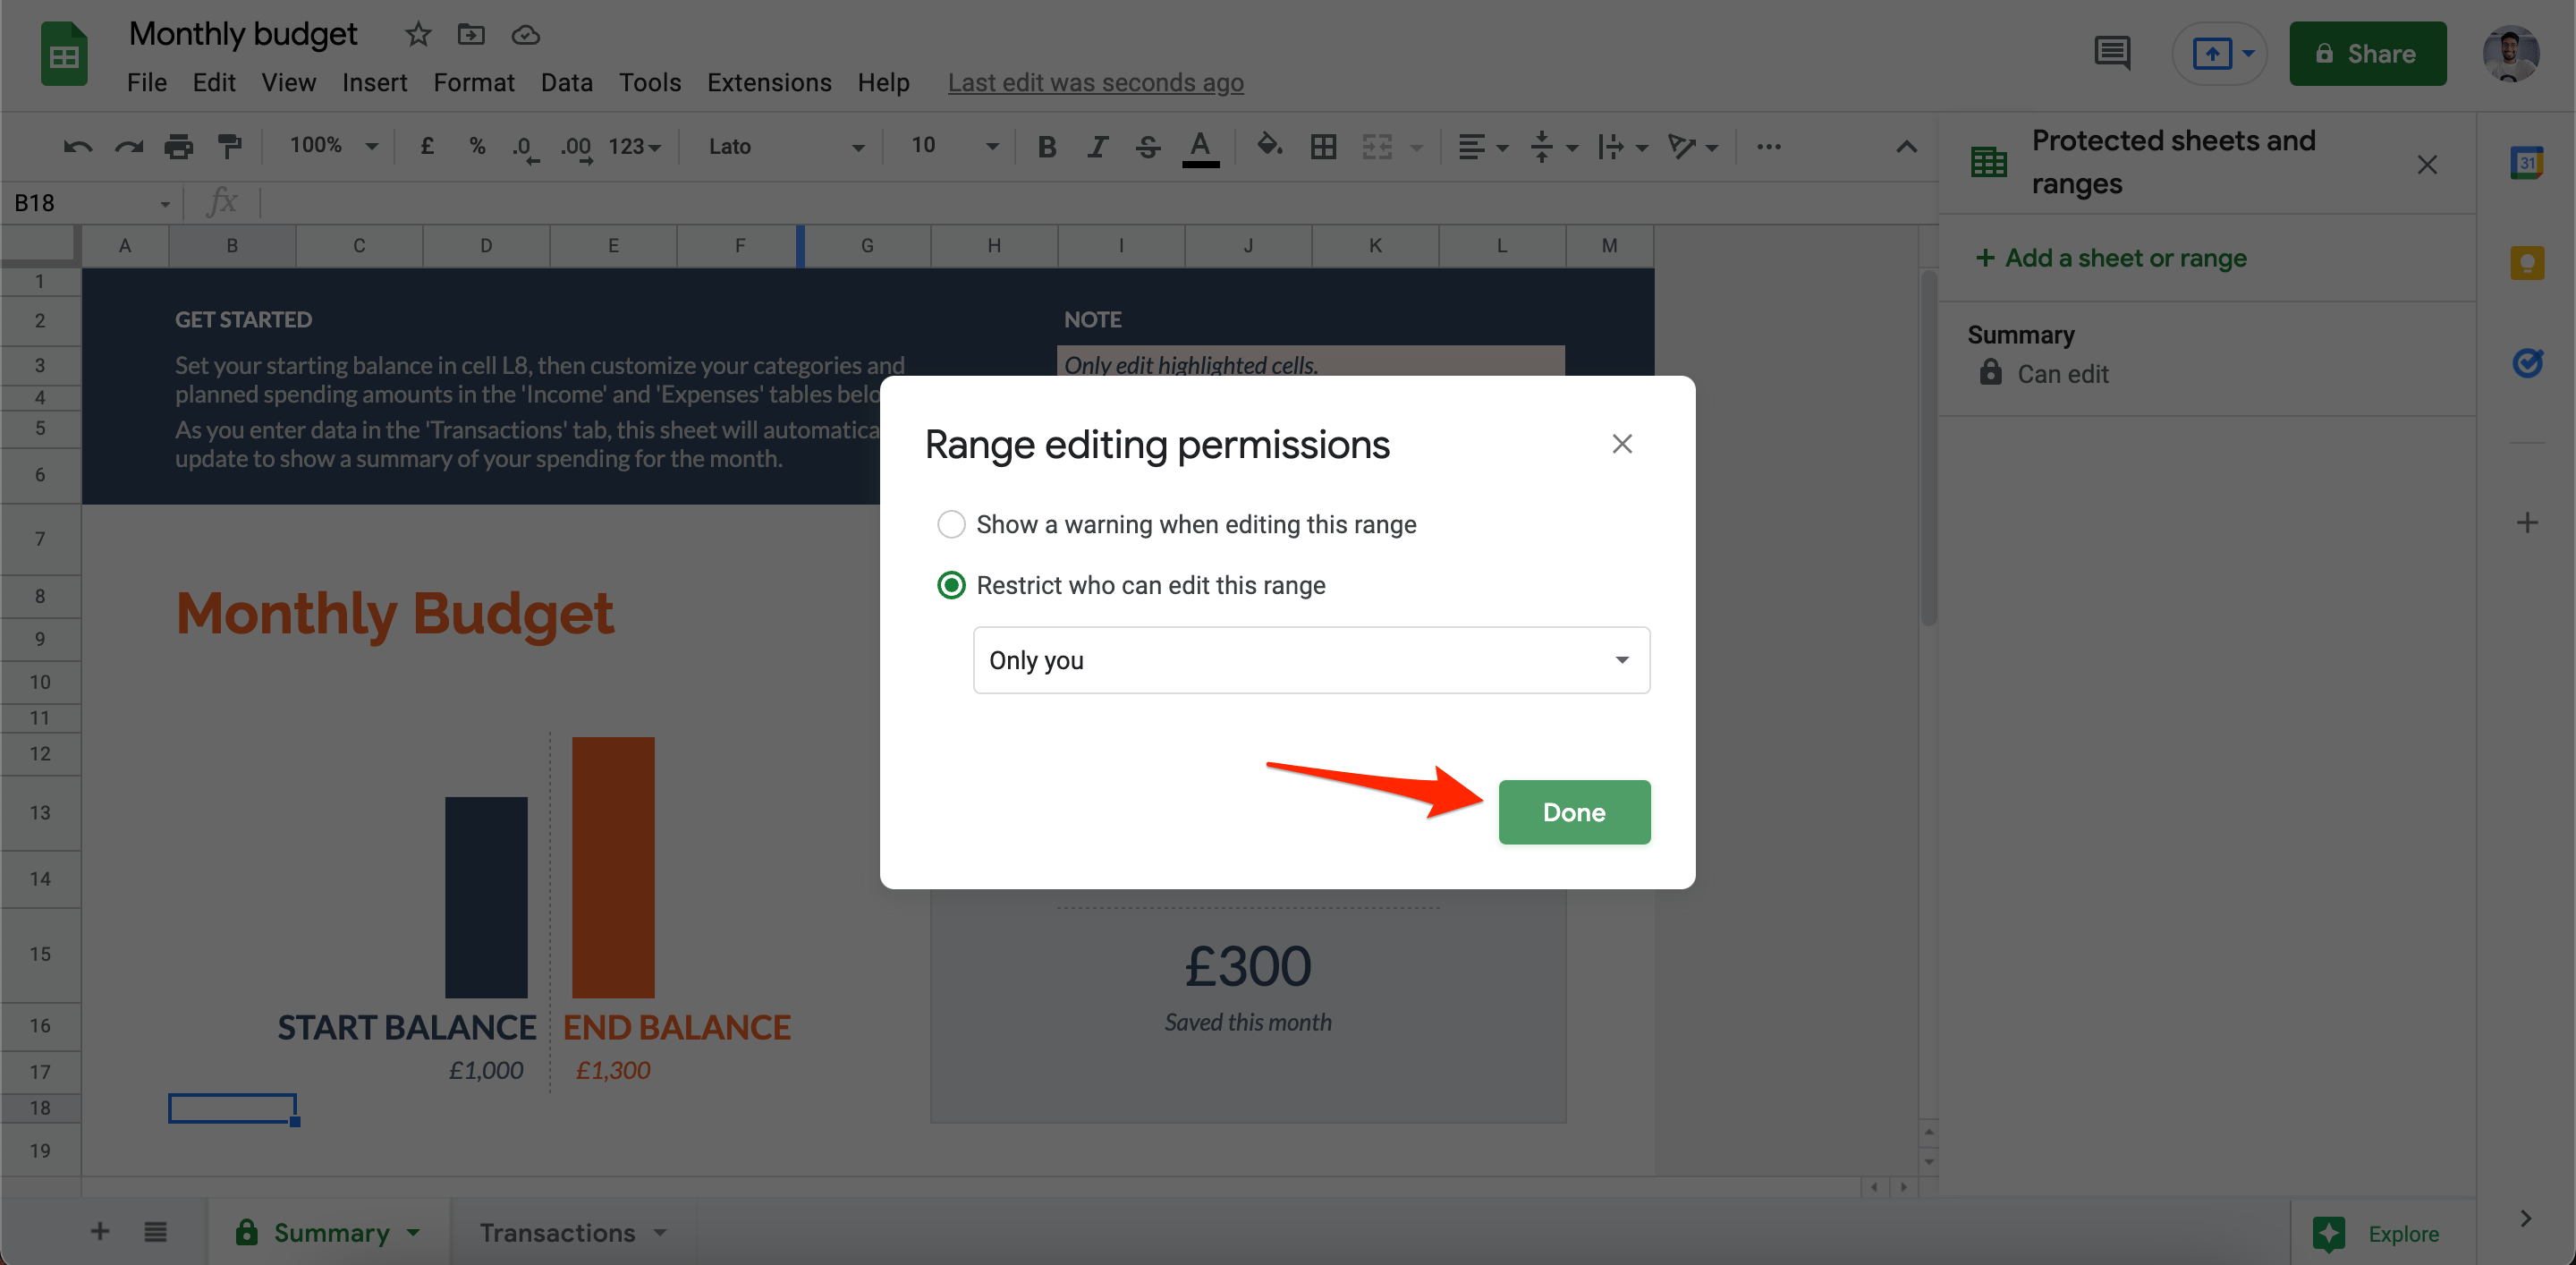
- Now set who can edit this range to only you to avoid 3rd person editing.
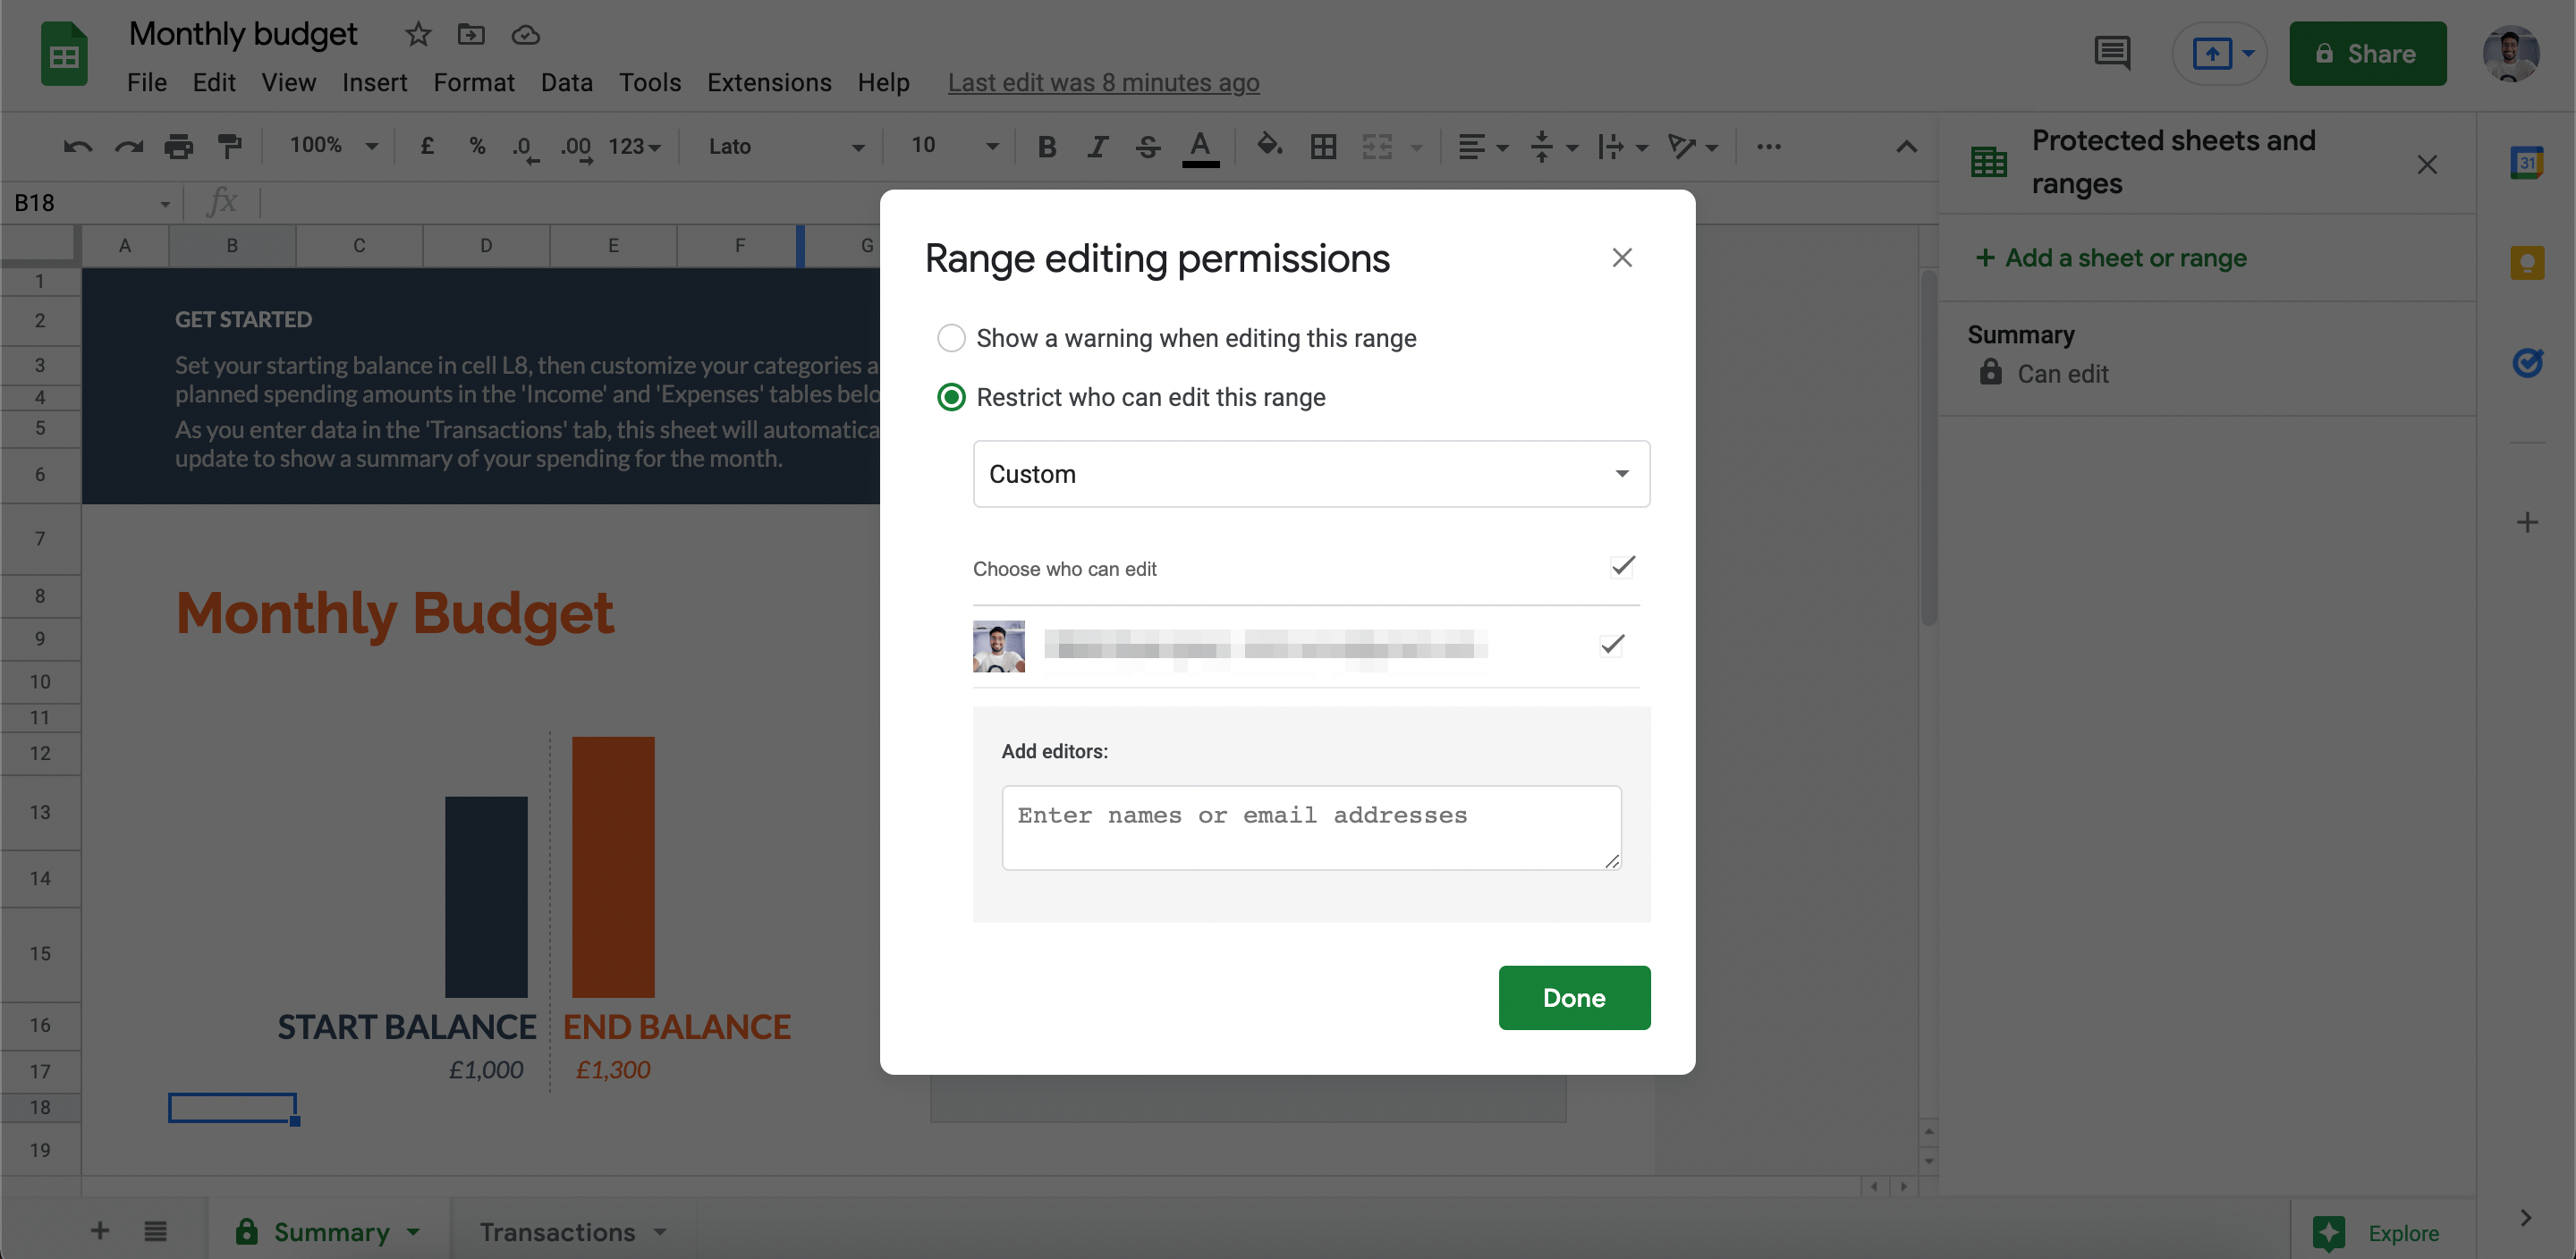
- You can also set custom permissions and enter the email addresses to allow access to users to edit the spreadsheet.
Lock Google Sheets Using Link Lock Tool
You can use a free 3rd party tool named Link Lock by Jacob Strieb. The tool is free and ad-free, built for open source use. Encryption, decryption, and key derivation are all performed by the SubtleCrypto API.
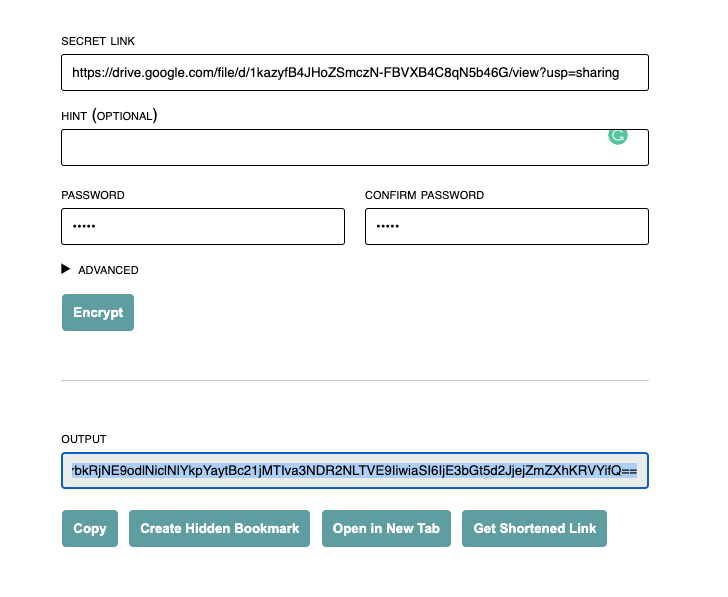
- Visit Link Lock Site.
- Past the Google Sheets Sharing Link in Secret Link section.
- Create and Confirm Password. Click Encrypt.
- Copy the Encrypted Link.
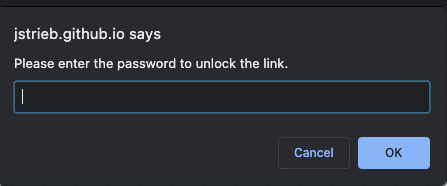
- Now one needs to enter the password to unlock to get the G-Sheets URL.
Password Protect Google Sheets Using G-Forms
If you do not trust any 3rd party service, then you can use Google Forms to password lock. This method will lock the Google Sheets sharing the link.
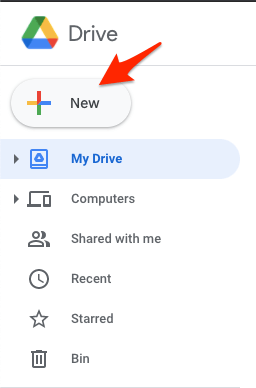
- Click on the New option in GDrive Desktop.
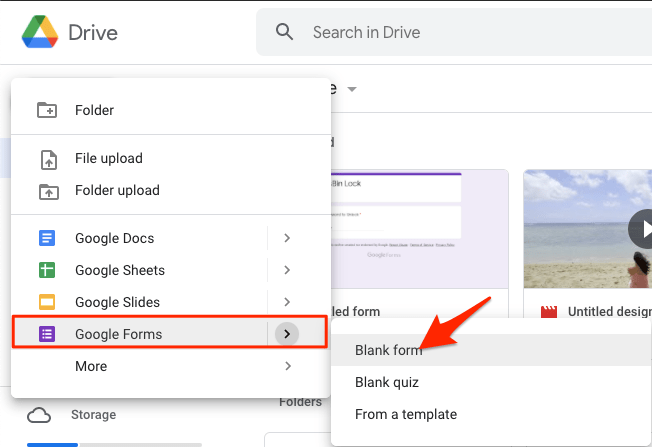
- Now open Google Forms, Blank Form.
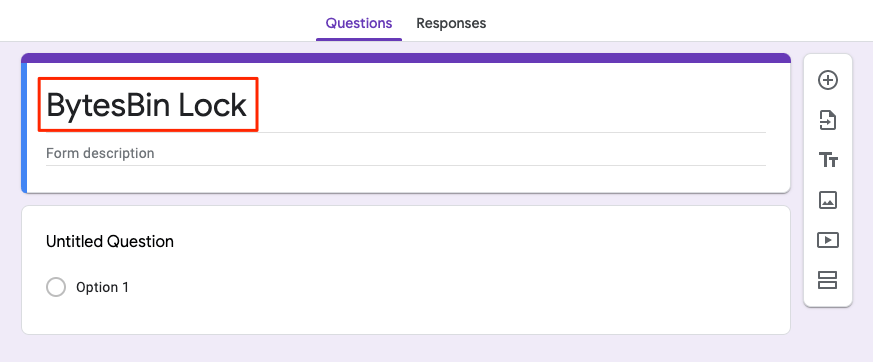
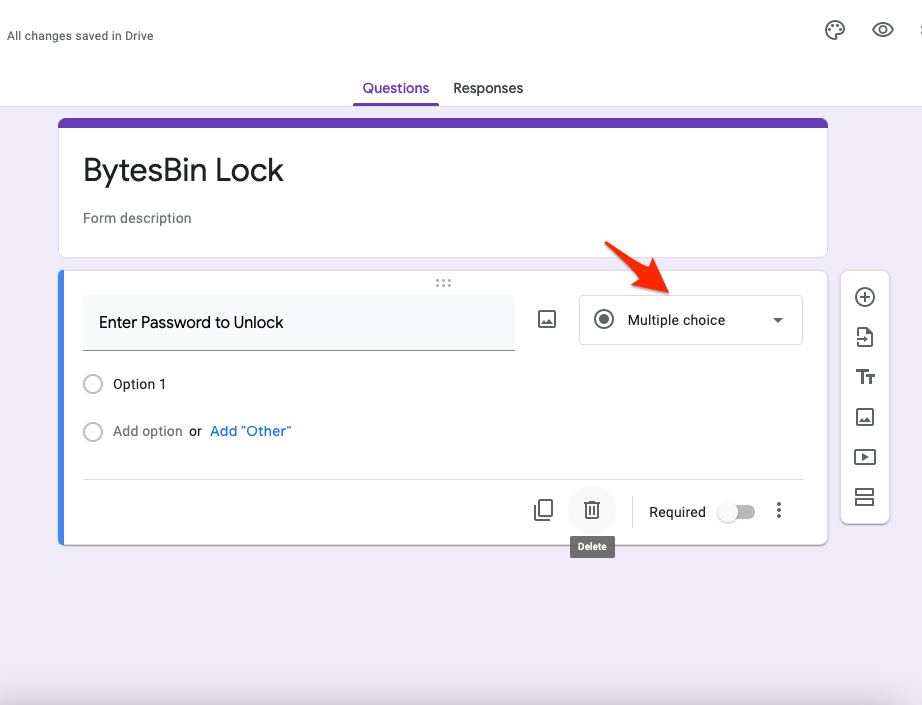
- Add any Title Name in place of ‘Untitled form.’ I added ‘BytesBin Lock‘ for the demo.
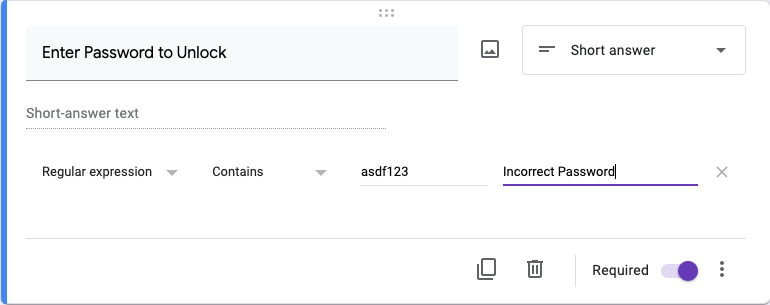
- Add Password Detail in ‘Untitled Question.’ I added ‘Enter Password to Unlock.’
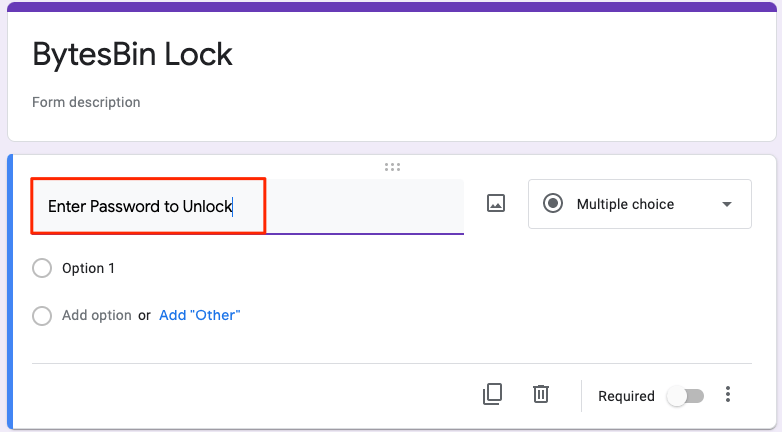
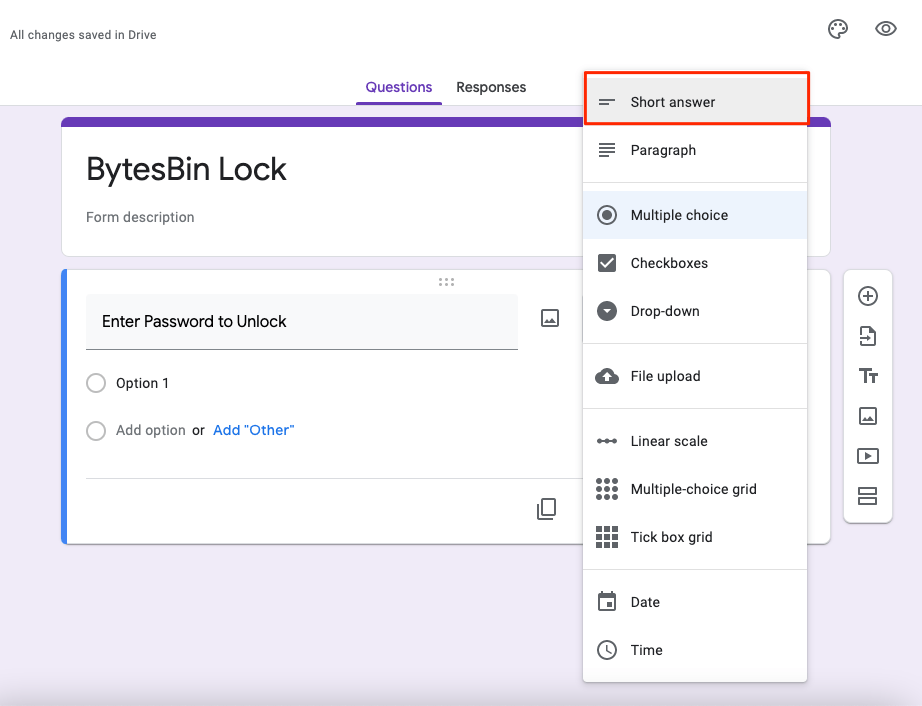
- Change Multiple Choice Option to Short Answer.
- Now Turn on the Required Toggle.

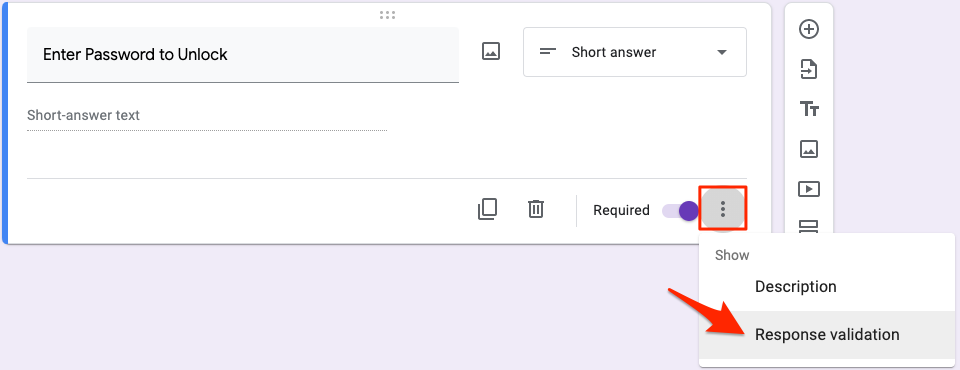
- Next to Required Toggle, you will see the 3 vertical Dots menu option; click on it.
- Here select Response validation.
- Now more options will appear on the form.
- You can select Number as a Password, Text as a Password, or Regular expression for Password.
- I will go with Regular expression.
- Make sure to use the Contains as the option.
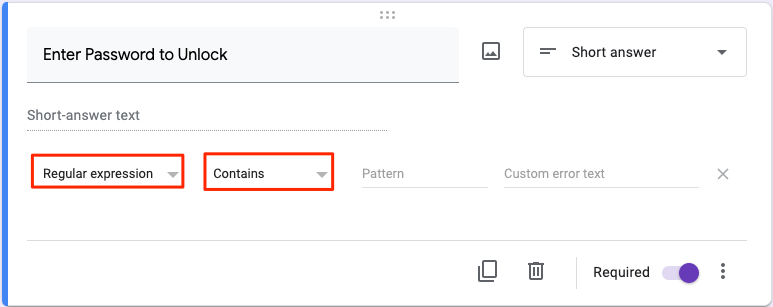
- Enter the password in the Pattern option to set the lock code.
- Now in custom error text, add a custom error message to display the wrong password. I used ‘Incorrect Password‘ as a custom error message.
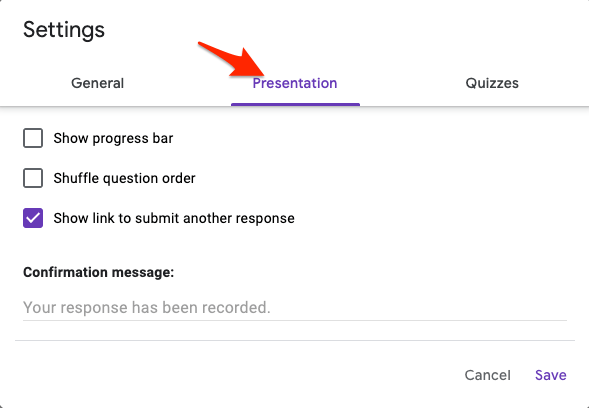
- Click on the Gear
 icon.
icon.

- Here tap on the Presentation option.
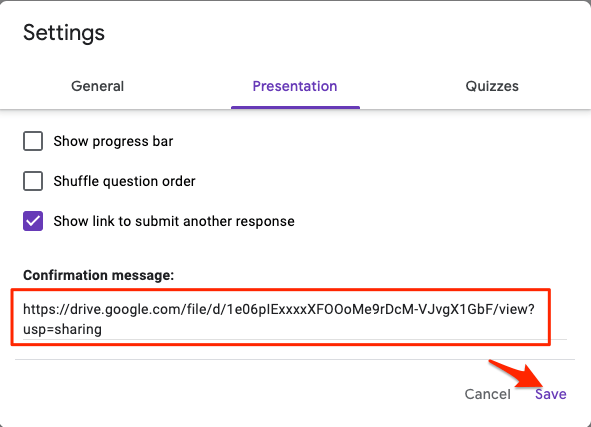
- Now under the Confirmation message: enter the Google Sheets Sharing Folder URL and click Save.
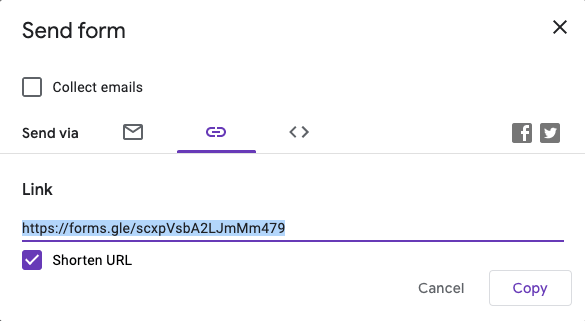
- Click on the Send button.

- You can now either share the file using Mail, copy the link or embed the link.
- That’s it! When someone opens the form, they need to enter the password.
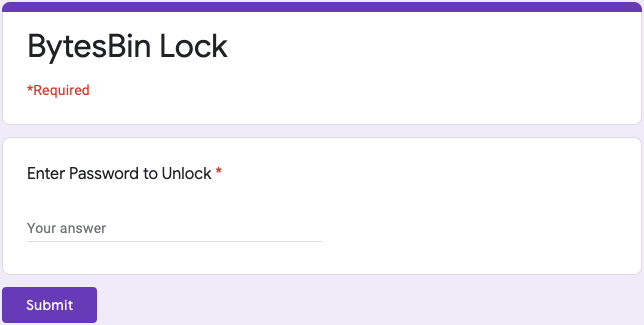
- Entering the correct password will fetch them the Google Sheets URL.😀

Conclusion
With this simple guide, you can password encrypt your Google Sheets and protect its content even if someone has access to the Sheets Sharing Link.
There is a minus. If you go into the browser history, you will still see the link of the encrypted link, and you can safely click on it