Microsoft OneDrive is among the most popular cloud storage platforms. Thanks to its indispensable integration with Microsoft Windows PC, making OneDrive a popular choice to back up PC and mobile data. It offers 10GB of free cloud storage which can be upgraded by buying a subscription. OneDrive offers a Windows & Mac desktop PC app and mobile app to backup and syncs the files.
Unline OneDrive for Windows, which allows the user to backup PC files and folder to the OneDrive cloud, the Mac Desktop app do not offer any such feature. There is no folder backup option on the OneDrive Mac app. If you wish to auto-upload Mac files to the OneDrive cloud, then the simple two-step guide below will come in handy.
Two-Step Method to Sync Mac Files with OneDrive
Here is a Simple Method to Sync and Auto Upload Mac Files and Folders with OneDrive. You first need to install the OneDrive desktop app and then use a free folder pairing client to sync files across PC and cloud storage.
Step 1. Install OneDrive on MacBook
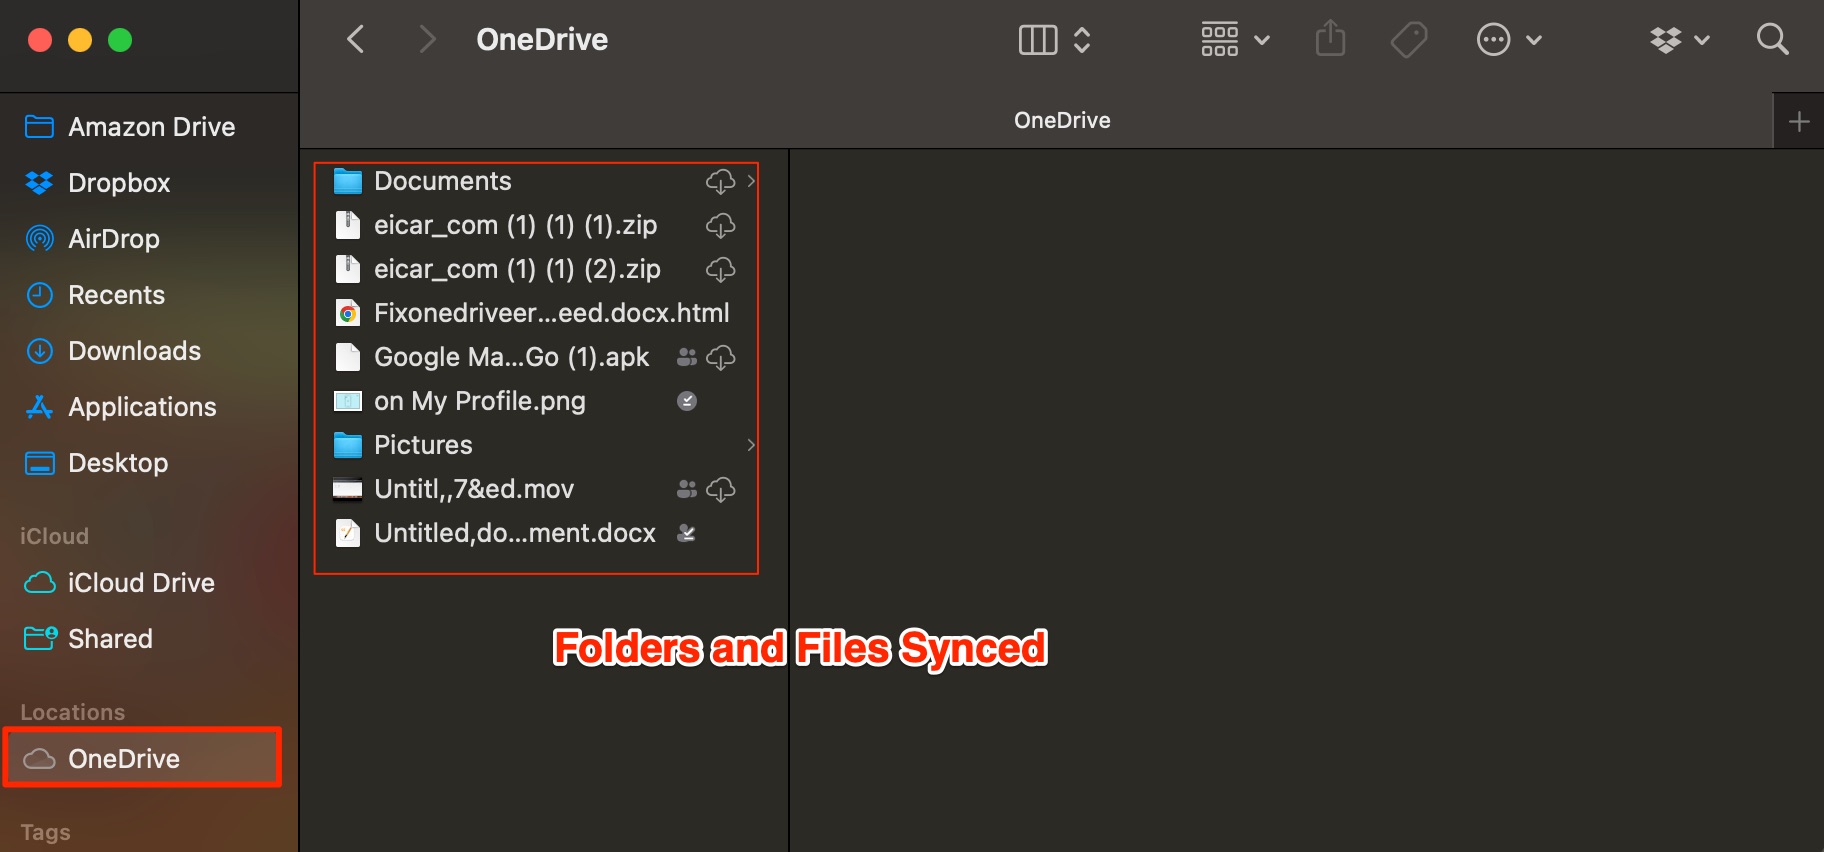
The first step is to install OneDrive for Mac on your PC and sync the Drive files with macOS Finder. This will create a OneDrive folder in the Finder sidebar.
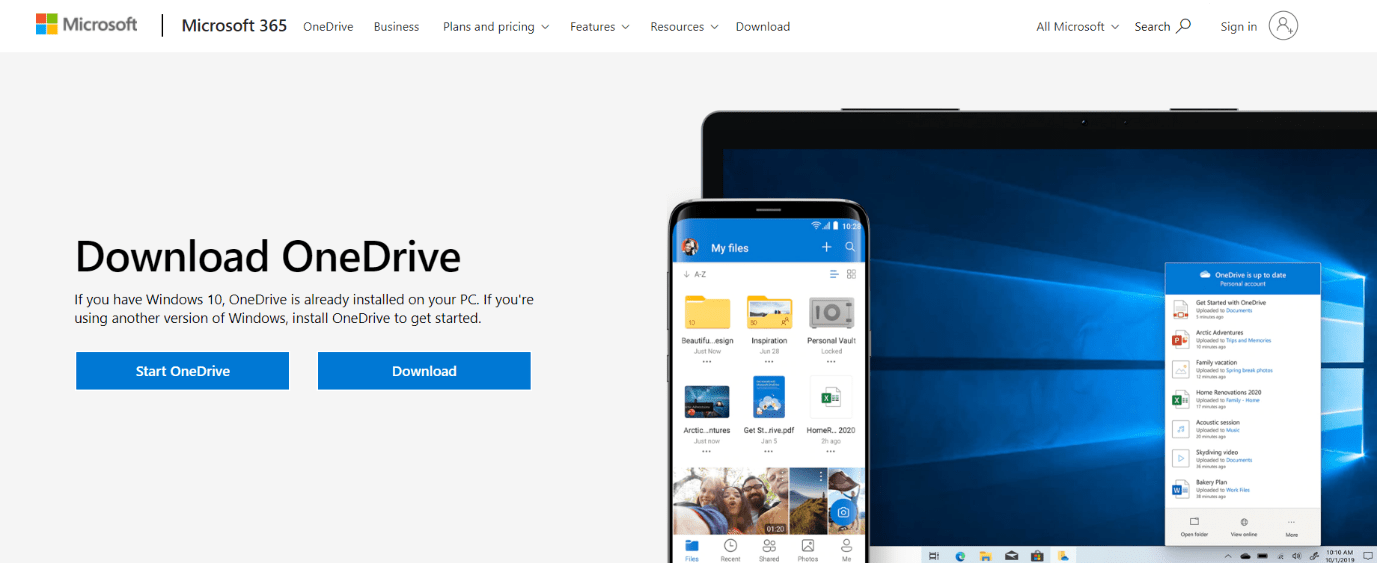
- Download OneDrive on Mac PC.
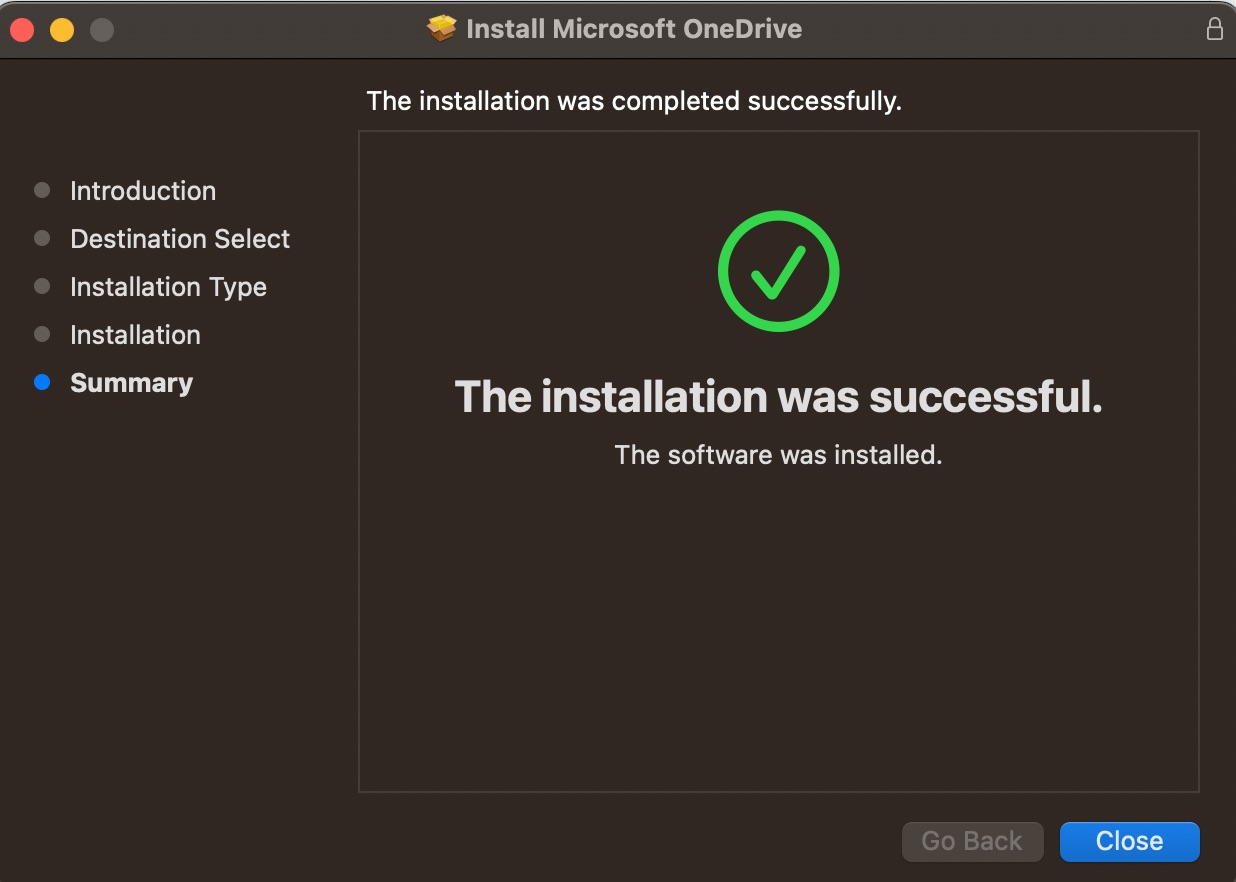
- Install OneDrive on MacBook.
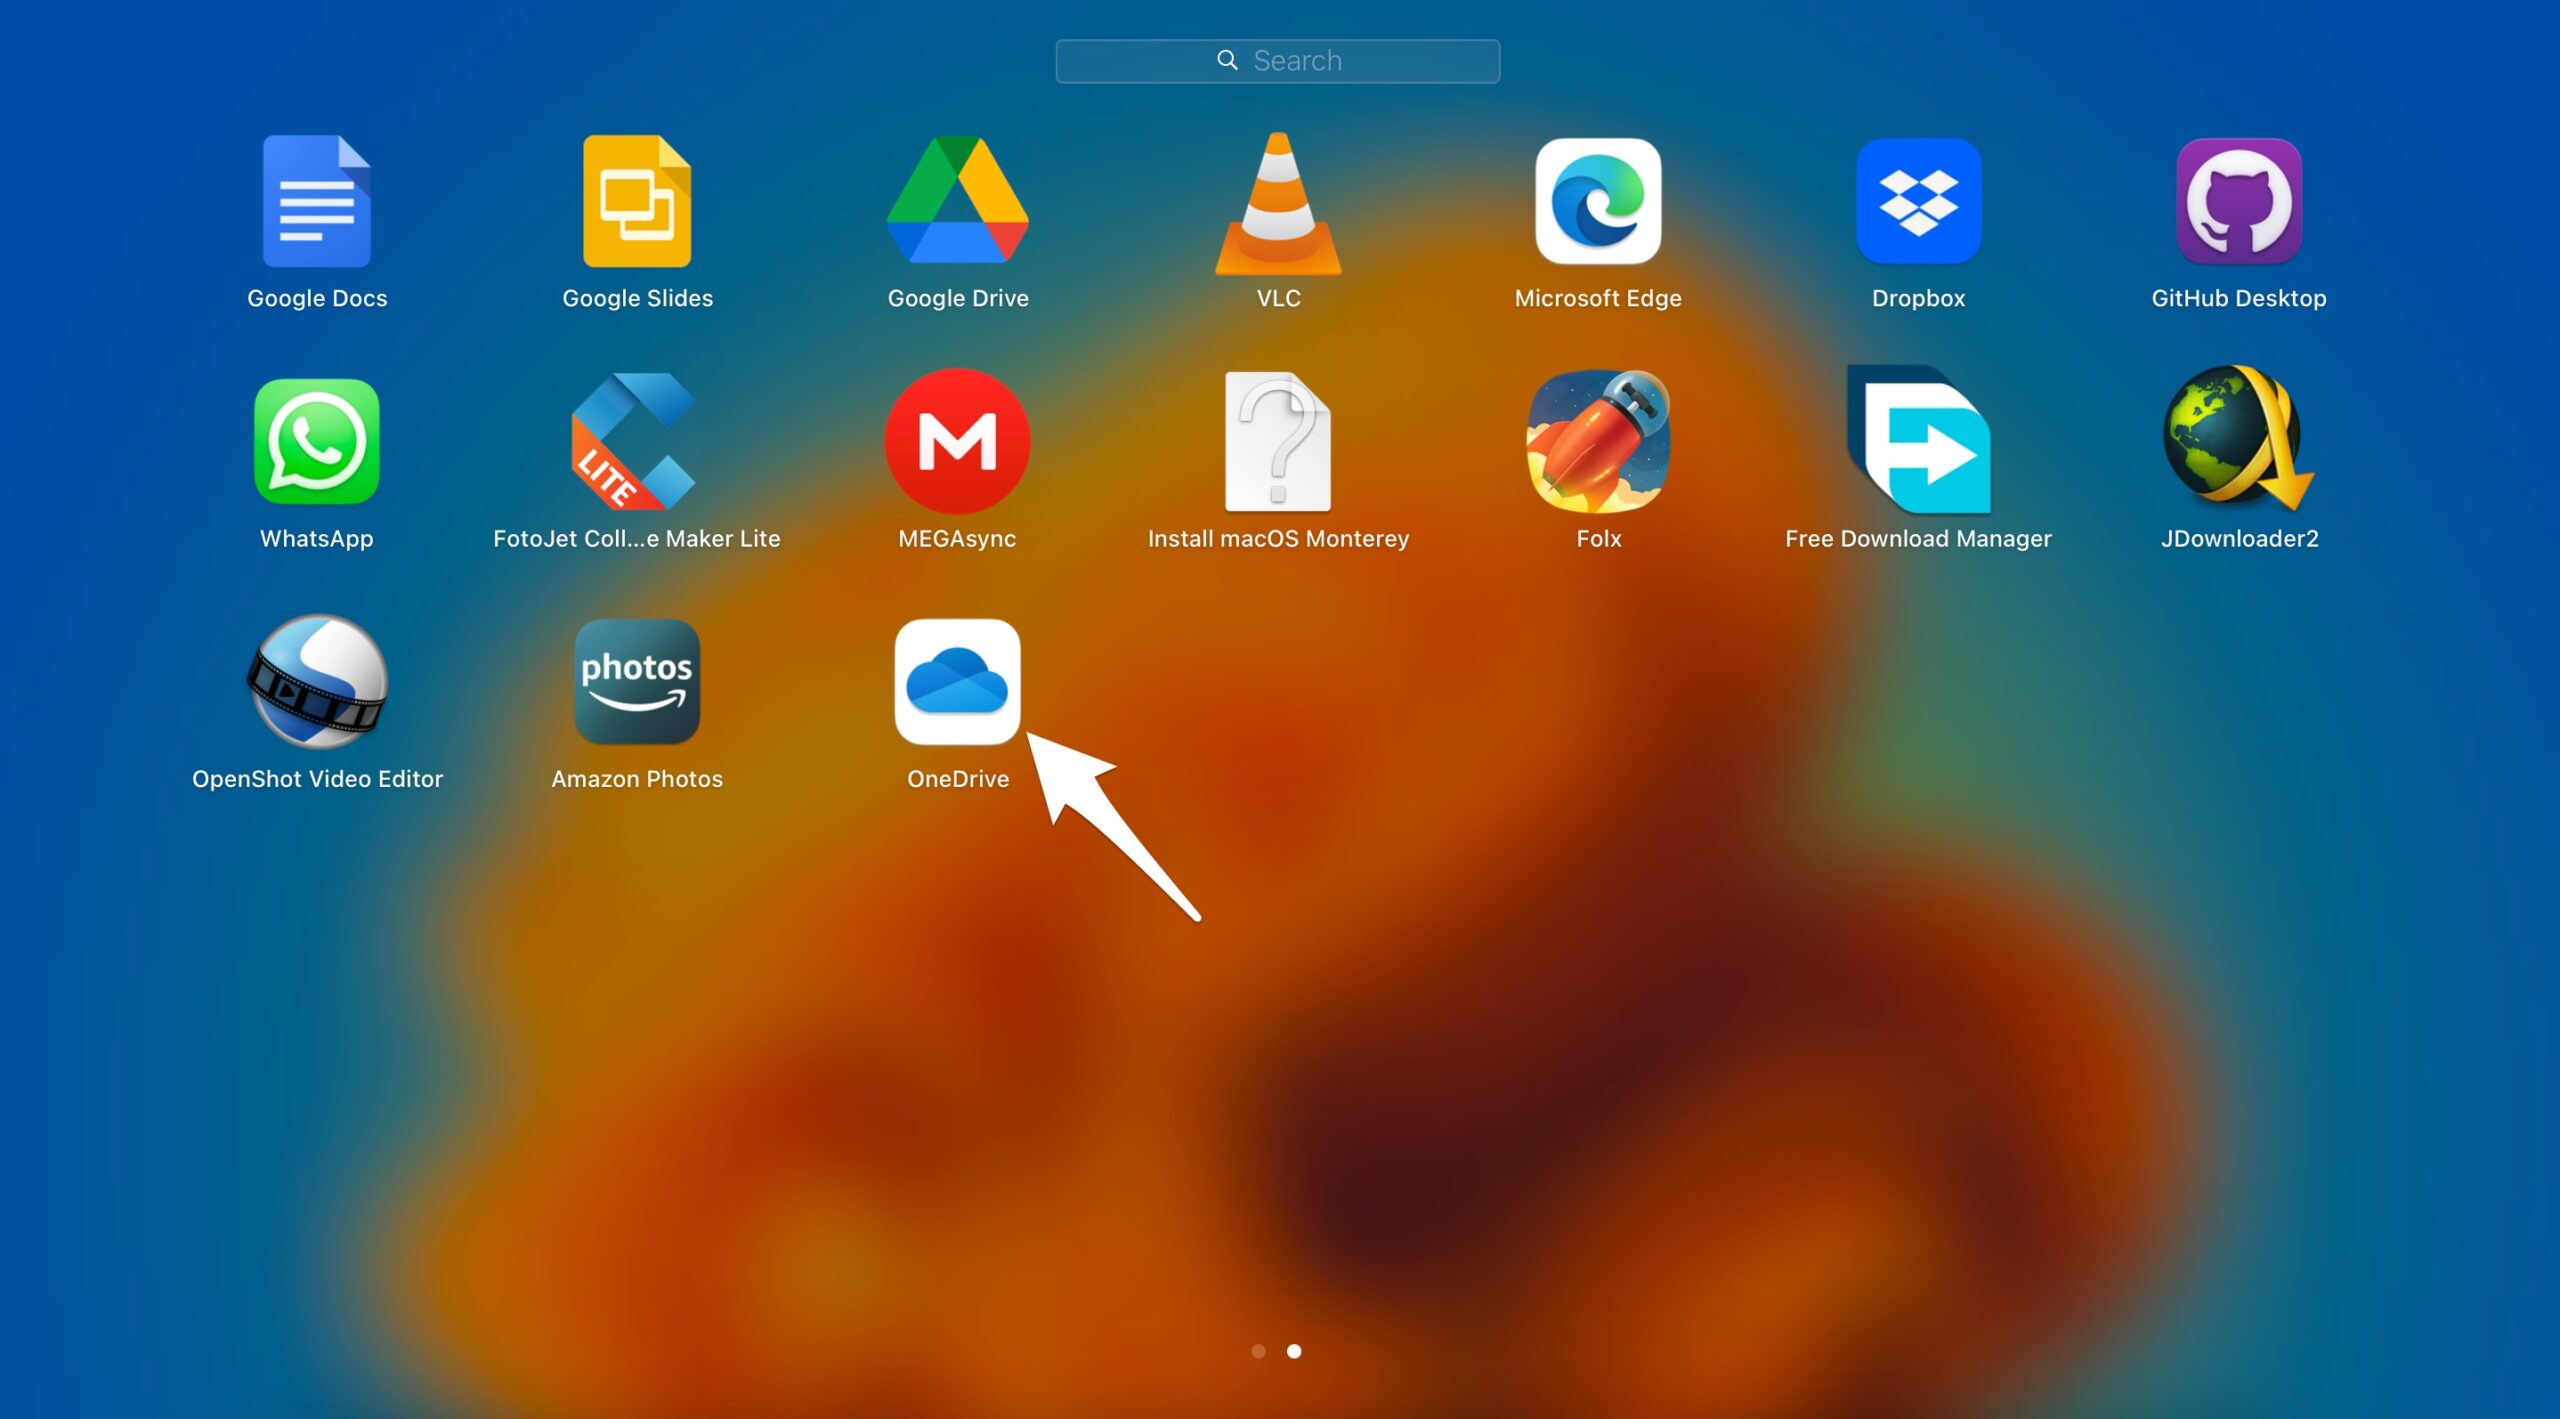
- Click Launchpad and open the app.
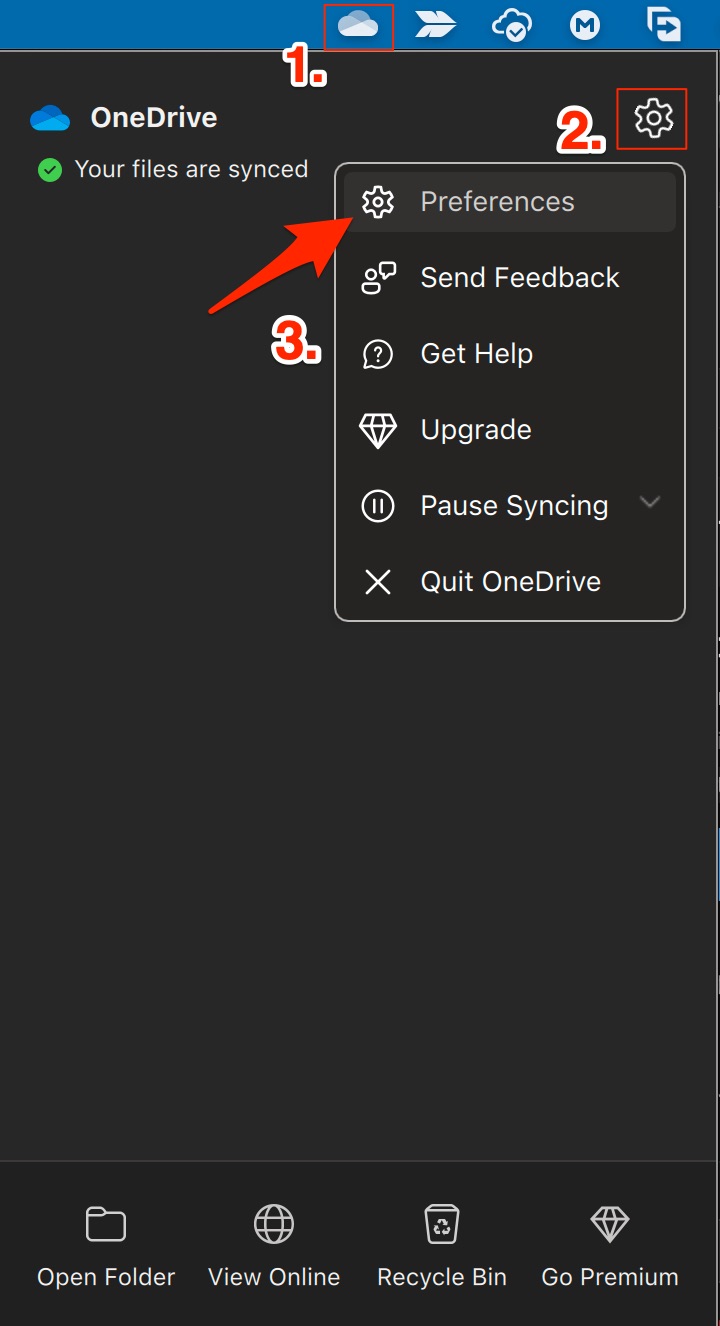
- The OneDrive will be added to Mac’s top menu bar, log-in in with your Microsoft account.
- Click on the Settings
 icon and open Preferences.
- Here click Account.
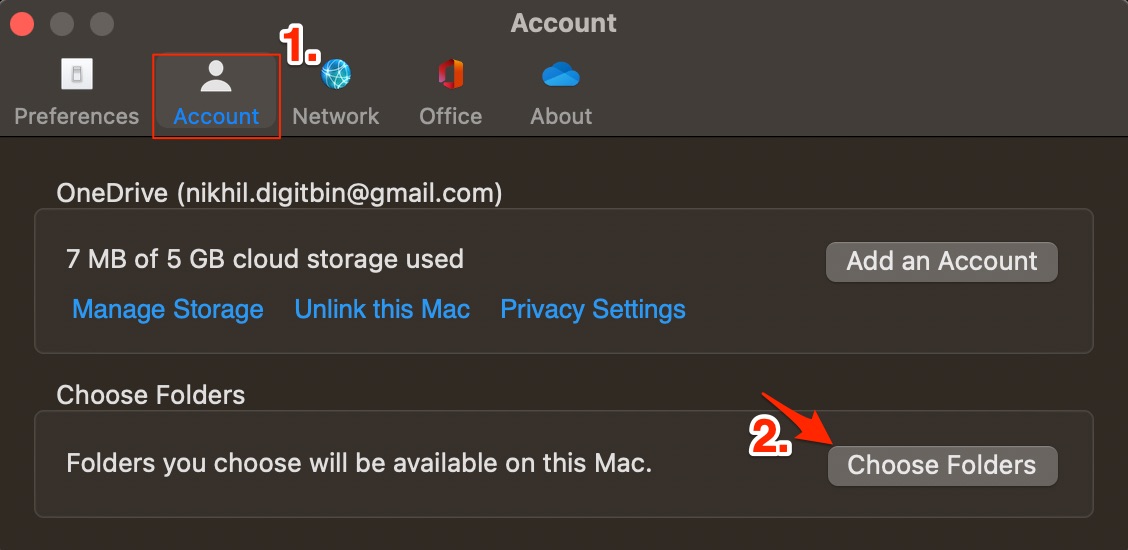
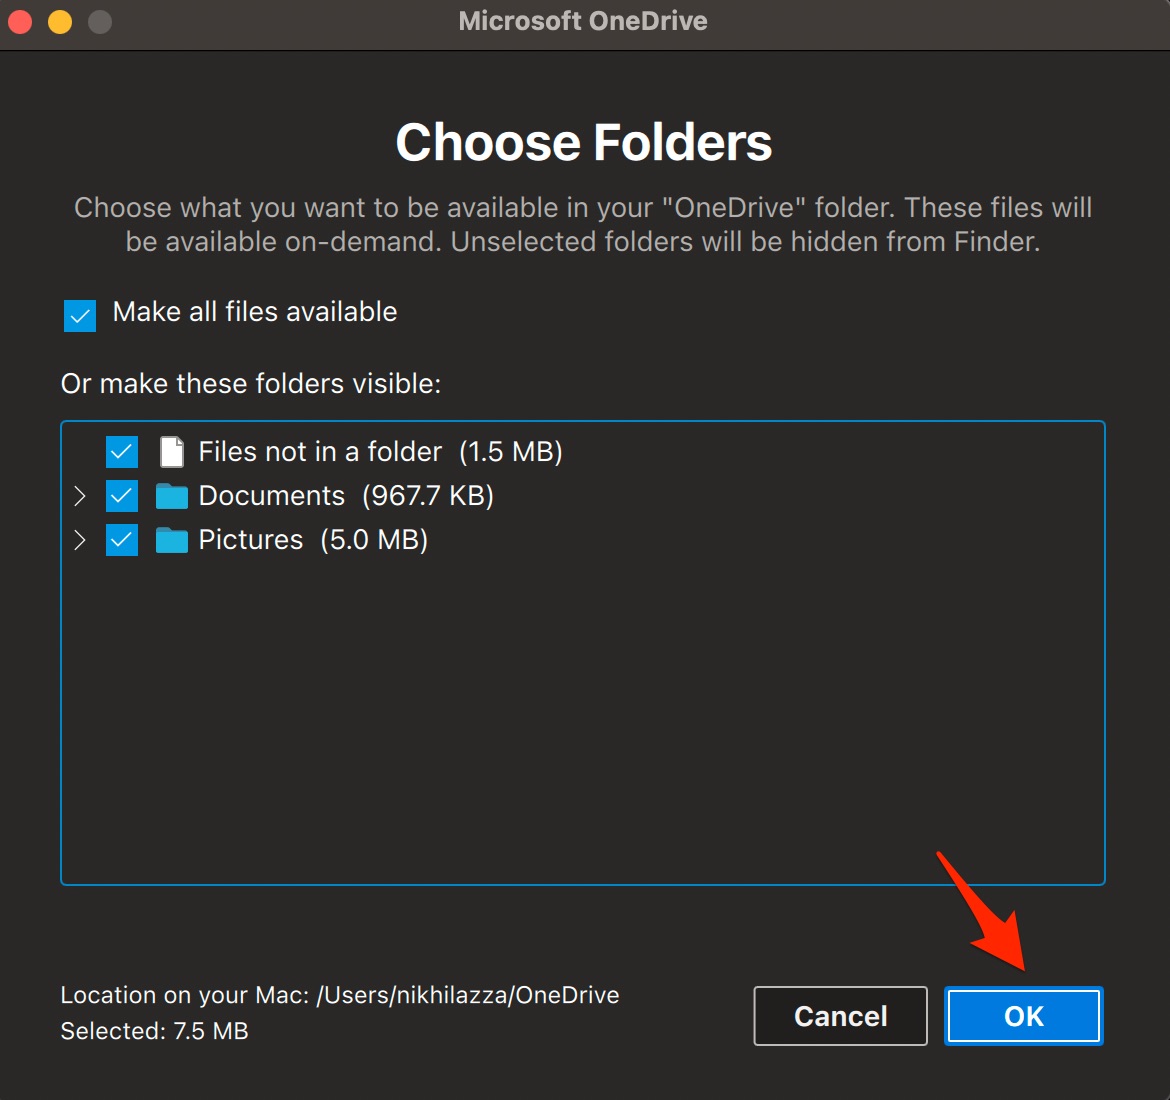
- Select the OneDrive folders to sync with Mac Finder. (Files outside the folders are auto-synced)
- All the selected files and folders will be available on Mac with OneDrive accessible in the Finder sidebar.
Step 2. Use MacDropAny to Backup Folder
Before you proceed with this step, you must keep a few points in mind. You need to move all the files that you want to backup inside a folder. Individual files cannot be uploaded via this method.
- Download and install MacDropAny on MacBook PC.
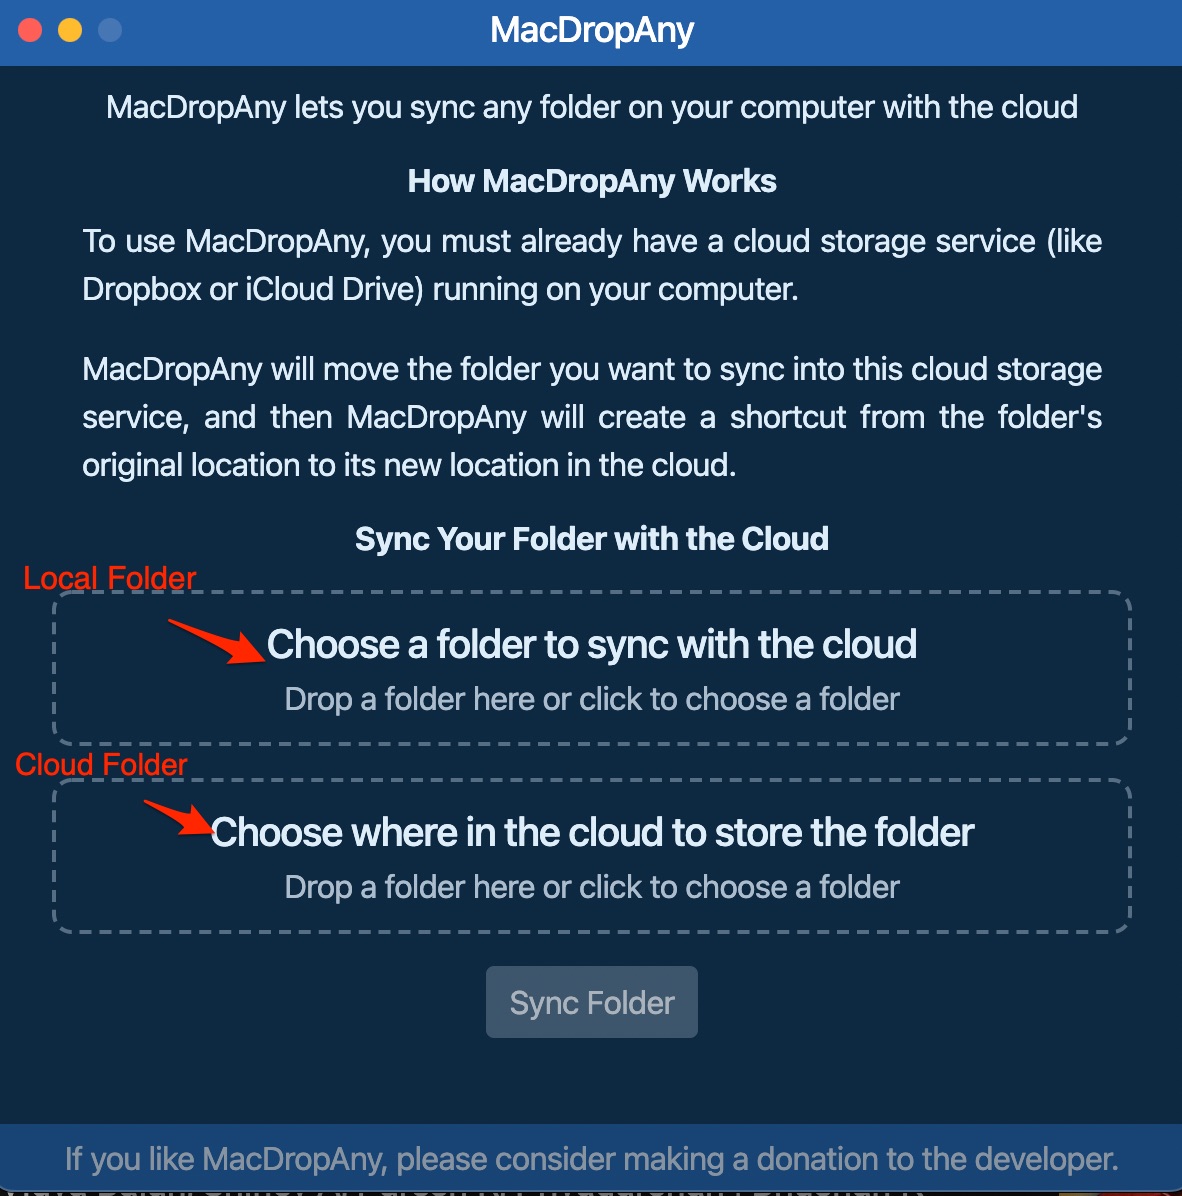
- Open the app and you will see a simple interface with two options; the local folder and the cloud folder to upload.
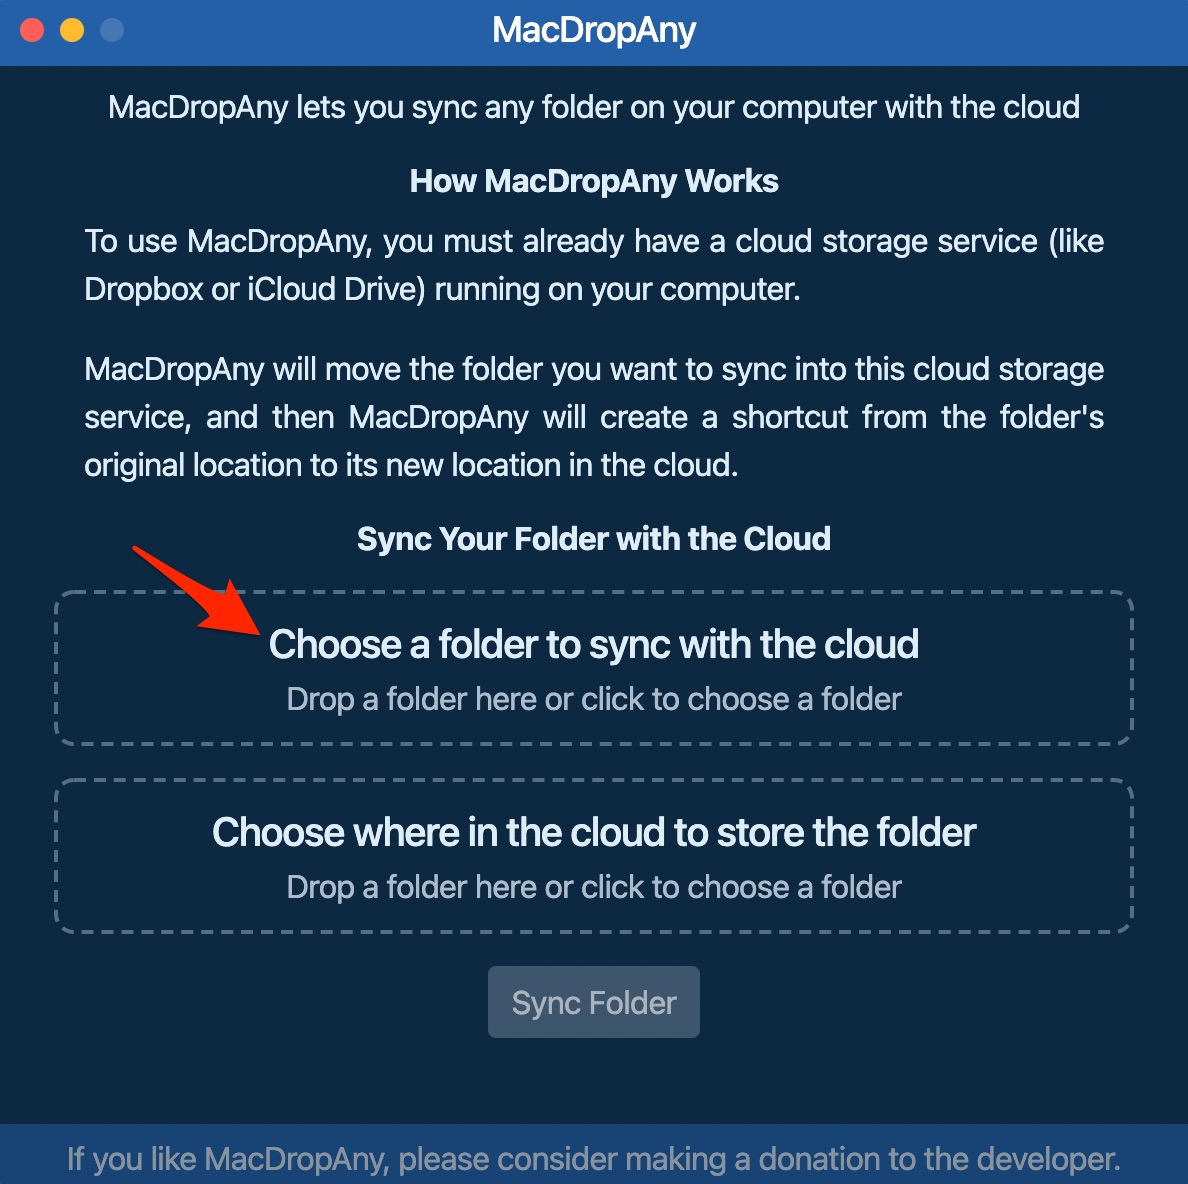
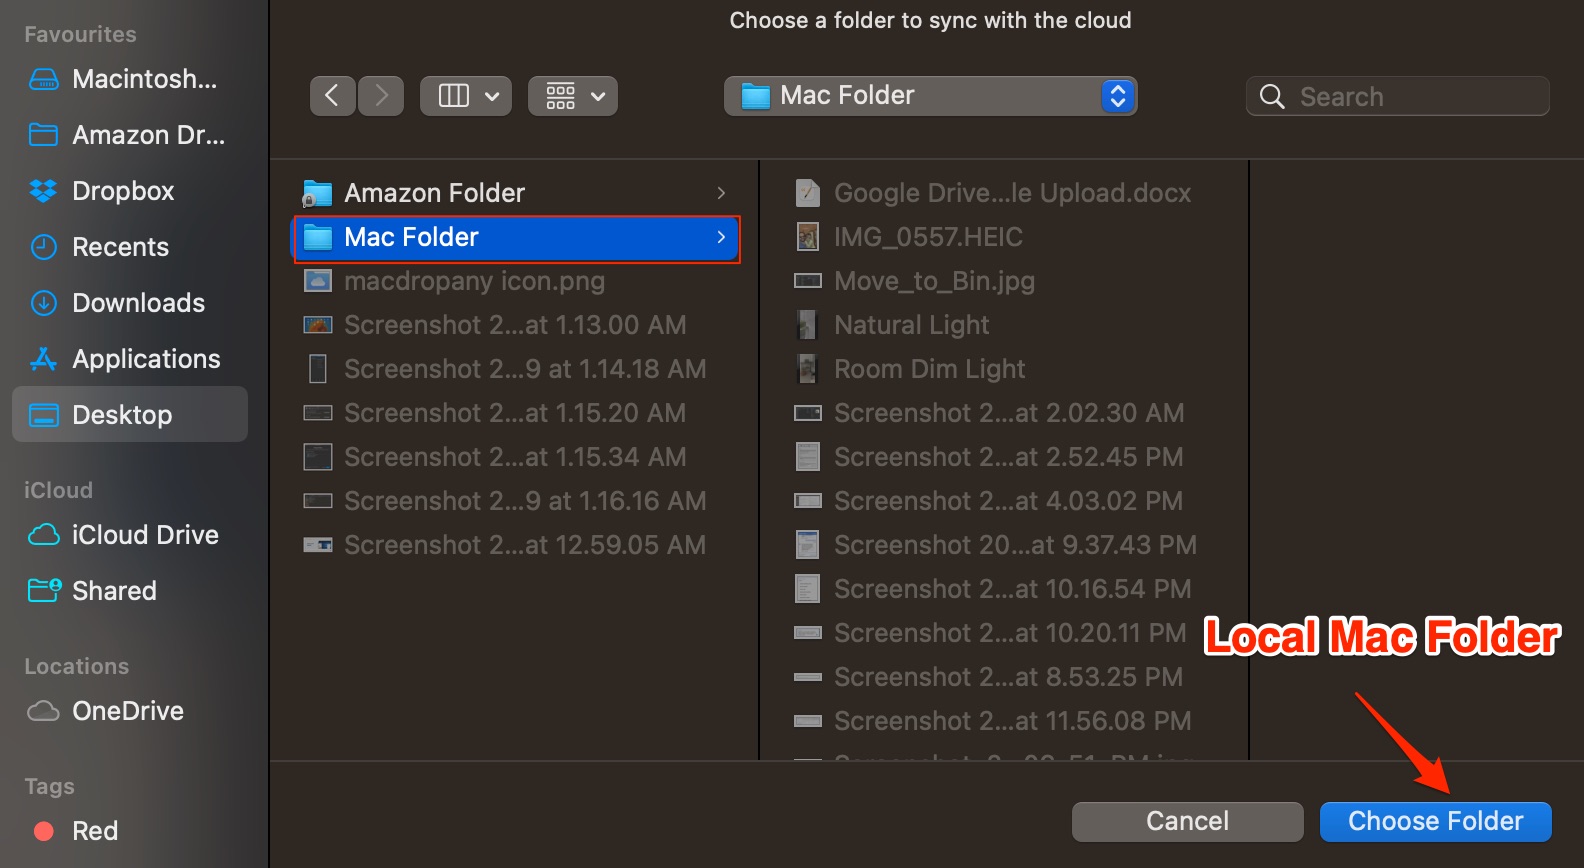
- Click on Choose a folder to sync with the cloud and select the Mac folder that you want to back up.
- Now click on Choose where in the cloud to store the folder and select the OneDrive folder where you want the upload the Mac files. If you wish you can create a new folder in OneDrive.
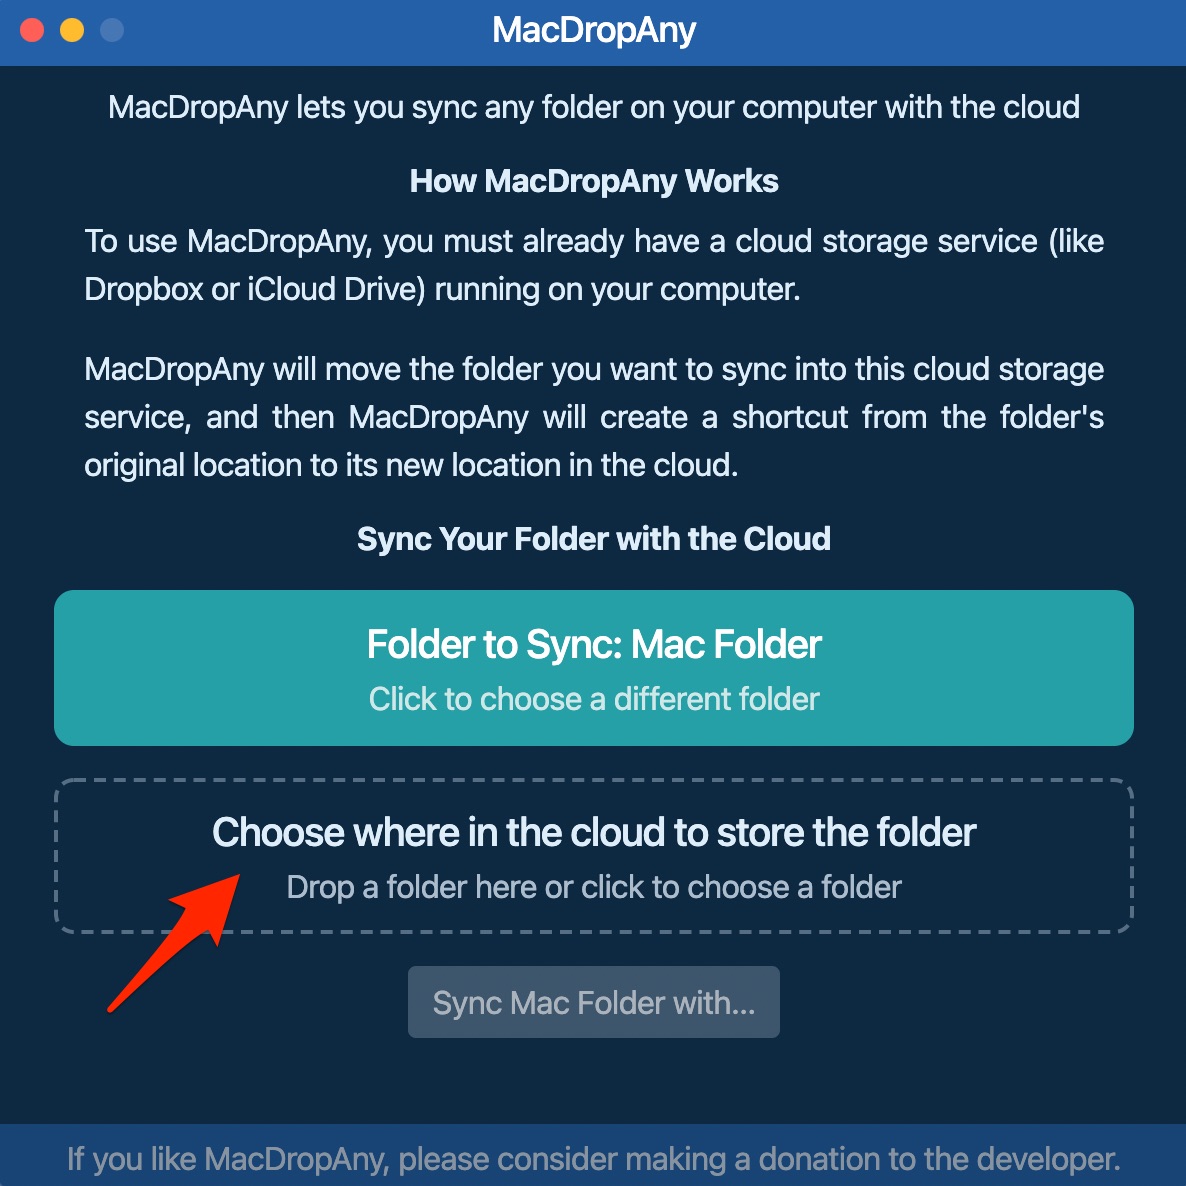
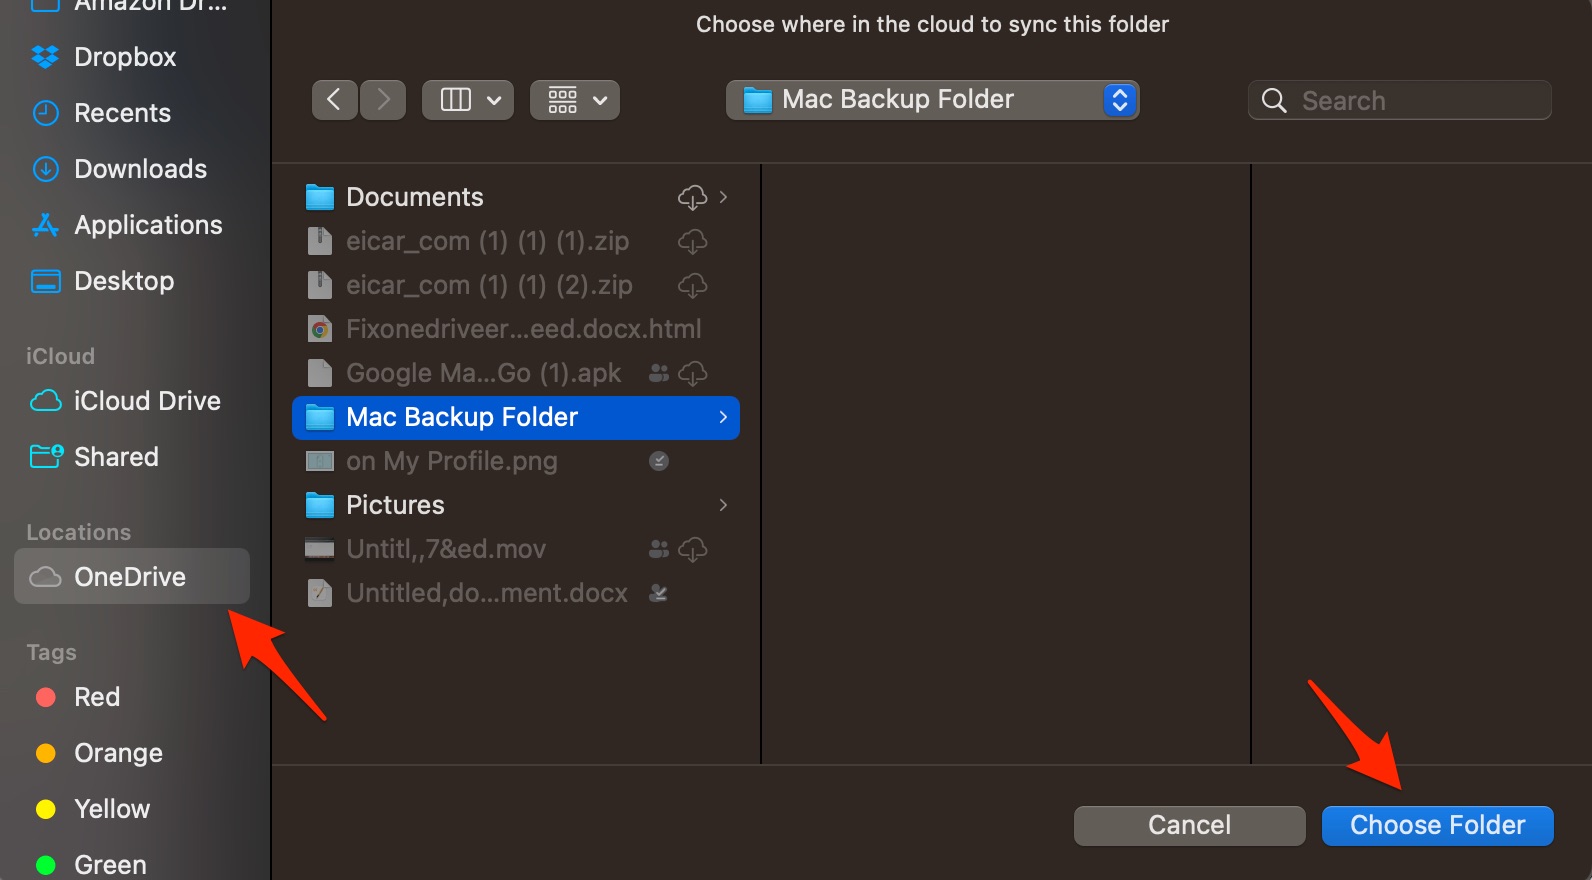
- Click the Sync button to upload and sync the Mac folder with OneDrive.
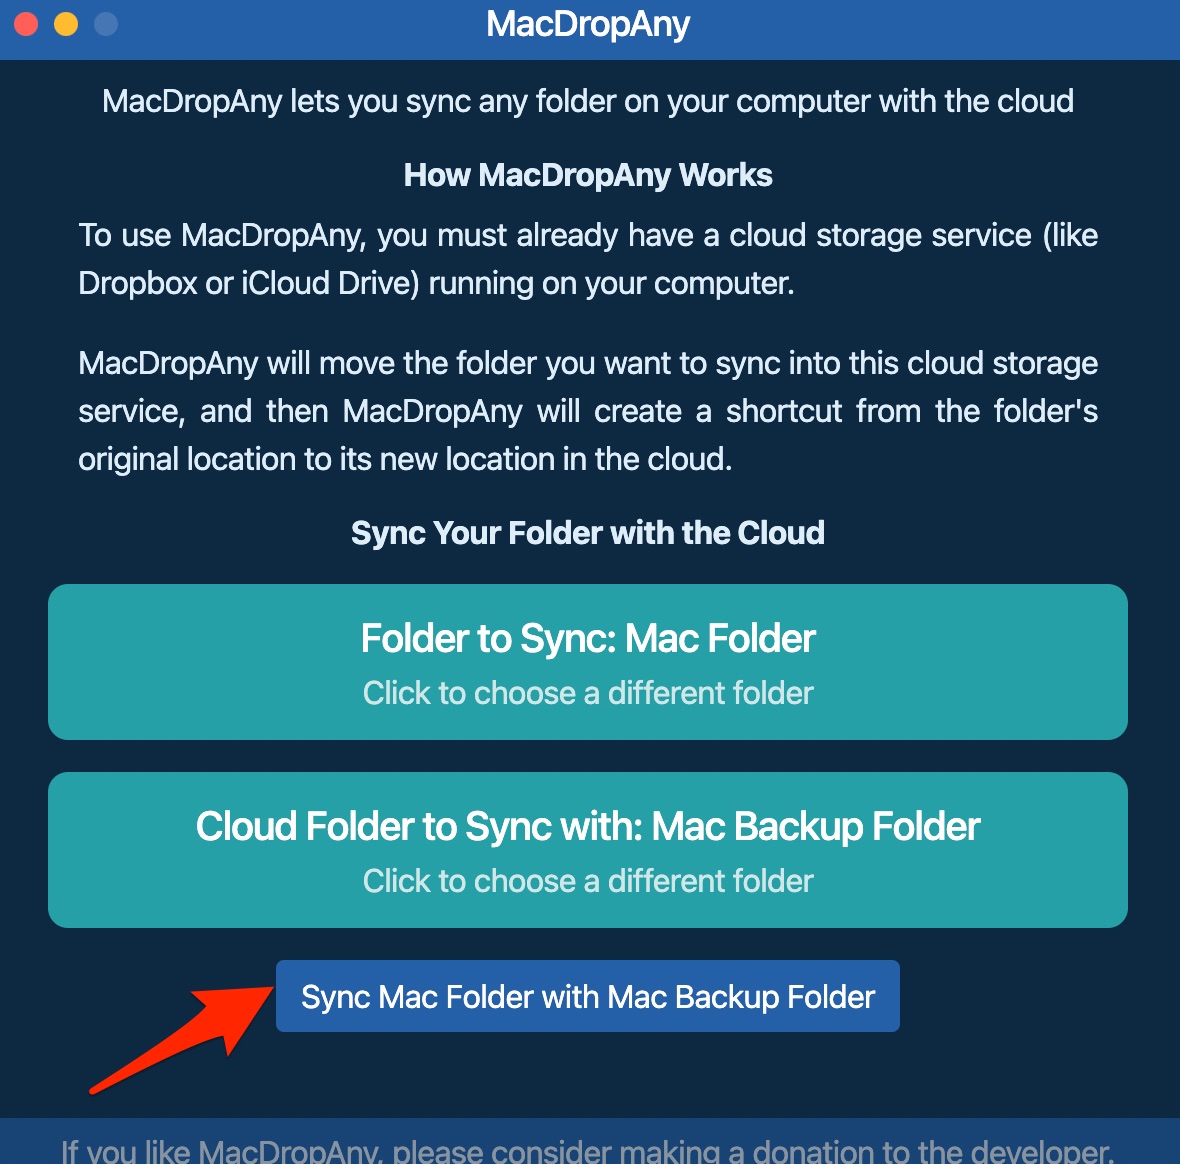
- If there are any permissions requested on the screen allow them, and you will notice the selected folders are synced.
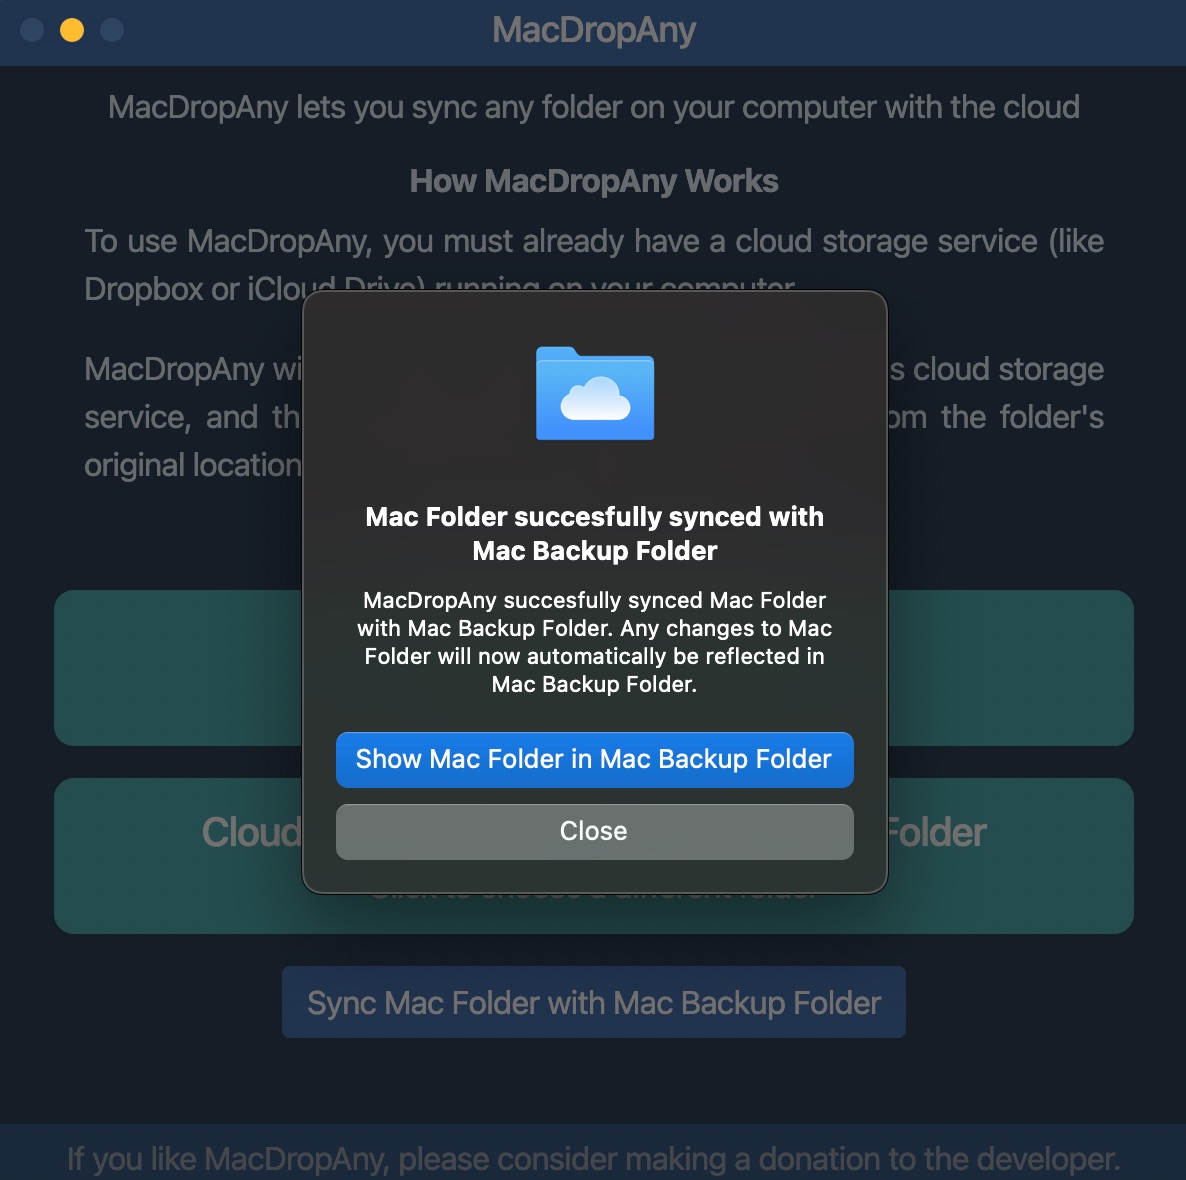
- All the files will be uploaded to the OneDrive cloud. Now, if you make any changes to the local Mac folder, the same will be reflected in the OneDrive account.
- Similarly, you can create as many folder pairs as you wish to sync the PC and Drive.
That’s it; with this simple guide, you can sync Mac Files with your OneDrive account. If you face any issues, please comment below.
