iCloud is Apple’s cloud storage platform, where you can store your important files, PDFs, photos, and save contacts, etc. Well, to start with, for any storage platform, the uploading and downloading of files are the two most common operations performed regularly.
If you are completely new to iCloud, consider uploading the file on the storage platform and try to download it. If you want to know how you can upload the file on iCloud, consider visiting here.
Once you get the hang of the upload operation, you can start with the download operation. But if you know it already, you can directly start from here.
Steps to Download Files from iCloud Drive
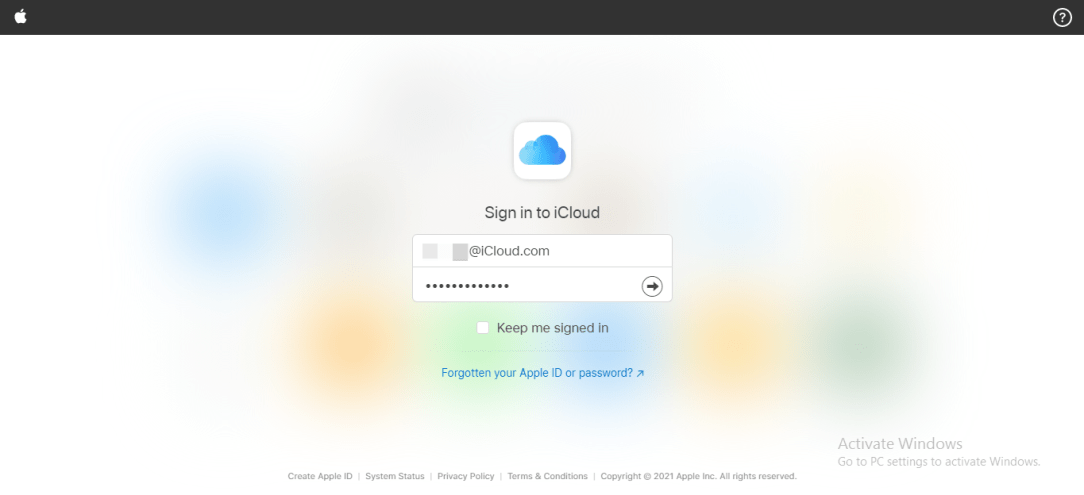
- Sign into iCloud.com using your credentials.
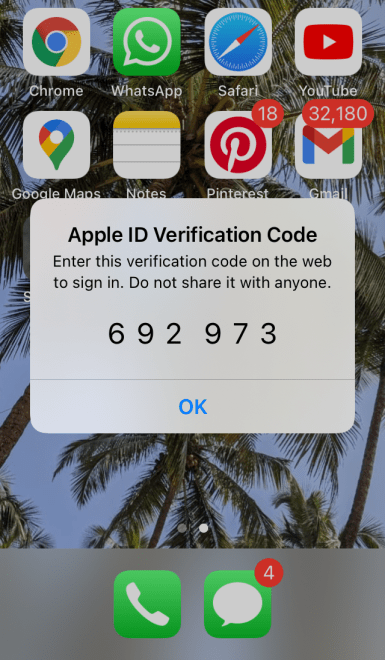
- Next, you must enter the verification code sent on the iPhone/Mac or devices (SMS) linked to your iCloud account.
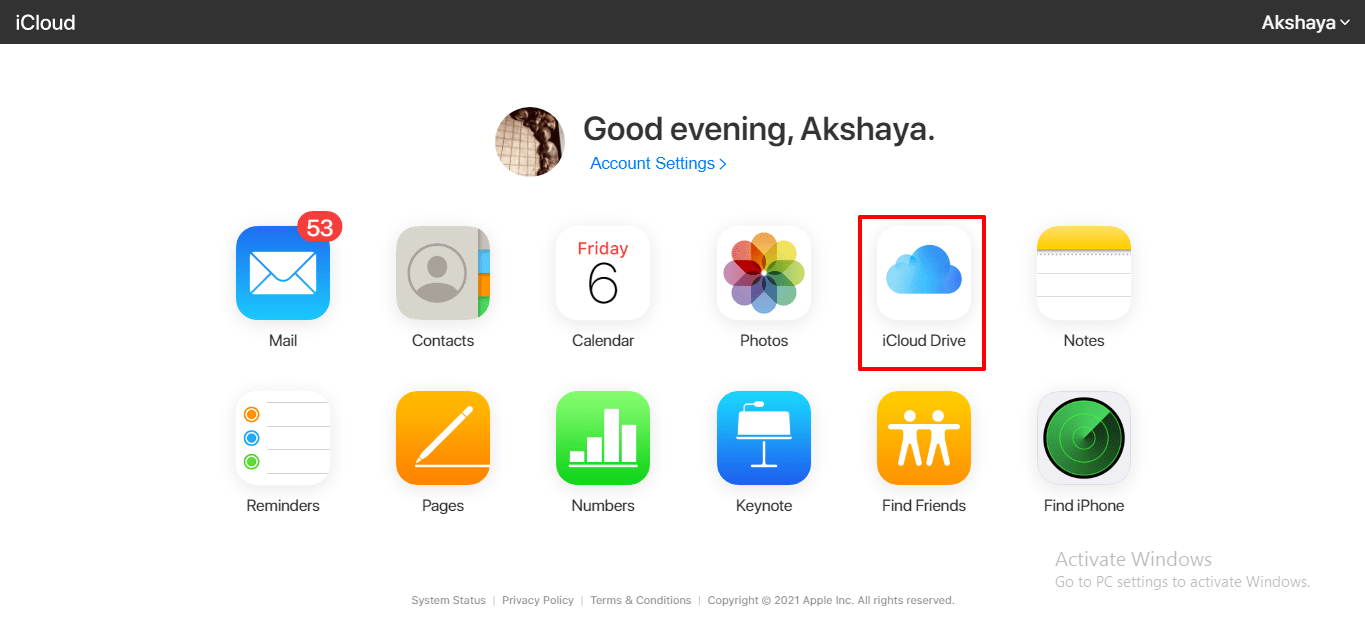
- After logging in, you will be able to view this screen shown below.
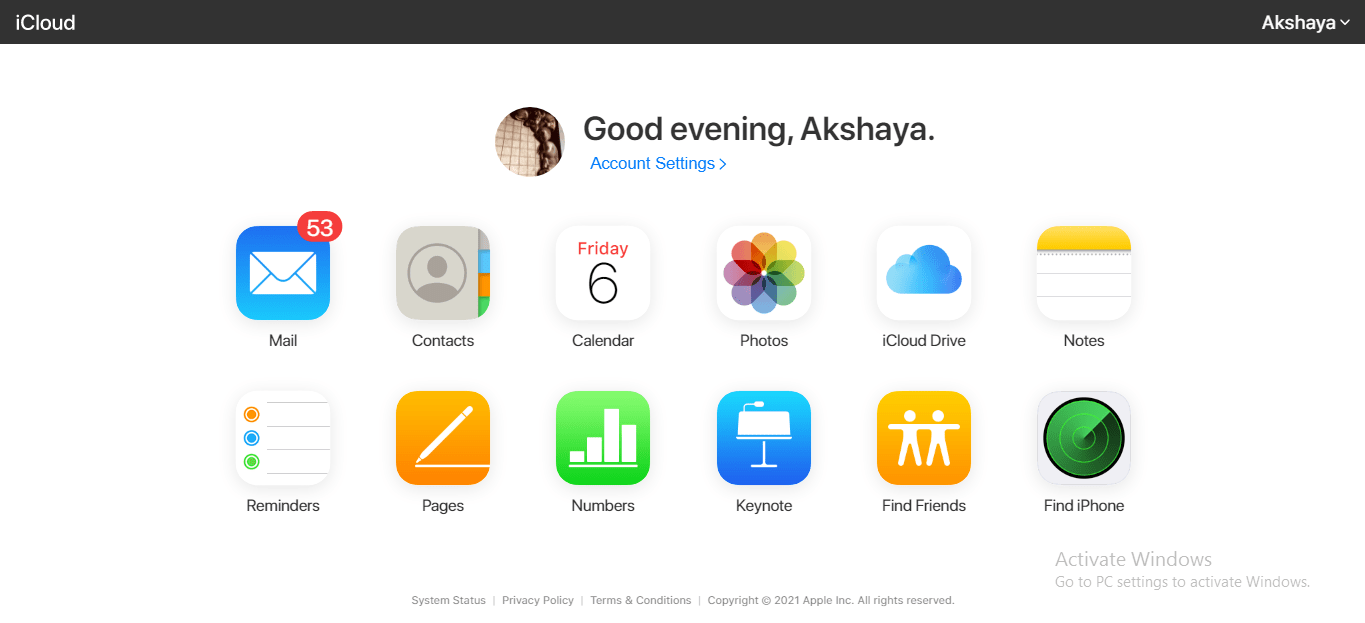
- Click on the iCloud Drive icon.
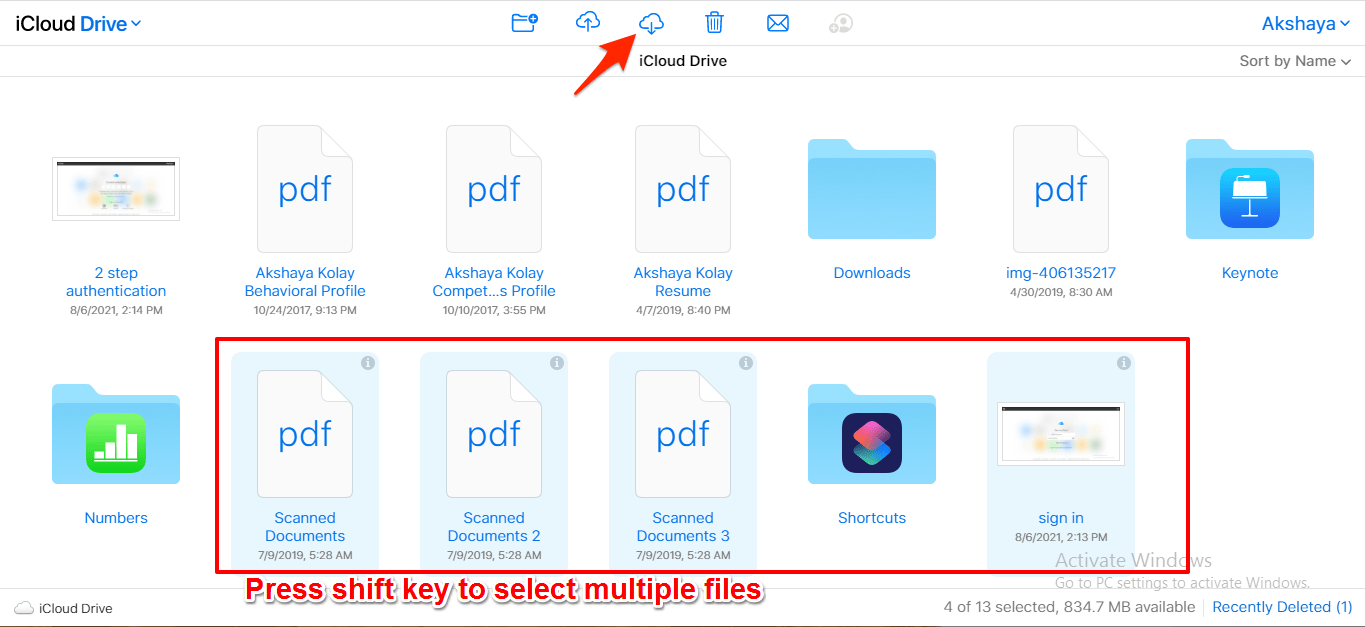
- Once you are inside iCloud Drive, select the file(s) you wish to download. The download icon on the top bar will initially be disabled and look like this
 ; once you select the file(s), it would turn
  .
. - To select one file, just single-click on the file.
- To select multiple files, click on one file; after that, press the Shift key and click on the other files that you want to select. Once you are done selecting the files, click on

- The files will be saved in the Downloads folder by default. You can specify any other folder where you want your file(s) to be downloaded using your Browser settings.
The iCloud comes with a 5GB space where you can store your data. However, if you don’t have enough free storage available (a message will be displayed in this case) option will be disabled, and you won’t be able to download any file.
In such a scenario, you can upgrade your iCloud storage, the plan starts from 50GB, and you can buy up to 2TB. In case you are interested to know more about it, visit the link.
This was a brief article to guide you through the iCloud download process. Do let us know your comment/thoughts on this post in the comment section.
