This tutorial will show you the steps to flip an image in Google Docs. This offering from Google has usually been the go-to word processor tool for numerous users, owing to the plethora of benefits that it beholds.
Its handy collaborative functionality that allows users to edit the document on the go is among its most useful features. However, it also beholds quite a few underrated ones that haven’t been well documented till now.
One among them is its nifty image editing tool that it beholds. While it isn’t a full-blown photo editor, but it still manages to checkmark all the basic requirements that one might need in the professional workspace.
Making use of the same, this guide will make you aware of the steps to flip an image in Google Docs in just a few clicks. So without any further ado, let’s get started.
Steps to Flip a Photo in Google Docs
Here are Simple Steps to Mirror or Flip an Image in Google Docs within a Few Seconds.
- To begin with, head over to the Google Docs site and create a new blank document or open an existing one.
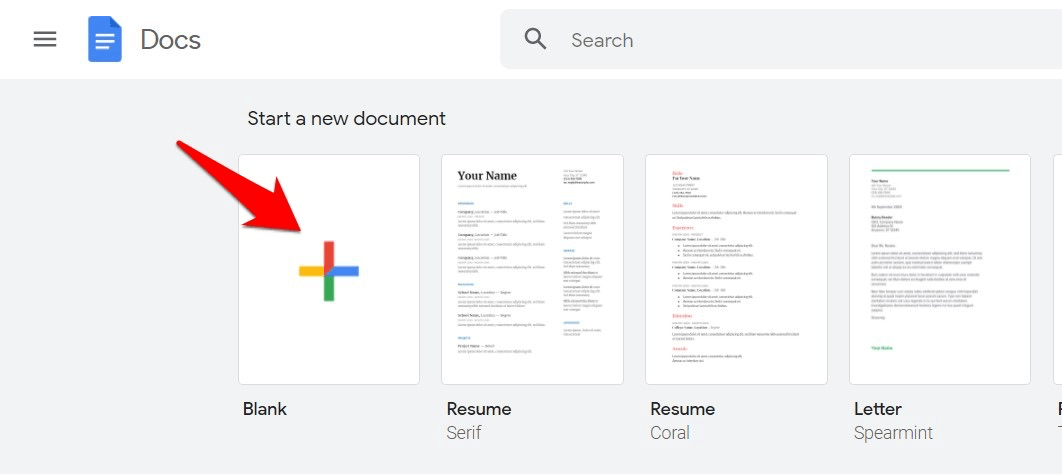
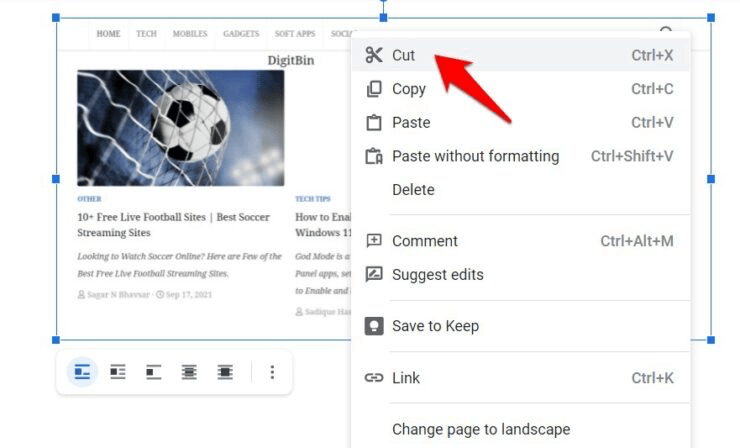
- If you are editing an existing document and already have an image inserted there, then select that image and hit the Ctrl+X shortcut keys to cut it (or you could also right-click on it and select the same). However, if you are dealing with a new document, then skip this step.
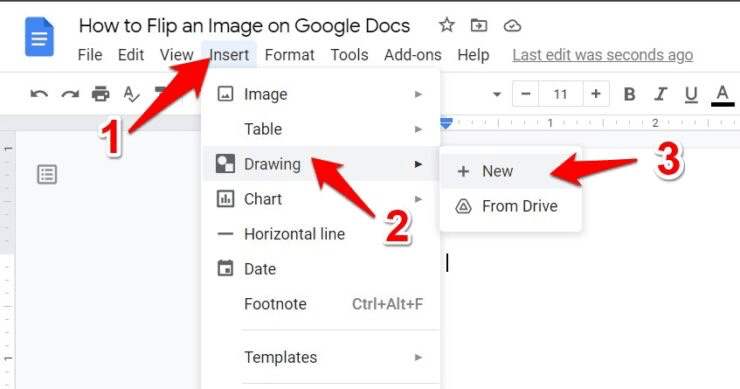
- Now go to the Insert option from the top menu bar and select Drawing > New.
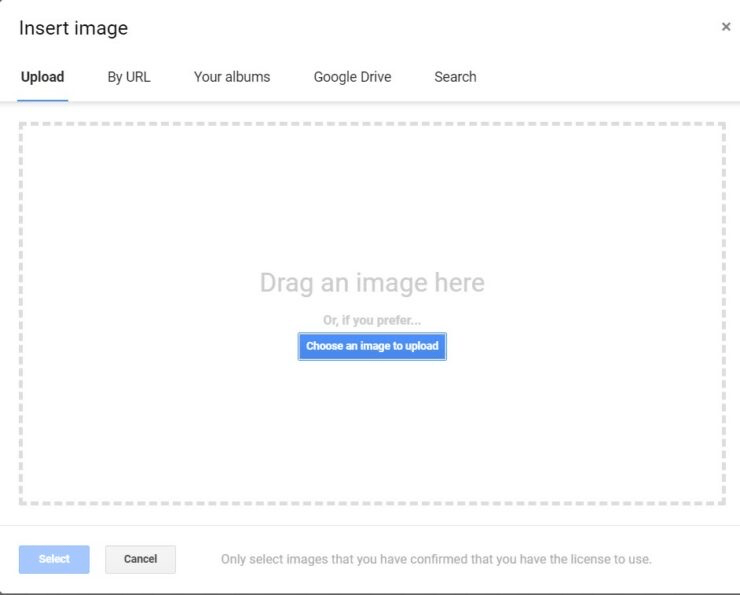
- It shall bring up a new drawing board. Click on the Image icon situated at the extreme right.

- Then upload the desired image using any of the available methods.
- However, if you are dealing with an existing document and have already cut the image as instructed before, then use the Ctrl+V shortcut keys to paste that image over to the drawing board.
- Moving on, once the image has been inserted, go to the Actions tab and select Rotate from the drop-down menu.
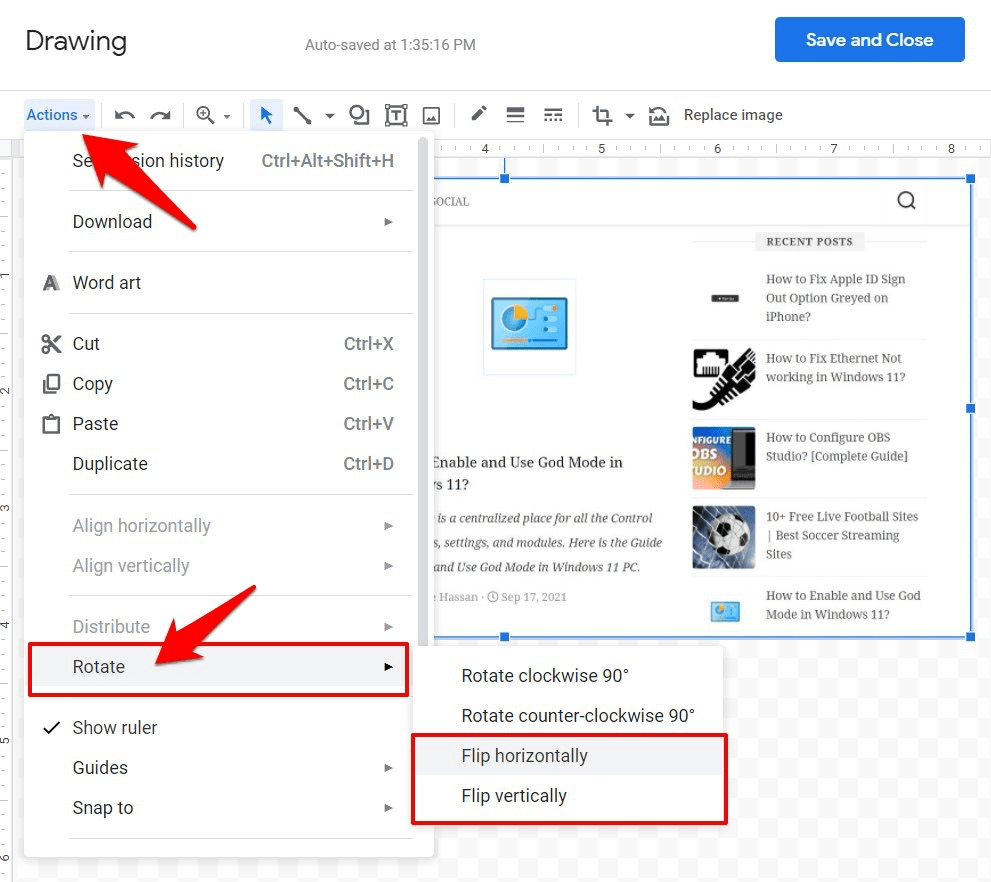
- Then choose the Flip Horizontally or Flip Vertically option as per the requirement
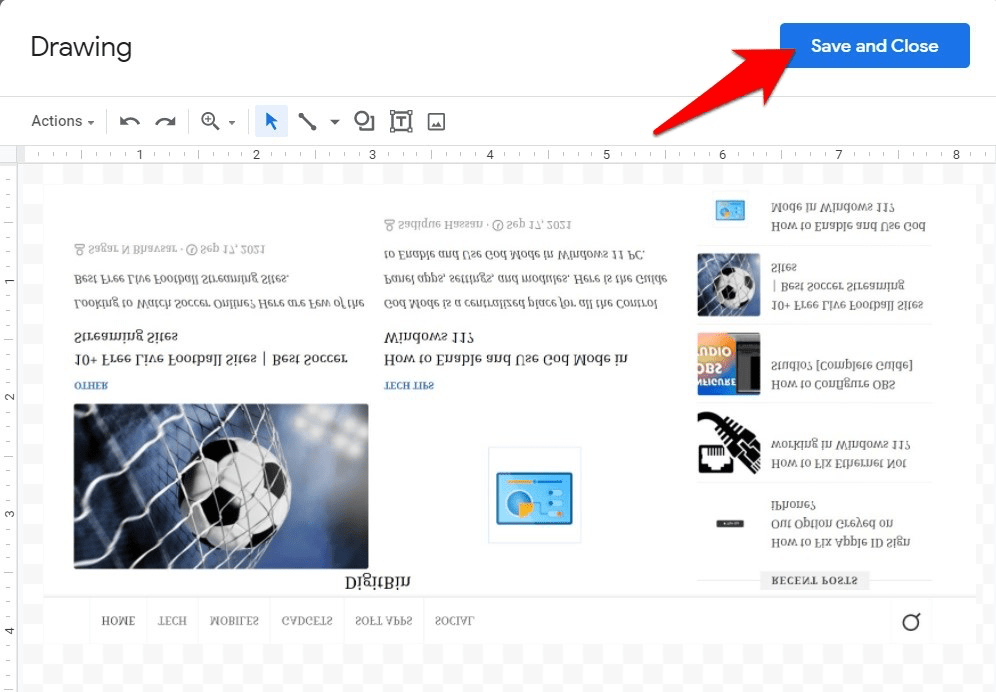
- Once done, click on the Save and Close button situated at the top right to insert the flipped image into the document.
Example Screenshots
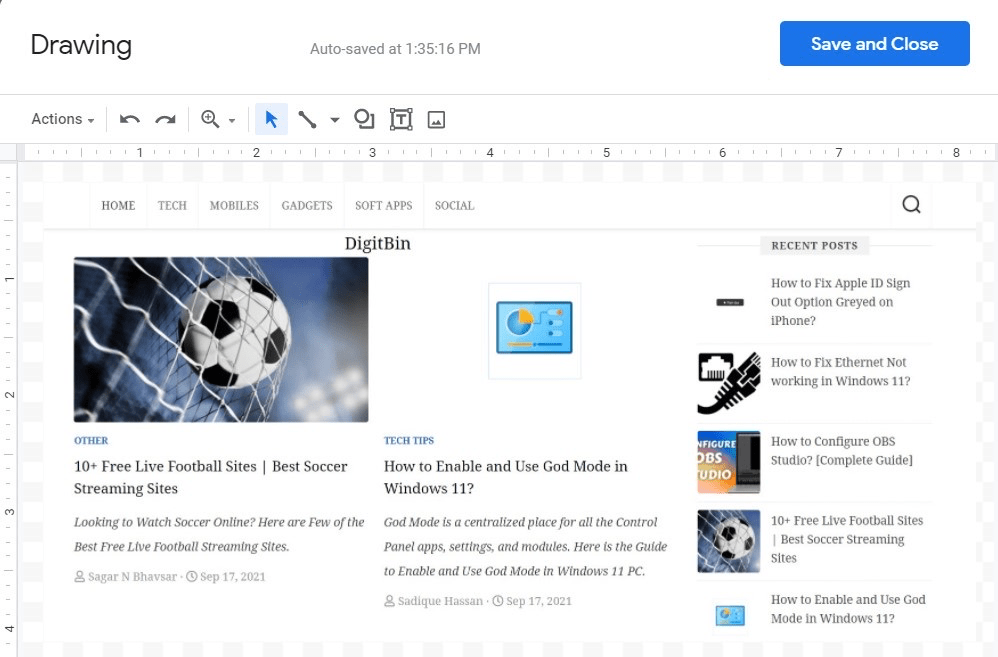
Here’s the original image that we uploaded over to the Google Docs Drawing Board:
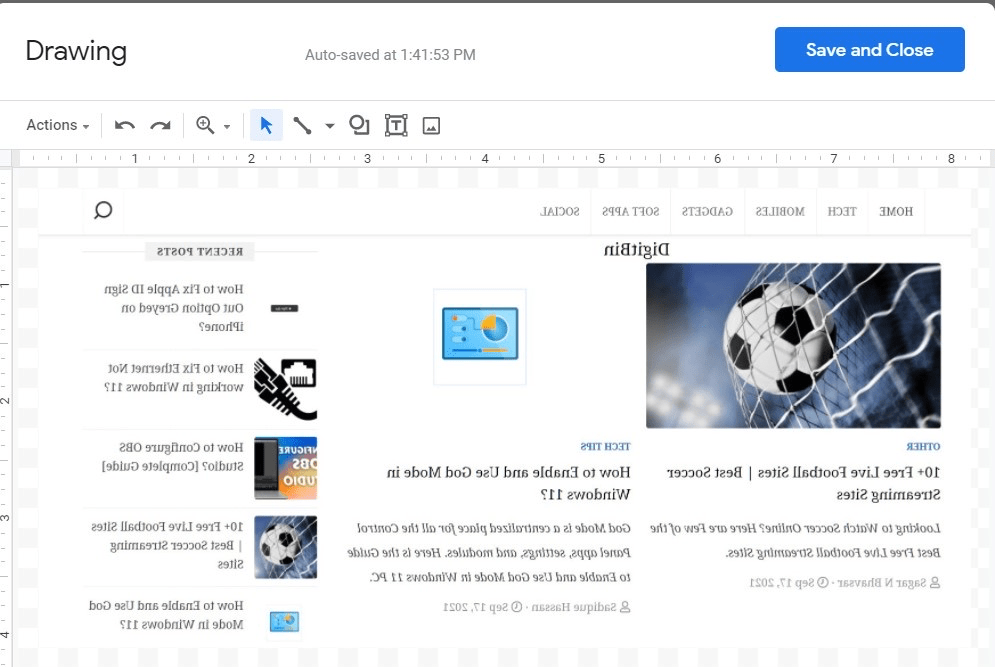
Upon flipping it horizontally, here’s the result that we got:
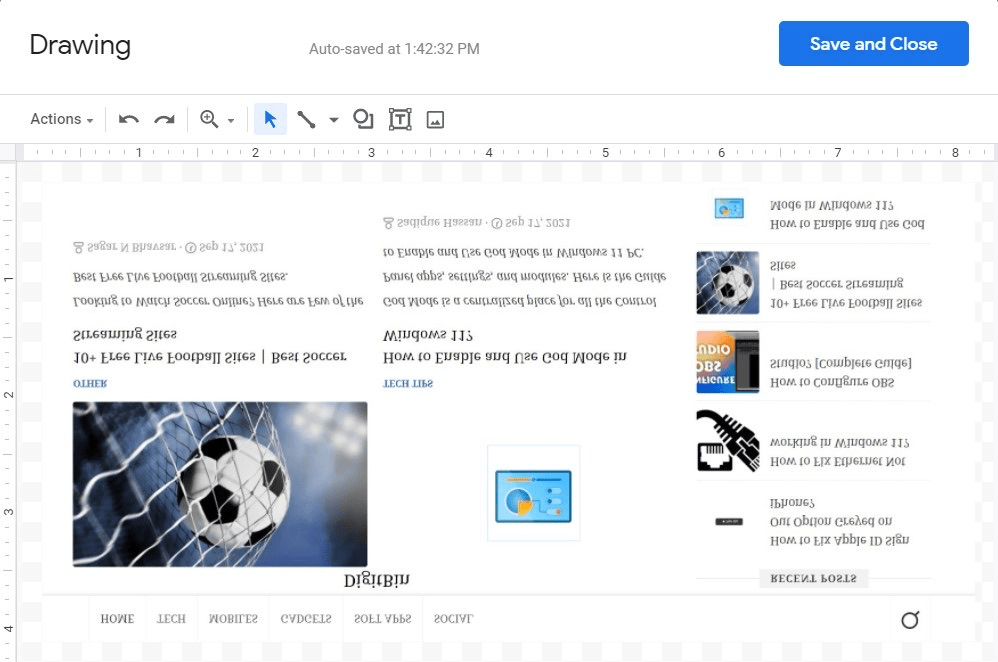
On the other hand, flipping it vertically gave out the following output:
Conclusion
So these were the steps to flip an image in Google Docs. We have shared both the scenarios- when dealing with an existing document or starting with a new one from scratch. If you have any queries with regards to any of these two methods, then do let us know in the comments section below.
